Handling Intensive Tasks with Laravel
When dealing with time consuming, resource intensive tasks, most PHP developers are tempted to choose the “quick hack route”. We’ve all used “ini_set(‘max_execution_time’, HUGE_INT);” before, but it doesn’t have to be this way.
In today’s tutorial, PHP developer Daniel Gheorghe demonstrates how an application’s user experience may be improved by separating long-running tasks from the main request flow using Laravel.

Daniel is a Zend Certified PHP Engineer with 10+ years of experience as the lead PHP developer for multiple companies around the world.
When dealing with time consuming resource intensive tasks, most PHP developers are tempted to choose the “quick hack route.” Don’t deny it! We’ve all used ini_set('max_execution_time', HUGE_INT); before, but it doesn’t have to be this way.
In today’s tutorial, I demonstrate how an application’s user experience may be improved (with minimal developer effort) by separating long-running tasks from the main request flow using Laravel development solutions. By making use of PHP’s ability to spawn separate processes that run in the background, the main script will respond faster to user action. Thereby, it better manages user expectations instead of making them wait for ages (without feedback) for a request to finish.
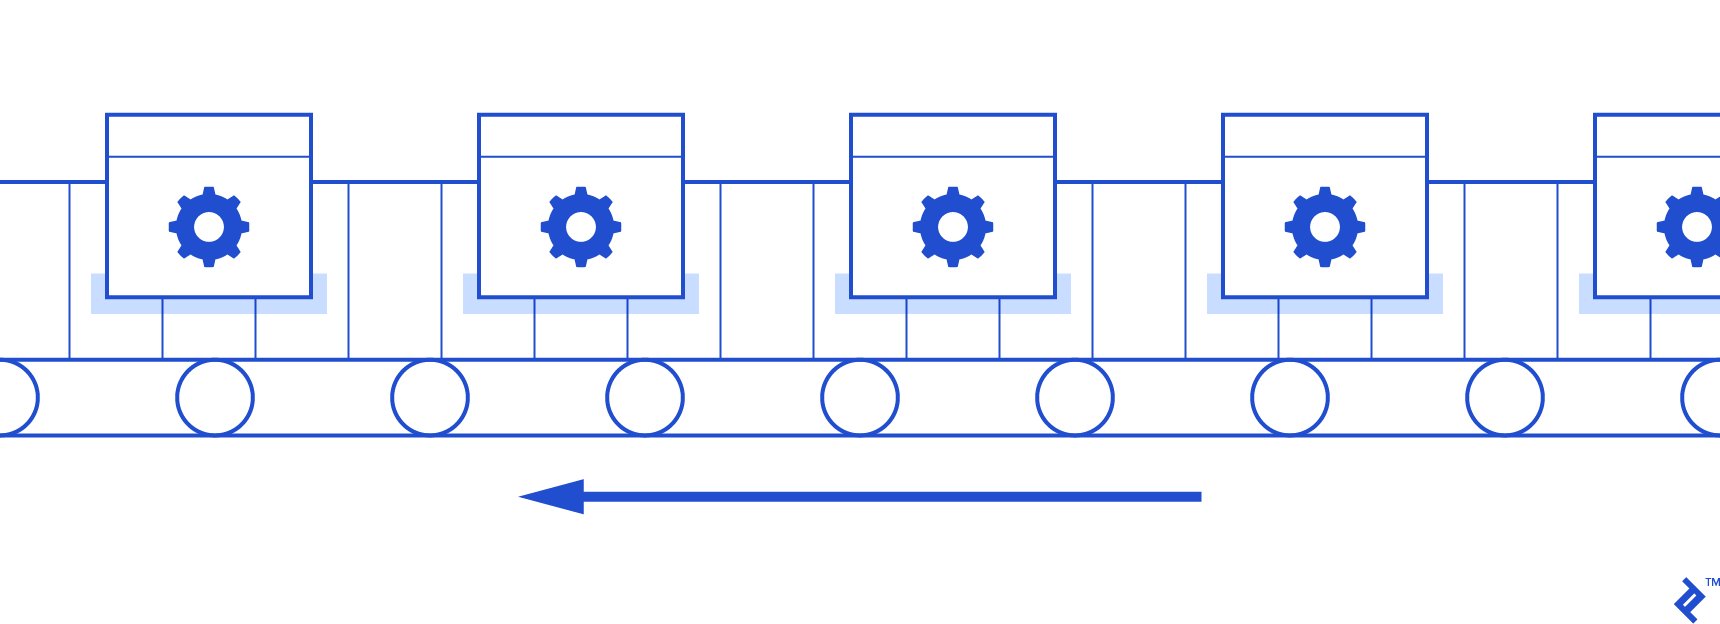
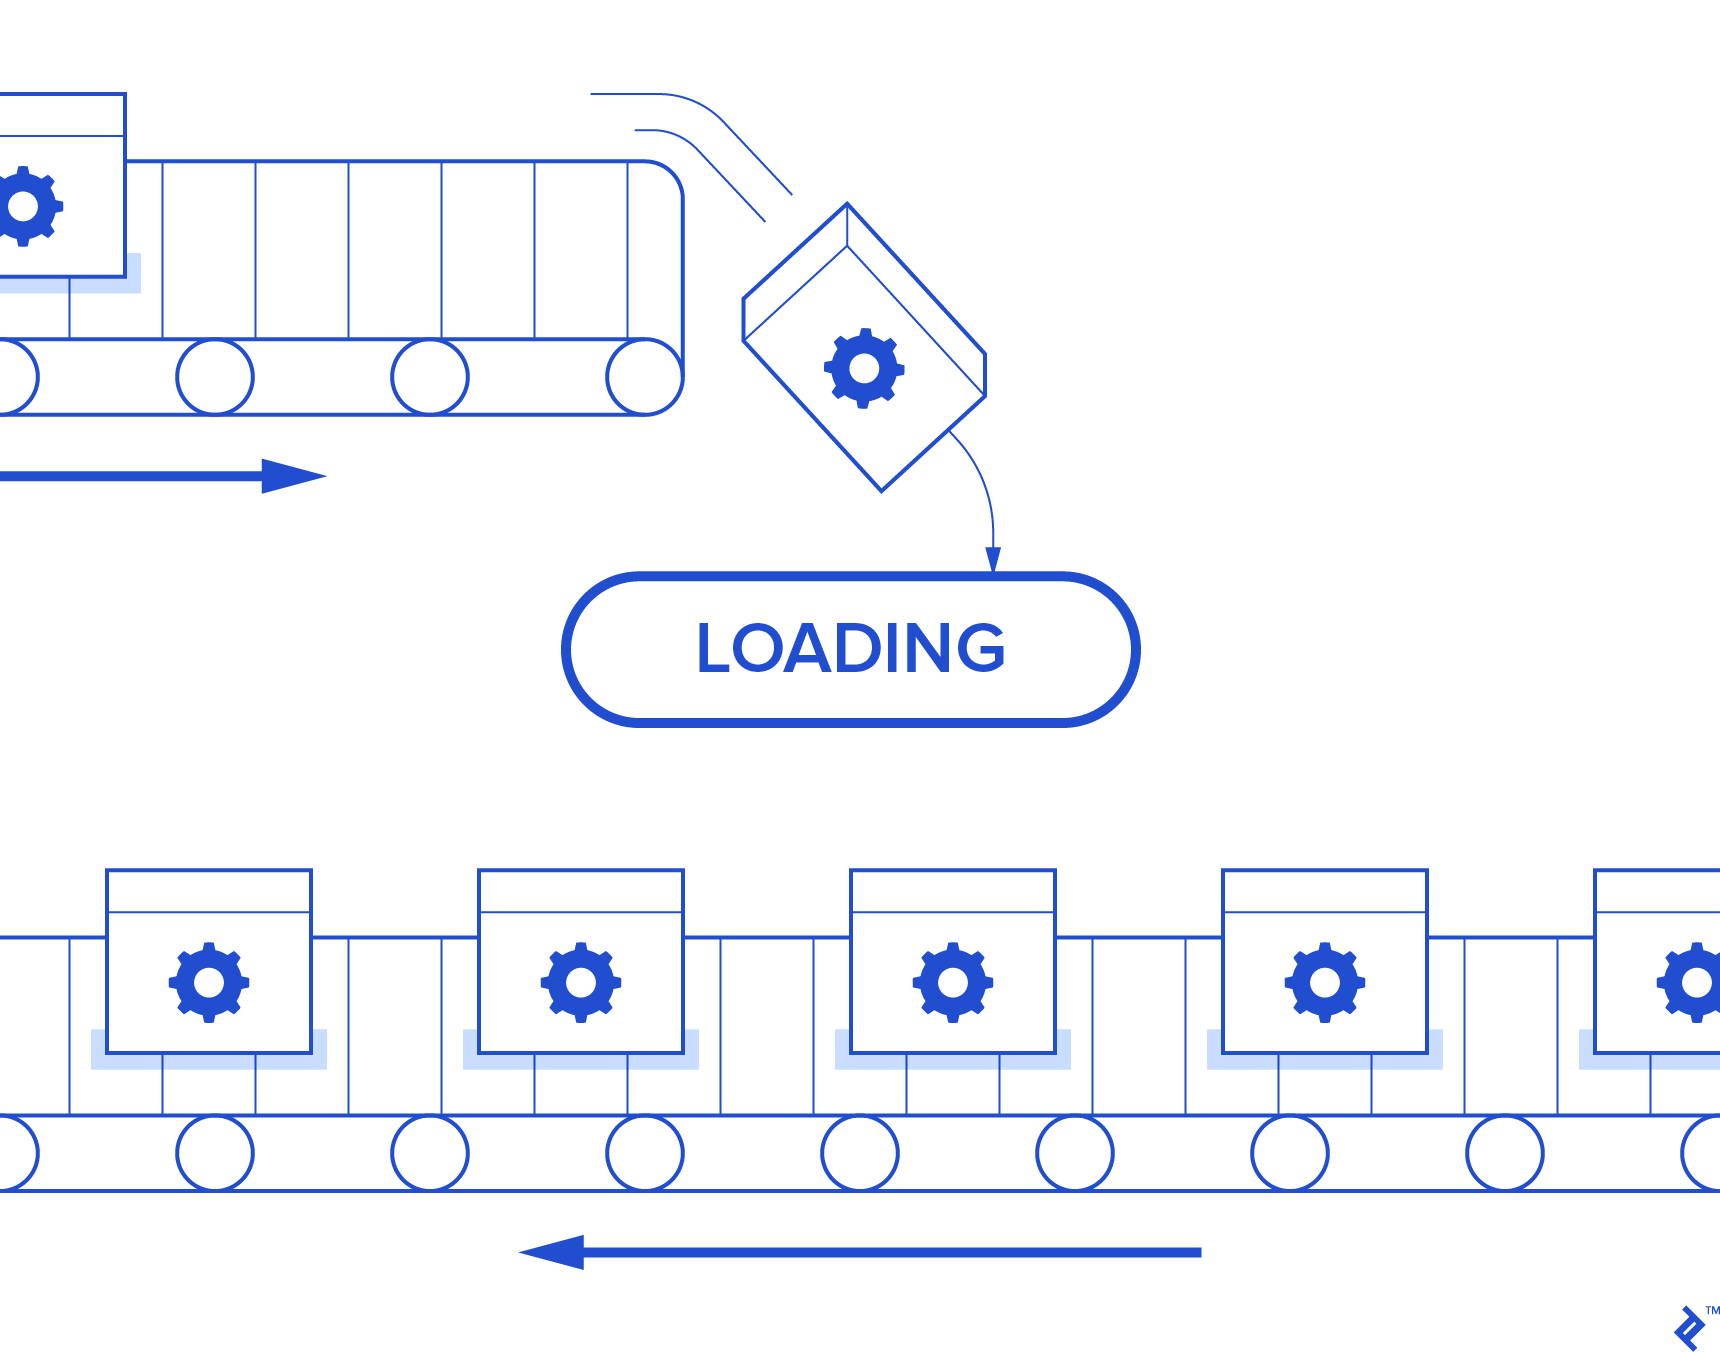
Defer long running PHP tasks, don’t wait.
The base concept of this tutorial is deferment; taking tasks that run for too long (by Internet standards) and instead deferring execution into a separate process that runs independently of the request. This deferment allows us to implement a notification system that shows the user the status of the task (X number of rows out of Y have been imported, for example) and alert the user when the job is done.
Our tutorial is based on a real life scenario that I’m sure you’ve encountered before: Taking data from huge Excel spreadsheets and pushing it into a web application database. The full project is available on my github.
Bootstrapping with Laravel
We will be using "laravel/framework": "5.2.*" and "maatwebsite/excel": "~2.1.0"; a nice wrapper for the phpoffice/phpexcel package.
I chose to use Laravel for this particular task for the following reasons:
- Laravel comes with Artisan, which makes creating command line tasks a breeze. For those who don’t know Artisan, it’s the command line interface included in Laravel, driven by the powerful Symfony Console component
- Laravel has the Eloquent ORM for mapping our Excel data to table columns
- It is well maintained and it has a very thorough documentation
- Laravel is 100 percent ready for PHP 7; in fact, the Homestead box already runs PHP 7
While I choose to go with Laravel, the concept and code of this tutorial can be incorporated into any framework that also uses the Symfony/Process component (which you can install via composer using composer require symfony/process).
To begin, fire up your vagrant box based on Homestead (the standard when developing Laravel based applications these days). If you don’t have Homestead set up, the official documentation provides a thorough step-by-step guide.
With Homestead installed, you will need to modify Homestead.yamlbefore starting your vagrant box in order to do two things:
Map your local development folder to a folder inside the virtual machine
Automatically provision NGINX so that accessing a URL, such as http://heavyimporter.app, will load your new project.
Here’s what my configuration file looks like:
	folders:
	    - map: ~/public_html/toptal
	      to: /home/vagrant/toptal

	sites:
	    - map: heavyimporter.app
	      to: /home/vagrant/toptal/heavyimporter/public

	databases:
	    - heavyimporter
Now, save the file and run vagrant up && vagrant provision, which starts the VM and configures it accordingly. If all went well, you can now log into your virtual machine with vagrant ssh, and start a new Laravel project. (If all didn’t go well, refer to Hashicorp’s Vagrant documentation for help.)
cd /home/vagrant/toptal && composer create-project --prefer-dist laravel/laravel heavyimporter
After creating the project, you will need to setup some configuration variables by editing the .env file in the home folder You should also secure your installation by running php artisan key:generate.
Here’s what the relevant parts of the .env file look like on my end:
APP_ENV=local
APP_DEBUG=true
APP_KEY=***

DB_HOST=127.0.0.1
DB_DATABASE=heavyimporter
DB_USERNAME=homestead
DB_PASSWORD=*****
Now add the maatwebsite/excel package by executing composer require maatwebsite/excel:~2.1.0.
You also need to add the service provider and the facade/alias in your config/app.php file.
Service providers are the core of a Laravel application; everything in Laravel is bootstrapped through a service provider, while facades are simple static interfaces that allow easier access to those service providers. In other words, instead of accessing the database (a service provider) with Illuminate\Database\DatabaseManager … you can just use DB::staticmethod().
For us, our service provider is Maatwebsite\Excel\ExcelServiceProvider and our facade is 'Excel'=>'Maatwebsite\Excel\Facades\Excel'.
app.php should now look like this:
	//...
	'providers' => [
		//...
		Maatwebsite\Excel\ExcelServiceProvider::class
	],
	'aliases' => [
		//...
		'Excel'=>'Maatwebsite\Excel\Facades\Excel'
	]
Setting up the Database with PHP Artisan
Let’s set up our database migrations for two tables. One table holds a flag with the status of the import, which we’ll call flag_table, and the one that has the actual Excel data, data.
If you intend to include a progress indicator to track the status of the import task, you need to add two more columns to the flag_table: rows_imported and total_rows. These two variables will allow us to calculate and deliver the percentage completed in the event that we want to show progress to the user.
First run php artisan make:migration CreateFlagTable and php artisan make:migration CreateDataTable to actually create these tables. Then, open the newly created files from database/migrations and fill the up and down methods with the table structure.
//...CreateFlagTable.php
class CreateFlagTable extends Migration
{
    public function up()
    {
        Schema::create('flag_table', function (Blueprint $table) {
            $table->increments('id');
            $table->string('file_name')->unique();
            $table->boolean('imported');
            $table->integer('rows_imported');
            $table->integer('total_rows');
            $table->timestamps();
        });
    }

    public function down()
    {
        Schema::drop('flag_table');
    }

//...CreateDataTable.php
class CreateDataTable extends Migration
{
    public function up()
    {
        Schema::create('data', function (Blueprint $table) {
            $table->increments('id');
            $table->string('A', 20);
            $table->string('B', 20);
        });
    }

    public function down()
    {
        Schema::drop('data');
    }
Before we actually write the import code, let’s create empty models for our database tables.
This is achieved through Artisan by running two simple commands: php artisan make:model Flag and php artisan make:model Data, then going into each newly created file and adding the table name as a protected property of that class, like this:
	//file: app/Flag.php
	namespace App;

	use Illuminate\Database\Eloquent\Model;

	class Flag extends Model
	{
	    protected $table = 'flag_table';
	    protected $guarded = []; //this will give us the ability to mass assign properties to the model
	}
	//...

	//file app/Data.php
	//...
	class Data extends Model
	{
	    protected $table = 'data';
	    protected $guarded = [];
	    protected $timestamps = false; //disable time stamps for this
	}
Routing
Routes are the eyes of a Laravel application; they observe the HTTP request and point it to the proper controller. This being said, first, we need a POST route that assigns the task of uploading our Excel file to the import method in the controller. The file will be uploaded somewhere on the server so that we can grab it later when we execute the command line task. Be sure to place all your routes (even the default one) into the web middleware route group so that you benefit from session state and CSRF protection. The routes file will look like this:
	Route::group(['middleware' => ['web']], function () {
		//homepage
	    Route::get('/', ['as'=>'home', function () {
	        return view('welcome');
	    }]);

		//upload route
	    Route::post('/import', ['as'=>'import', 'uses'=>'Controller@import']);
	});
The Task Logic
Now let’s turn our attention to the main controller, which will hold the core of our logic in a method that is responsible for the following:
- Making the necessary validations related to the file type that’s being uploaded
- Uploading the file to the server and adding an entry into the
flag_table(which will be updated by the command line process once the task executes with the total number of rows and the current status of the upload) - Starting the import process (which will call the Artisan task) then return to let the user know that the process has been initiated
This is the code for the main controller:
	namespace App\Http\Controllers;

	//...

	use Maatwebsite\Excel\Facades\Excel;
	use Symfony\Component\Process\Process as Process;
	use Symfony\Component\Process\Exception\ProcessFailedException;
	use Illuminate\Http\Request;
	use Validator;
	use Redirect;
	use Config;
	use Session;
	use DB;
	use App\Flag;

	//...

   public function import(Request $request)
   {
       $excel_file = $request->file('excel_file');

       $validator = Validator::make($request->all(), [
           'excel_file' => 'required'
       ]);

       $validator->after(function($validator) use ($excel_file) {
           if ($excel_file->guessClientExtension()!=='xlsx') {
               $validator->errors()->add('field', 'File type is invalid - only xlsx is allowed');
           }
       });

       if ($validator->fails()) {
           return Redirect::to(route('home'))
                       ->withErrors($validator);
       }

       try {
           $fname = md5(rand()) . '.xlsx';
           $full_path = Config::get('filesystems.disks.local.root');
           $excel_file->move( $full_path, $fname );
           $flag_table = Flag::firstOrNew(['file_name'=>$fname]);
           $flag_table->imported = 0; //file was not imported
           $flag_table->save();
       }catch(\Exception $e){
           return Redirect::to(route('home'))
                       ->withErrors($e->getMessage()); //don't use this in production ok ?
       }

      //and now the interesting part
       $process = new Process('php ../artisan import:excelfile');
       $process->start();

       Session::flash('message', 'Hold on tight. Your file is being processed');
       return Redirect::to(route('home'));
   }
The process-related lines above do something really cool. They use the symfony/process package to spawn a process on a separate thread, independently of the request. This means that the running script will not wait for the import to finish but instead it will redirect with a message to the user to wait until the import has completed. This way you can display a “import pending” status message to the user. Alternatively, you can send Ajax requests every X seconds to update the status.
Using only vanilla PHP, the same effect can be achieved with the following code, but of course this relies on exec, which is disabled by default, in many cases.
	function somefunction() {
		exec("php dosomething.php > /dev/null &");
		//do something else without waiting for the above to finish
	}
The functionalities that symfony/process gives are more extensive than a simple exec, so if you are not using the symphony package, you can tweak the PHP script further after having a look at the Symphony package source code.
The Import Code
Now let’s write a php artisan command file that handles the import. Start by creating the command class file: php artisan make:console ImportManager, then reference it in the $commands property in /app/console/Kernel.php, like this:
   protected $commands = [
       Commands\ImportManager::class,
   ];
Running the artisan command will create a file named ImportManager.php in the /app/Console/Commands folder. We will write our code as part of the handle() method.
Our import code will first update the flag_table with the total number of rows to be imported, then it will iterate through each Excel row, insert it in the database, and update the status.
To avoid out of memory issues with exceptionally large Excel files, it’s a good idea to process bite-sized chunks of the respective data-set instead of thousands of rows at once; a proposition that would cause lots of problems, not just memory issues.
For this Excel-based example, we will adapt the ImportManager::handle() method to fetch only a small set of rows until the entire sheet has been imported. This helps with keeping track of the task progress; after each chunk is processed, we update the flag_table by incrementing the imported_rows column with the size of the chunk.
Note: There is no need to paginate because Maatwebsite\Excel handles that for you as described in Laravel’s documentation.
Here’s what final ImportManager class looks like:
namespace App\Console\Commands;

use Illuminate\Console\Command;

use DB;
use Validator;
use Config;
use Maatwebsite\Excel\Facades\Excel;

use App\Flag;

class ImportManager extends Command
{
   protected $signature = 'import:excelfile';
   protected $description = 'This imports an excel file';
   protected $chunkSize = 100;

   public function handle()
   {
       $file = Flag::where('imported','=','0')
                   ->orderBy('created_at', 'DESC')
                   ->first();

       $file_path = Config::get('filesystems.disks.local.root') . '/' .$file->file_name;

      // let's first count the total number of rows
       Excel::load($file_path, function($reader) use($file) {
           $objWorksheet = $reader->getActiveSheet();
           $file->total_rows = $objWorksheet->getHighestRow() - 1; //exclude the heading
           $file->save();
       });

      //now let's import the rows, one by one while keeping track of the progress
       Excel::filter('chunk')
           ->selectSheetsByIndex(0)
           ->load($file_path)
           ->chunk($this->chunkSize, function($result) use ($file) {
               $rows = $result->toArray();
              //let's do more processing (change values in cells) here as needed
               $counter = 0;
               foreach ($rows as $k => $row) {
                   foreach ($row as $c => $cell) {
                       $rows[$k][$c] = $cell . ':)'; //altered value :)
                   }
                   DB::table('data')->insert( $rows[$k] );
                   $counter++;
               }
               $file = $file->fresh(); //reload from the database
               $file->rows_imported = $file->rows_imported + $counter;
               $file->save();
           }
       );

       $file->imported =1;
       $file->save();
   }
}
Recursive Progress Notification System
Let’s move on to the front-end part of our project, user notification. We can send Ajax requests to a status-reporting route in our application to notify the user of progress or alert them when the import is done.
Here’s a simple jQuery script that will send requests to the server until it receives a message stating that the job is done:
	(function($){
       'use strict';
		function statusUpdater() {
			$.ajax({
				'url': THE_ROUTE_TO_THE_SCRIPT,
			}).done(function(r) {
				if(r.msg==='done') {
				    console.log( "The import is completed. Your data is now available for viewing ... " );
				} else {
					//get the total number of imported rows
					console.log("Status is: " + r.msg);
					console.log( "The job is not yet done... Hold your horses, it takes a while :)" );
					statusUpdater();
				}
			  })
			  .fail(function() {
				  console.log( "An error has occurred... We could ask Neo about what happened, but he's taken the red pill and he's at home sleeping" );
			  });
		}
		statusUpdater();
	})(jQuery);
Back on the server, add a GET route called status, which will call a method that reports the current status of the import task as either done, or the number of rows imported out of X.
	//...routes.php
	Route::get('/status', ['as'=>'status', 'uses'=>'Controller@status']);

	//...controller.php
	...
   public function status(Request $request)
   {
       $flag_table = DB::table('flag_table')
                       ->orderBy('created_at', 'desc')
                       ->first();
       if(empty($flag)) {
           return response()->json(['msg' => 'done']); //nothing to do
       }
       if($flag_table->imported === 1) {
           return response()->json(['msg' => 'done']);
       } else {
           $status = $flag_table->rows_imported . ' excel rows have been imported out of a total of ' . $flag_table->total_rows;
           return response()->json(['msg' => $status]);
       }
   }
	...
Cron Job Deferment
Another approach, when data retrieval is not time sensitive, is to handle the import at a later time when the server is idle; say, at midnight. This can be done using cron jobs that execute the php artisan import:excelfile command at the desired time interval.
On Ubuntu servers, it is as simple as this:
crontab -e

#and add this line
@midnight cd path/to/project && /usr/bin/php artisan import:excelfile >> /my/log/folder/import.log
What’s Your Experience?
Have you other suggestions for further improving performance and user experience in similar cases? I would be eager to know how you’ve dealt with them.
Târgoviște, Dâmbovița County, Romania
Member since February 4, 2016
About the author
Daniel is a Zend Certified PHP Engineer with 10+ years of experience as the lead PHP developer for multiple companies around the world.