How to Do JWT Authentication With an Angular 6 SPA
JSON web tokens (JWTs) provide a method of authenticating requests that’s convenient, compact, and secure. More often than not, Angular apps will include them in their data flows.
In this tutorial, Toptal Freelance Software Engineer Sebastian Schocke shows how to implement JWT authentication in an Angular 6 single-page application (SPA), complete with a Node.js back-end.
Sebastian is a senior developer with 17 years of experience designing, developing, and supporting software on a wide range of technologies.
Expertise
PREVIOUSLY AT

Today we’ll have a look at how easy it is to integrate JSON web token (JWT) authentication into your Angular 6 (or later) single-page application (SPA). Let’s start with a bit of background.
What Are JSON Web Tokens, and Why Use Them?
The easiest and most concise answer here is that they are convenient, compact, and secure. Let’s look at those claims in detail:
- Convenient: Using a JWT for authentication to the back end once logged in requires setting one HTTP header, a task which can be easily automated through a function or subclassing, as we’ll see later.
- Compact: A token is simply a base64-encoded string, containing a few header fields, and a payload if required. The total JWT is usually less than 200 bytes, even if signed.
- Secure: While not required, a great security feature of JWT is that tokens can be signed using either RSA public/private key-pair encryption or HMAC encryption using a shared secret. This ensures the origin and validity of a token.
What this all boils down to is that you have a secure and efficient way to authenticate users, and then verify calls to your API endpoints without having to parse any data structures nor implement your own encryption.
Application Theory

So, with a bit of background, we can now dive into how this would work in an actual application. For this example, I am going to assume we have a Node.js server hosting our API, and we are developing an SPA todo list using Angular 6. Let’s also work with this API structure:
-
/auth→POST(post username and password to authenticate and receive back a JWT) -
/todos→GET(return a list of todo list items for the user) -
/todos/{id}→GET(return a specific todo list item) -
/users→GET(returns a list of users)
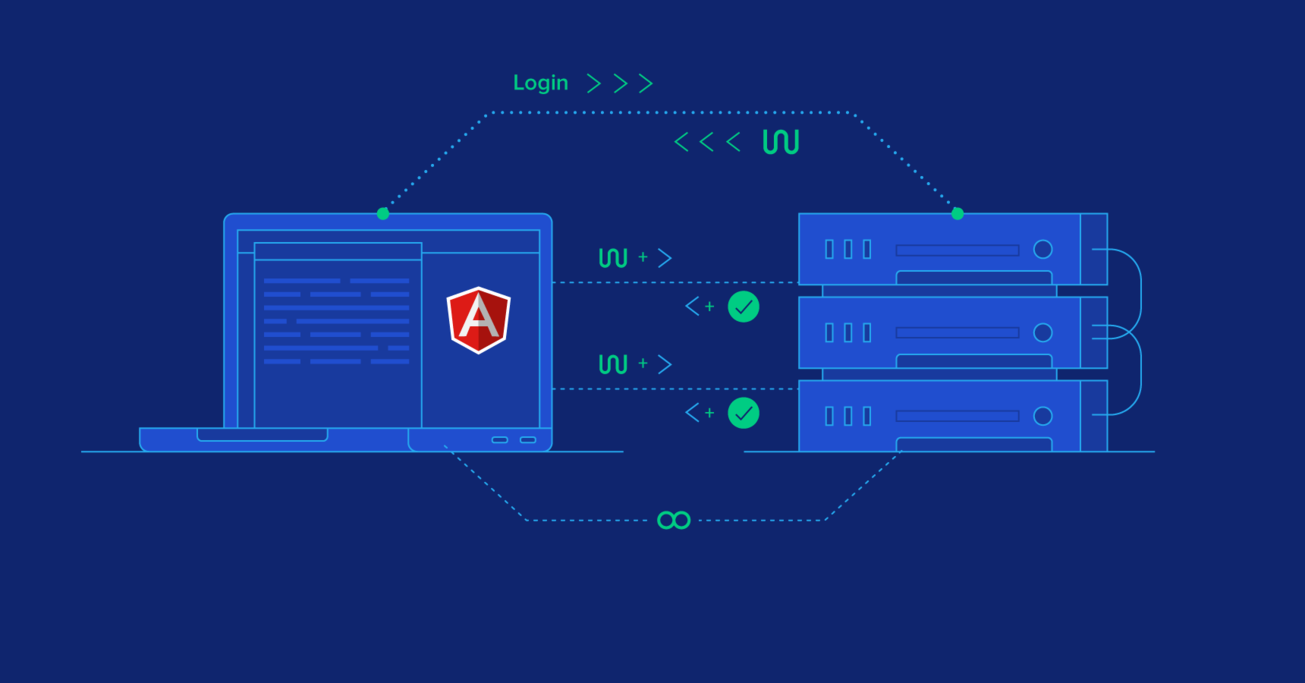
We’ll go through the creation of this simple application shortly, but for now, let’s concentrate on the interaction in theory. We have a simple login page, where the user can enter their username and password. When the form is submitted, it sends that information to the /auth endpoint. The Node server can then authenticate the user in whatever fashion is appropriate (database lookup, querying another web service, etc.) but ultimately the endpoint needs to return a JWT.
The JWT for this example will contain a few reserved claims, and some private claims. Reserved claims are simply JWT-recommended key-value pairs commonly used for authentication, whereas private claims are key-value pairs applicable only to our app:
Reserved Claims
-
iss: Issuer of this token. Typically the FQDN of the server, but can be anything as long as the client application knows to expect it. -
exp: Expiry date and time of this token. This is in seconds since midnight 01 January 1970 GMT (Unix time). -
nbf: Not valid before timestamp. Not used often, but gives a lower bound for the validity window. Same format asexp.
Private Claims
-
uid: User ID of the logged-in user. -
role: Role assigned to the logged-in user.
Our information will be base64-encoded and signed using HMAC with the shared key todo-app-super-shared-secret. Below is an example of the what the JWT looks like:
eyJhbGciOiJIUzI1NiIsInR5cCI6IkpXVCJ9.eyJpc3MiOiJ0b2RvYXBpIiwibmJmIjoxNDk4MTE3NjQyLCJleHAiOjE0OTgxMjEyNDIsInVpZCI6MSwicm9sZSI6ImFkbWluIn0.ZDz_1vcIlnZz64nSM28yA1s-4c_iw3Z2ZtP-SgcYRPQ
This string is all we need to make sure that we have a valid login, to know which user is connected, and to know even what role(s) the user has.
Most libraries and applications proceed to store this JWT in localStorage or sessionStorage for easy retrieval, but this is just common practice. What you do with the token is up to you, as long as you can provide it for future API calls.
Now, whenever the SPA wants to make a call to any of the protected API endpoints, it simply needs to send along the token in the Authorization HTTP header.
Authorization: Bearer {JWT Token}
Note: Once again, this is simply common practice. JWT does not prescribe any particular method for sending itself to the server. You could also append it to the URL, or send it in a cookie.
Once the server receives the JWT, it can decode it, ensure consistency using the HMAC shared secret, and check expiry using the exp and nbf fields. It could also use the iss field to ensure it was the original issuing party of this JWT.
Once the server is satisfied with the validity of the token, the information stored inside the JWT can be used. For instance, the uid we included gives us the ID of the user making the request. For this particular example, we also included the role field, which lets us make decisions about whether the user should be able to access a particular endpoint or not. (Whether you trust this information, or rather want to do a database lookup depends on the level of security required.)
function getTodos(jwtString)
{
  var token = JWTDecode(jwtstring);
  if( Date.now() < token.nbf*1000) {
    throw new Error('Token not yet valid');
  }
  if( Date.now() > token.exp*1000) {
    throw new Error('Token has expired');
  }
  if( token.iss != 'todoapi') {
    throw new Error('Token not issued here');
  }

  var userID = token.uid;
  var todos = loadUserTodosFromDB(userID);

  return JSON.stringify(todos);
}
Let’s Build a Simple Todo App
To follow along, you will need to have a recent version of Node.js (6.x or later), npm (3.x or later), and angular-cli installed. If you need to install Node.js, which includes npm, please follow the instructions here. Afterward angular-cli can be installed by using npm (or yarn, if you’ve installed it):
# installation using npm
npm install -g @angular/cli

# installation using yarn
yarn global add @angular/cli
I won’t go into detail on the Angular 6 boilerplate we’ll use here, but for the next step, I have created a Github repository to hold a small todo application to illustrate the simplicity of adding JWT authentication to your app. Simply clone it using the following:
git clone https://github.com/sschocke/angular-jwt-todo.git
cd angular-jwt-todo
git checkout pre-jwt
The git checkout pre-jwt command switches to a named release where JWT has not been implemented.
There should be two folders inside called server and client. The server is a Node API server that will host our basic API. The client is our Angular 6 app.
The Node API Server
To get started, install the dependencies and start the API server.
cd server

# installation using npm
npm install

# or installation using yarn
yarn

node app.js
You should be able to follow these links and get a JSON representation of the data. Just for now, until we have authentication, we have hardcoded the /todos endpoint to return the tasks for userID=1:
- http://localhost:4000: Test page to see if Node server is running
- http://localhost:4000/api/users: Return list of users on the system
- http://localhost:4000/api/todos: Return list of tasks for
userID=1
The Angular App
To get started with the client app, we also need to install the dependencies and start the dev server.
cd client

# using npm
npm install
npm start

# using yarn
yarn
yarn start
Note: Depending on your line speed, it can take a while to download all the dependencies.
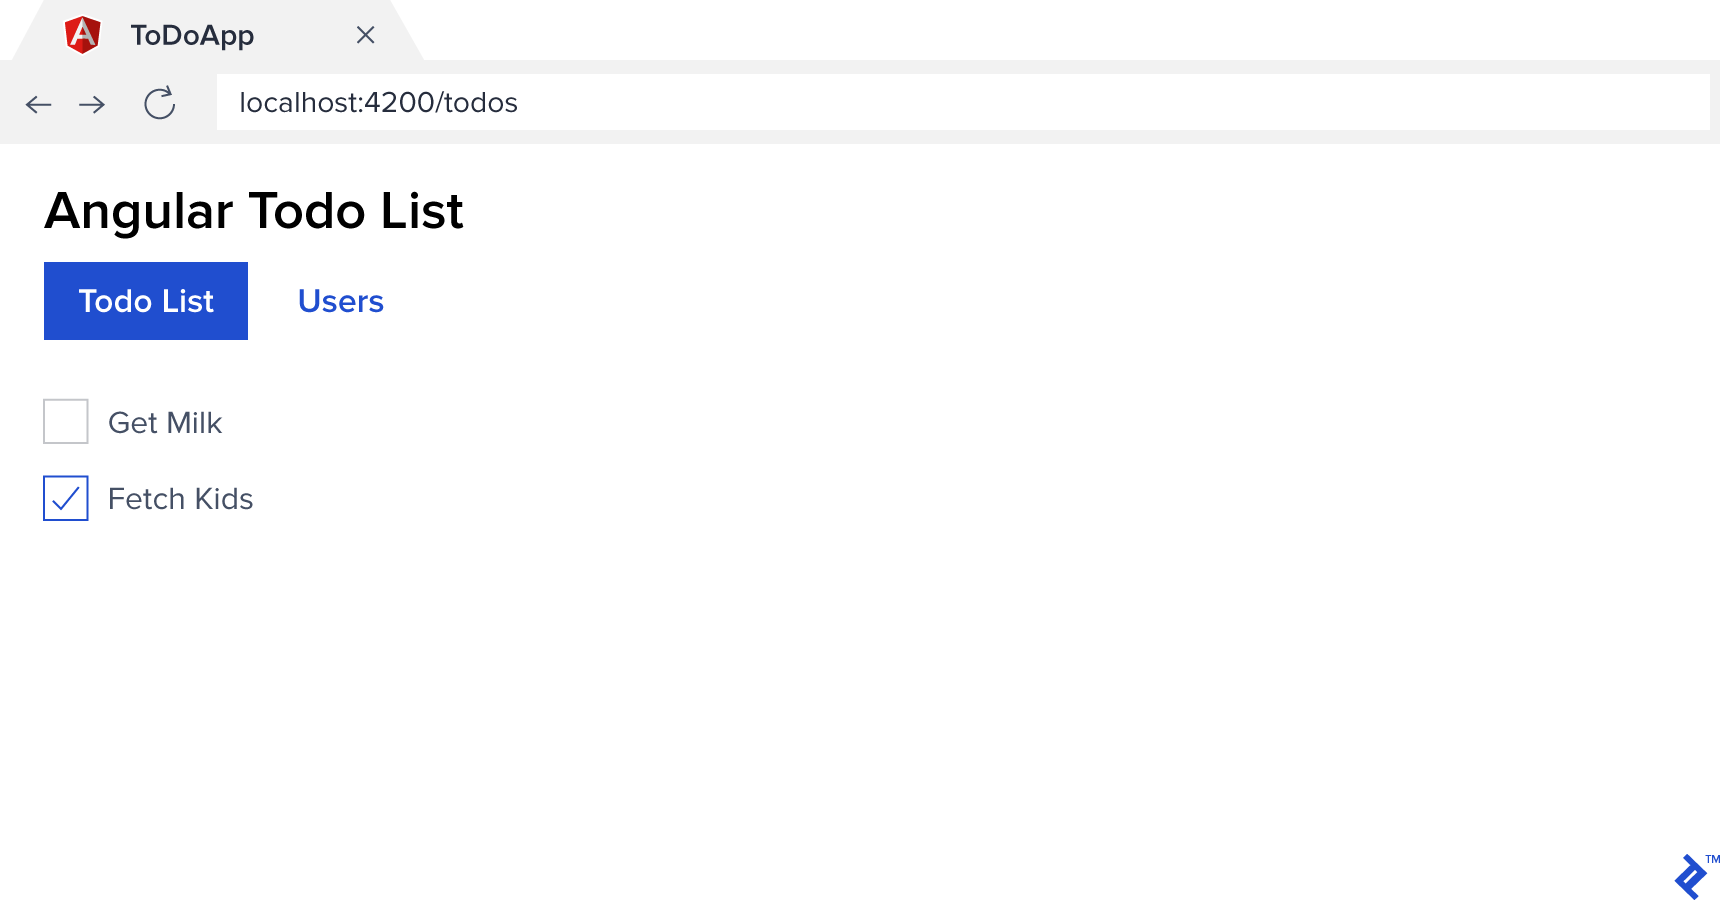
If all is going well, you should now see something like this when navigating to http://localhost:4200:

Adding Authentication via JWT
To add support for JWT authentication, we’ll make use of some standard libraries available that make it simpler. You can, of course, forego these conveniences and implement everything yourself, but that is beyond our scope here.
First, let’s install a library on the client side. It’s developed and maintained by Auth0, which is a library allowing you to add cloud-based authentication to a website. Utilizing the library itself does not require that you use their services.
cd client

# installation using npm
npm install @auth0/angular-jwt

# installation using yarn
yarn add @auth0/angular-jwt
We’ll get to the code in a second, but while we are at it, let’s get the server side set up as well. We’ll use the body-parser, jsonwebtoken, and express-jwt libraries to make Node understand JSON POST bodies and JWTs.
cd server

# installation using npm
npm install body-parser jsonwebtoken express-jwt

# installation using yarn
yarn add body-parser jsonwebtoken express-jwt
API Endpoint for Authentication
First, we need a way to authenticate users before giving them a token. For our simple demo, we are going to just set up a fixed authentication endpoint with a hard-coded username and password. This can be as simple or as complex as your application requires. The important thing is to send back a JWT.
In server/app.js add an entry beneath the other require lines as follows:
const bodyParser = require('body-parser');
const jwt = require('jsonwebtoken');
const expressJwt = require('express-jwt');
As well as the following:
app.use(bodyParser.json());

app.post('/api/auth', function(req, res) {
  const body = req.body;

  const user = USERS.find(user => user.username == body.username);
  if(!user || body.password != 'todo') return res.sendStatus(401);

  var token = jwt.sign({userID: user.id}, 'todo-app-super-shared-secret', {expiresIn: '2h'});
  res.send({token});
});
This is mostly basic JavaScript code. We get the JSON body that was passed to the /auth endpoint, find a user matching that username, check that we have a user and the password matches, and return a 401 Unauthorized HTTP error if not.
The important part is the token generation, and we’ll break that down by its three parameters. The syntax for sign is as follows: jwt.sign(payload, secretOrPrivateKey, [options, callback]), where:
-
payloadis an object literal of key-value pairs that you would like to encode within your token. This information can then be decoded from the token by anybody that has the decryption key. In our example, we encode theuser.idso that when we receive the token again on the back end for authentication, we know which user we are dealing with. -
secretOrPrivateKeyis either an HMAC encryption shared secret key—this is what we’ve used in our app, for simplicity—or an RSA/ECDSA encryption private key. -
optionsrepresents a variety of options that can be passed to the encoder in the form of key-value pairs. Typically we at least specifyexpiresIn(becomesexpreserved claim) andissuer(issreserved claim) so that a token isn’t valid forever, and the server can check that it had in fact issued the token originally. -
callbackis a function to call after encoding is done, should one wish to handle encoding the token asynchronously.
(You can also read about more details on options and how to use public-key cryptography instead of a shared secret key.)
Angular 6 JWT Integration
To make Angular 6 work with our JWT is quite simple using angular-jwt. Simply add the following to client/src/app/app.modules.ts:
import { JwtModule } from '@auth0/angular-jwt';
// ...
export function tokenGetter() {
  return localStorage.getItem('access_token');
}

@NgModule({
// ...
  imports: [
    BrowserModule,
    AppRoutingModule,
    HttpClientModule,
    FormsModule,
    // Add this import here
    JwtModule.forRoot({
      config: {
        tokenGetter: tokenGetter,
        whitelistedDomains: ['localhost:4000'],
        blacklistedRoutes: ['localhost:4000/api/auth']
      }
    })
  ],
// ...
}
That is basically all that is required. Of course, we have some more code to add to do the initial authentication, but the angular-jwt library takes care of sending the token along with every HTTP request.
- The
tokenGetter()function does exactly what it says, but how it is implemented is entirely up to you. We have chosen to return the token that we save inlocalStorage. You are of course free to provide any other method you desire, as long as it returns the JSON web token encoded string. - The
whiteListedDomainsoption exists so you can restrict which domains the JWT gets sent to, so public APIs don’t receive your JWT as well. - The
blackListedRoutesoption allows you to specify specific routes that shouldn’t receive the JWT even if they are on a whitelisted domain. For example, the authentication endpoint doesn’t need to receive it because there’s no point: The token is typically null when it’s called anyway.
Making It All Work Together
At this point, we have a way to generate a JWT for a given user using the /auth endpoint on our API, and we have the plumbing done on Angular to send a JWT with every HTTP request. Great, but you might point out that absolutely nothing has changed for the user. And you would be correct. We can still navigate to every page in our app, and we can call any API endpoint without even sending a JWT. Not good!
We need to update our client app to be concerned about who is logged in, and also update our API to require a JWT. Let’s get started.
We’ll need a new Angular component for logging in. For the sake of brevity, I’ll keep this as simple as possible. We’ll also need a service that will handle all our Authentication requirements, and an Angular Guard to protect the routes that shouldn’t be accessible before logging in. We’ll do the following in the client application context.
cd client
ng g component login --spec=false --inline-style
ng g service auth --flat --spec=false
ng g guard auth --flat --spec=false
This should have generated four new files in the client folder:
src/app/login/login.component.html
src/app/login/login.component.ts
src/app/auth.service.ts
src/app/auth.guard.ts
Next, we need to provide the authentication service and guard for our app. Update client/src/app/app.modules.ts:
import { AuthService } from './auth.service';
import { AuthGuard } from './auth.guard';

// ...

providers: [
  TodoService,
  UserService,
  AuthService,
  AuthGuard
],
And then update the routing in client/src/app/app-routing.modules.ts to make use of the authentication guard and supply a route for the login component.
// ...
import { LoginComponent } from './login/login.component';
import { AuthGuard } from './auth.guard';

const routes: Routes = [
  { path: 'todos', component: TodoListComponent, canActivate: [AuthGuard] },
  { path: 'users', component: UserListComponent, canActivate: [AuthGuard] },
  { path: 'login', component: LoginComponent},
  // ...
Finally, update client/src/app/auth.guard.ts with the following contents:
import { Injectable } from '@angular/core';
import { Router, CanActivate, ActivatedRouteSnapshot, RouterStateSnapshot } from '@angular/router';

@Injectable()
export class AuthGuard implements CanActivate {
  constructor(private router: Router) { }

  canActivate(next: ActivatedRouteSnapshot, state: RouterStateSnapshot) {
    if (localStorage.getItem('access_token')) {
      return true;
    }

    this.router.navigate(['login']);
    return false;
  }
}
For our demo application, we are simply checking for the existence of a JWT in local storage. In real-world applications, you would decode the token and check its validity, expiration, etc. For example, you could use JwtHelperService for this.
At this point, our Angular app will now always redirect you to the login page since we have no way to log in. Let’s rectify that, starting with the authentication service in client/src/app/auth.service.ts:
import { Injectable } from '@angular/core';
import { HttpClient } from '@angular/common/http';
import { Observable } from 'rxjs';
import { map } from 'rxjs/operators';

@Injectable()
export class AuthService {
  constructor(private http: HttpClient) { }

  login(username: string, password: string): Observable<boolean> {
    return this.http.post<{token: string}>('/api/auth', {username: username, password: password})
      .pipe(
        map(result => {
          localStorage.setItem('access_token', result.token);
          return true;
        })
      );
  }

  logout() {
    localStorage.removeItem('access_token');
  }

  public get loggedIn(): boolean {
    return (localStorage.getItem('access_token') !== null);
  }
}
Our authentication service has only two functions, login and logout:
-
loginPOSTs the providedusernameandpasswordto our back end and sets theaccess_tokeninlocalStorageif it receives one back. For the sake of simplicity, there is no error handling here. -
logoutsimply clearsaccess_tokenfromlocalStorage, requiring a new token to be acquired before anything further can be accessed again. -
loggedInis a boolean property we can quickly use to determine if the user is logged in or not.
And lastly, the login component. These have no relation to actually working with JWT, so feel free to copy and paste into client/src/app/login/login.components.html:
<h4 *ngIf="error">{{error}}</h4>
<form (ngSubmit)="submit()">
  <div class="form-group col-3">
    <label for="username">Username</label>
    <input type="text" name="username" class="form-control" [(ngModel)]="username" />
  </div>
  <div class="form-group col-3">
    <label for="password">Password</label>
    <input type="password" name="password" class="form-control" [(ngModel)]="password" />
  </div>
  <div class="form-group col-3">
    <button class="btn btn-primary" type="submit">Login</button>
  </div>
</form>
And client/src/app/login/login.components.ts will need:
import { Component, OnInit } from '@angular/core';
import { AuthService } from '../auth.service';
import { Router } from '@angular/router';
import { first } from 'rxjs/operators';

@Component({
  selector: 'app-login',
  templateUrl: './login.component.html'
})
export class LoginComponent {
  public username: string;
  public password: string;
  public error: string;

  constructor(private auth: AuthService, private router: Router) { }

  public submit() {
    this.auth.login(this.username, this.password)
      .pipe(first())
      .subscribe(
        result => this.router.navigate(['todos']),
        err => this.error = 'Could not authenticate'
      );
  }
}
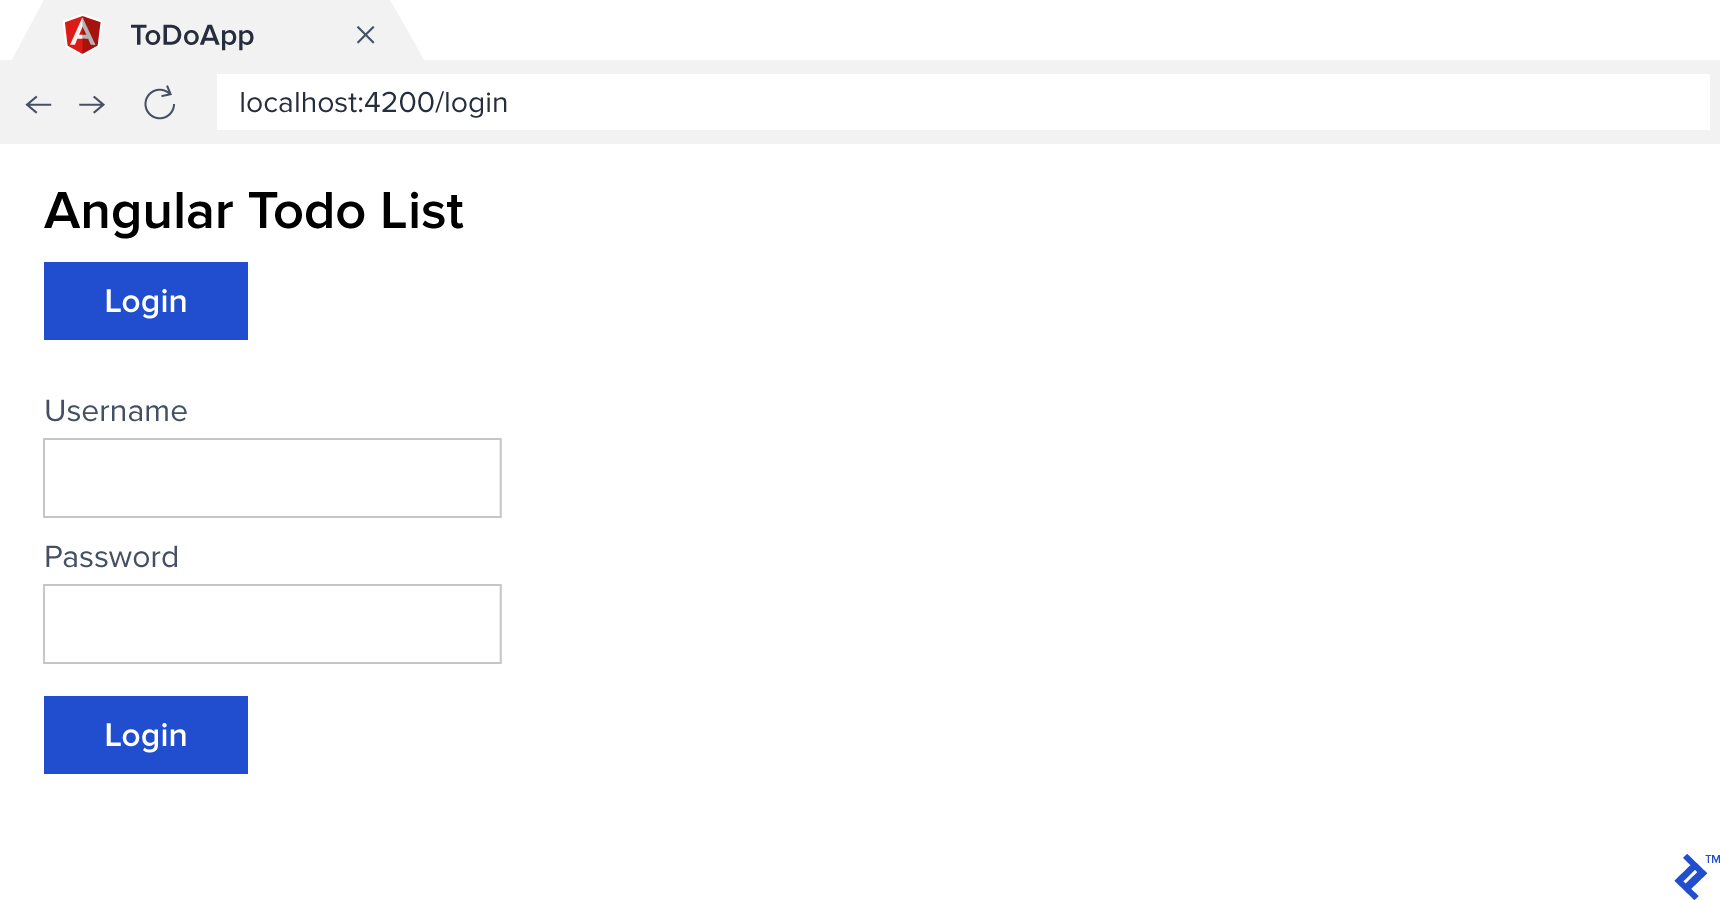
Voilà, our Angular 6 login example:

At this stage, we should be able to log in (using jemma,paul, or sebastian with the password todo) and see all the screens again. But our application shows the same navigation headers and no way to log out regardless of the current state. Let’s fix that before we move on to fixing our API.
In client/src/app/app.component.ts, replace the whole file with the following:
import { Component } from '@angular/core';
import { Router } from '@angular/router';
import { AuthService } from './auth.service';

@Component({
  selector: 'app-root',
  templateUrl: './app.component.html',
  styleUrls: ['./app.component.css']
})
export class AppComponent {
  constructor(private auth: AuthService, private router: Router) { }

  logout() {
    this.auth.logout();
    this.router.navigate(['login']);
  }
}
And for client/src/app/app.component.html replace the <nav> section with the following:
  <nav class="nav nav-pills">
    <a class="nav-link" routerLink="todos" routerLinkActive="active" *ngIf="auth.loggedIn">Todo List</a>
    <a class="nav-link" routerLink="users" routerLinkActive="active" *ngIf="auth.loggedIn">Users</a>
    <a class="nav-link" routerLink="login" routerLinkActive="active" *ngIf="!auth.loggedIn">Login</a>
    <a class="nav-link" (click)="logout()" href="#" *ngIf="auth.loggedIn">Logout</a>
  </nav>
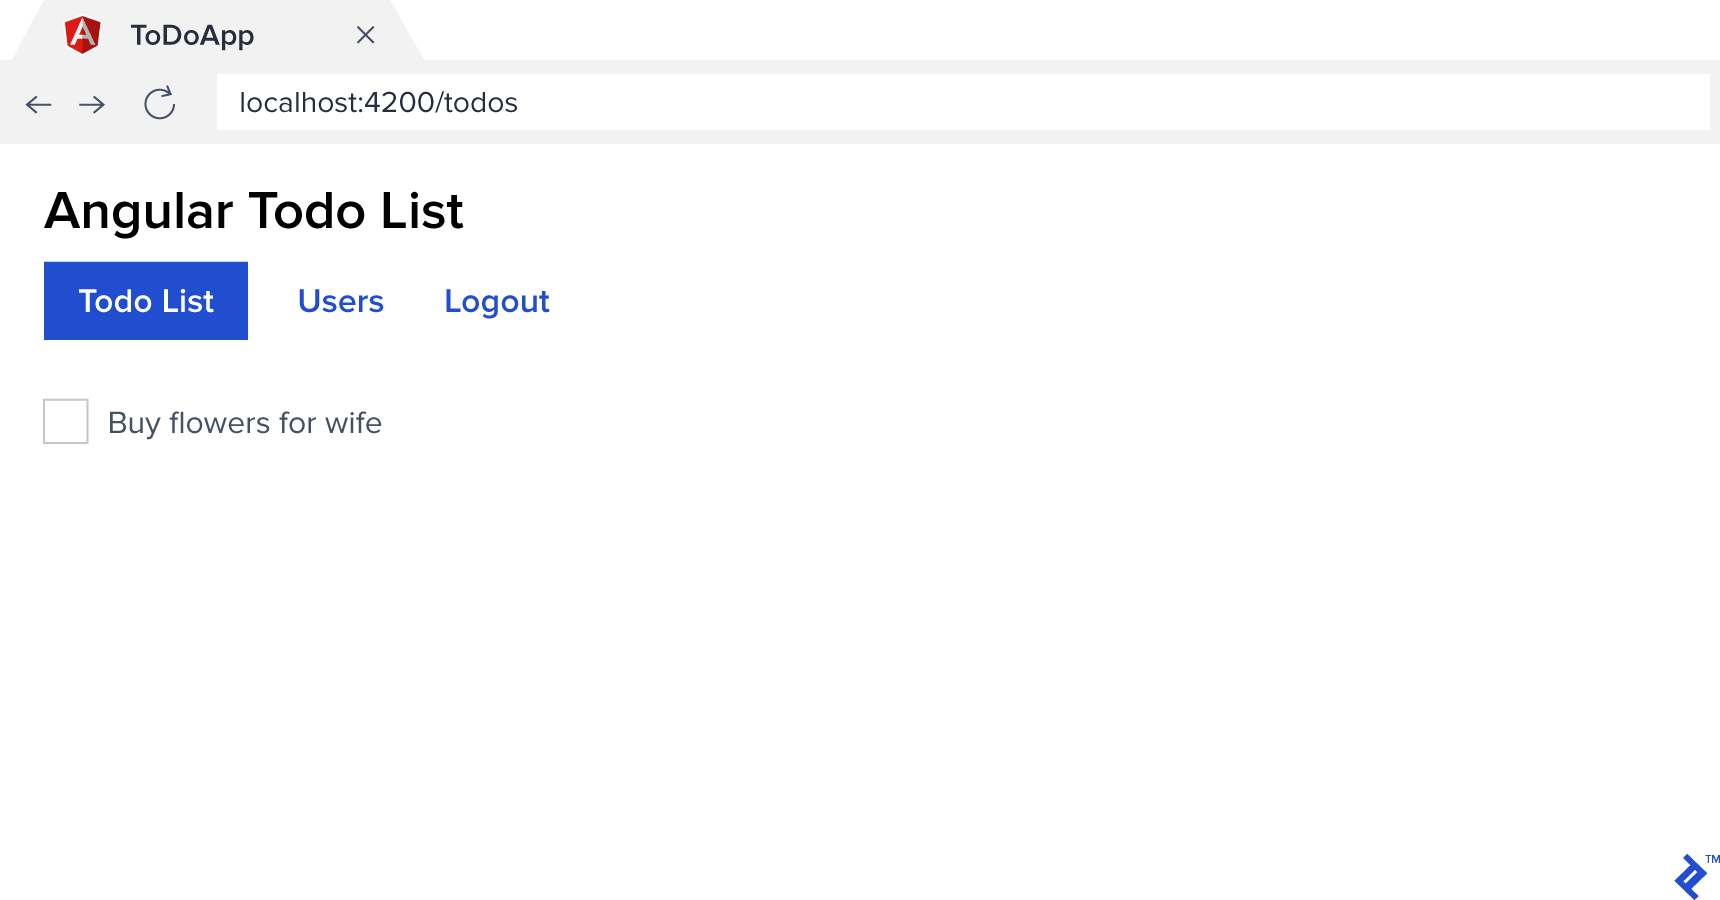
We have made our navigation context-aware that it should only display certain items depending on whether the user is logged in or not. auth.loggedIn can, of course, be used anywhere you can import the authentication service.
Securing the API
You may be thinking, this is great… everything looks to be working wonderfully. But try logging in with all three of the different usernames, and you’ll notice something: They all return the same todo list. If we have a look at our API server, we can see that each user does, in fact, have their own list of items, so what’s up?
Well, remember when we started out, we coded our /todos API endpoint to always return the todo list for userID=1. This was because we didn’t have any way of knowing who was the currently logged-in user.
Now we do, so let’s see how easy it is to secure our endpoints and use the information encoded in the JWT to provide the required user identity. Initially, add this one line to your server/app.js file right beneath the last app.use() call:
app.use(expressJwt({secret: 'todo-app-super-shared-secret'}).unless({path: ['/api/auth']}));
We use the express-jwt middleware, tell it what the shared secret is, and specify an array of paths it shouldn’t require a JWT for. And that’s it. No need to touch each and every endpoint, create if statements all over, or anything.
Internally, the middleware is making a few assumptions. For instance, it assumes the Authorization HTTP header is following the common JWT pattern of Bearer {token}. (The library has lots of options though for customizing how it works if that’s not the case. See express-jwt Usage for more details.)
Our second objective is to use the JWT encoded information to find out who is making the call. Once again express-jwt comes to the rescue. As part of reading the token and verifying it, it sets the encoded payload we sent in the signing process to the variable req.user in Express. We can then use it to immediately access any of the variables we stored. In our case, we set userID equal to the authenticated user’s ID, and as such we can use it directly as req.user.userID.
Update server/app.js again, and change the /todos endpoint to read as follows:
res.send(getTodos(req.user.userID));

And that’s it. Our API is now secured against unauthorized access, and we can safely determine who our authenticated user is in any endpoint. Our client application also has a simple authentication process, and any HTTP services we write that call our API endpoint will automatically have an authentication token attached.
If you cloned the Github repository, and simply want to see the end result in action, you can check out the code in its final form using:
git checkout with-jwt
I hope you’ve found this walkthrough valuable for adding JWT authentication to your own Angular apps. Thanks for reading!
Understanding the basics
What is a token in programming?
In programming terms, a token has many definitions. In regards to security and authentication it’s simply an opaque string that encodes a small amount of information that can be easily transmitted and stored, but with almost zero chance of collisions with any other token.
What is token-based authentication?
Token-based authentication simply means encoding the data required to authenticate and authorize a user into a token, and then using that optionally cryptographically signed token for authorization instead of username/password combinations when accessing protected resources.
What is JWT in Java?
JWT is an abbreviation for JSON Web Token, which basically means it’s a JSON object with a header, payload, and signature. It represents a safe way to exchange authentication information between two parties over a network when used in conjunction with other technologies like SSL.
What is OAuth 2.0?
OAuth 2.0 is a standard protocol for performing authorization across a large number of supported platforms. For example, Google, Facebook, and OpenID all use OAuth 2.0. It defines the steps and format to follow to authenticate with their provided authentication server and gain access to the protected resources.
Sebastian Schocke
Vanderbijlpark, Gauteng, South Africa
Member since May 29, 2017
About the author
Sebastian is a senior developer with 17 years of experience designing, developing, and supporting software on a wide range of technologies.
Expertise
PREVIOUSLY AT


