Modern WordPress Development Workflow with the Roots Stack
WordPress development relies on tried and tested technologies and techniques. This allows for good backward compatibility but also causes many developers to stick to legacy solutions for far too long.
In this article, Toptal WordPress Developer Stefano Ginella introduces us to the Roots stack and explains how it can help WordPress developers harness the latest front-end technologies.
Stefano is a web developer based out of Italy, with a strong background in HTML, CSS, JavaScript, and PHP. His specialty is WordPress.
Expertise
PREVIOUSLY AT

WordPress has been around for ages, at least by internet standards, and its philosophy has always been to preserve backward compatibility. This focus on compatibility understandable given the sheer amount of WordPress websites online today. However, while this can help those that still use legacy environments with old PHP and MySQL versions (which is a security risk in itself, but this is not the topic of today’s article), it also caused newer WordPress releases to not make full use of the latest PHP capabilities.
This has also caused many WordPress developers to live in a WordPress bubble, not being incentivized to learn new and modern front-end development technologies, and sometimes get stuck in the “good ol’ way” of doing things.
Can You Adopt a Modern Development Workflow for WordPress?
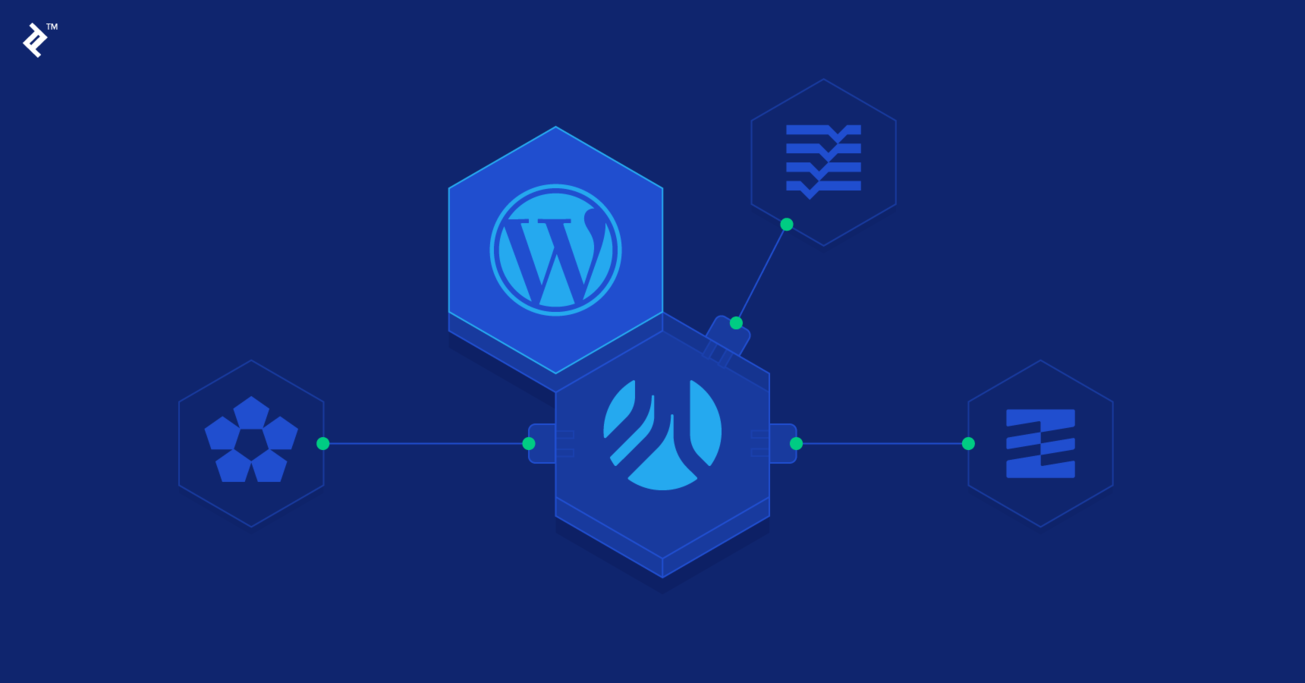
You most certainly can, and the WordPress Roots stack is here to help you develop like it’s 2019, with three amazing tools:
- Sage as your starter theme,
- Bedrock as a modern WordPress boilerplate,
- Trellis to manage deployment and provisioning to different environments.
The Roots team also has two additional tools in development: Acorn, a plugin building framework, and Clover, a plugin boilerplate. Due to the fact that both are in alpha, they are not included in this article, but you should definitely keep an eye on them.
What Exactly Is the Roots Stack
Originally known as the Roots theme, it was a rock-solid HTML5 starter theme aimed at providing a cleaner starting point for new WordPress websites. Over time, it evolved into a full set of tools, passing through all major modern web technologies and standards (from Grunt to Gulp and Webpack, LESS and SCSS, NPM and Yarn, Bootstrap, PSR-2 coding standards and the DRY principle), thus forcing WordPress developers who adopted it to continuously learn and stay up-to-date with what modern front-end development technologies have to offer.
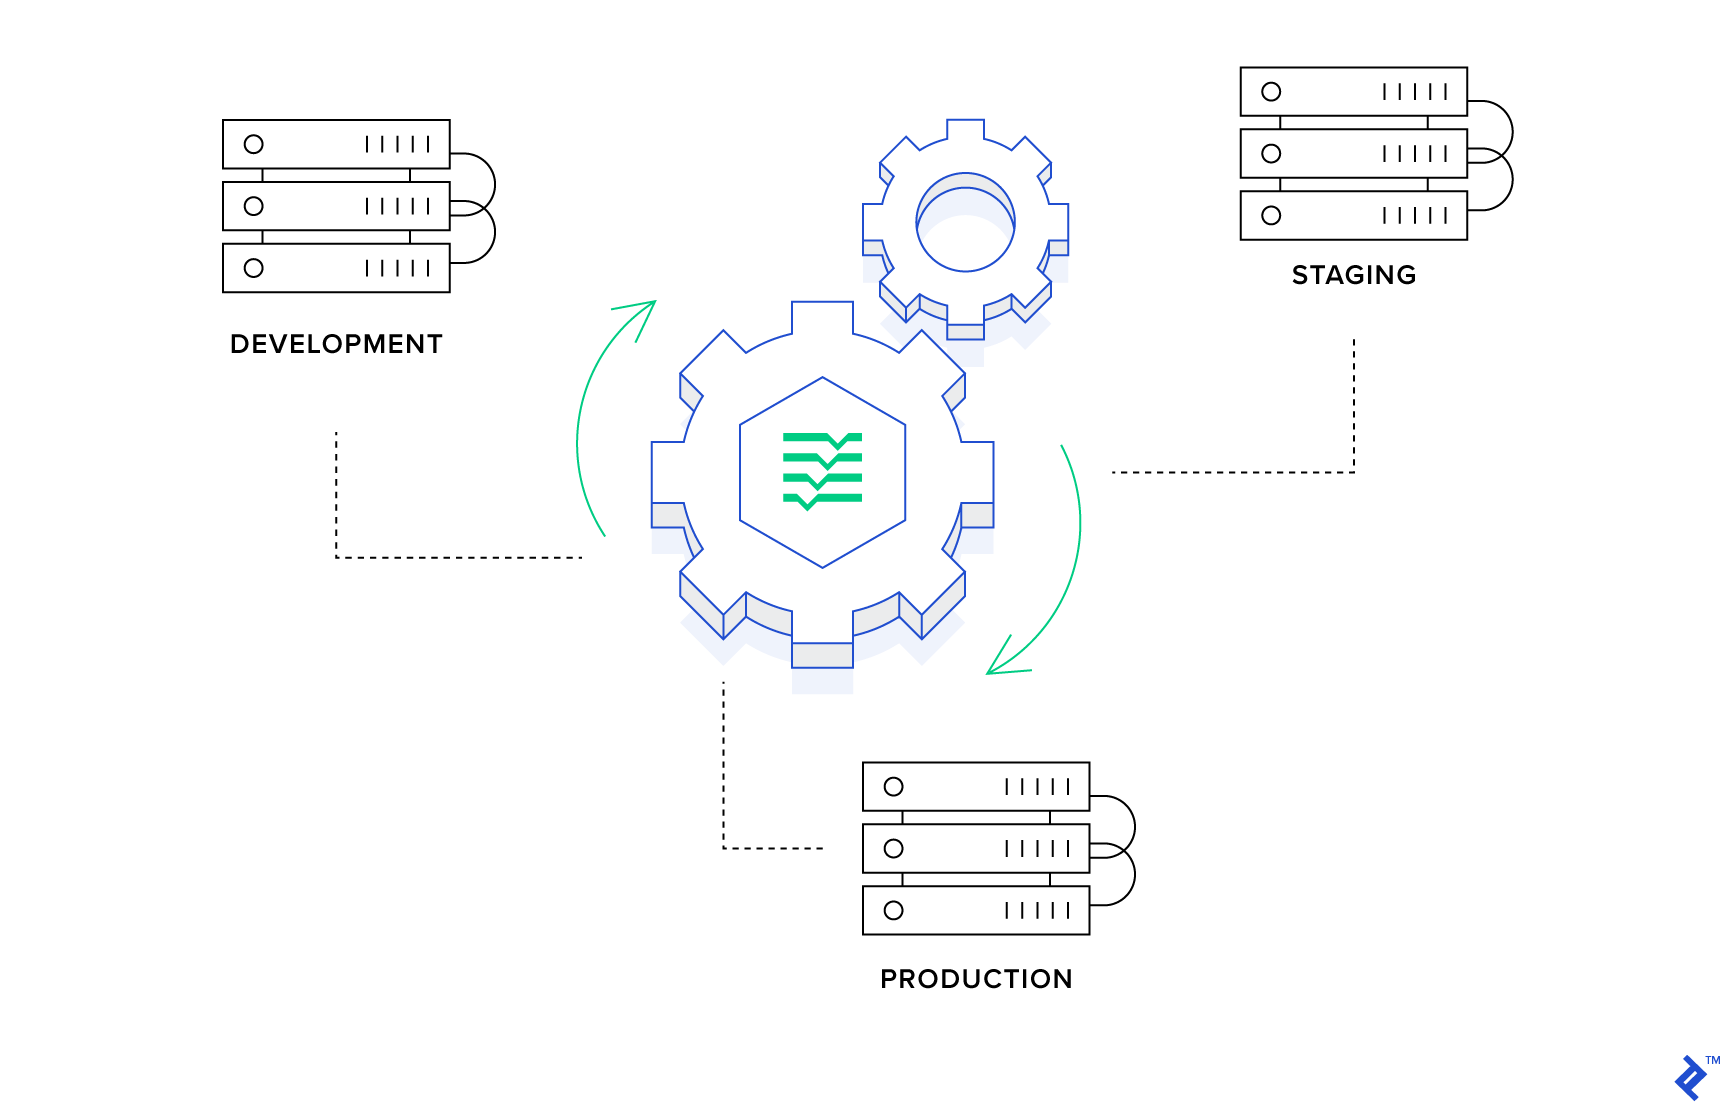
Today, Roots grew into a full set of tools in continuous expansion, aimed at helping you build better WordPress sites by following the entire cycle, from development to staging and production, and making you a better developer by forcing you to step out of the comfort zone provided by the so-called WordPress bubble.
But let’s have a look at the three main tools they offer, what they are, and why you should consider using them.
Roots Sage 9

Roots Sage 9 is the last iteration of a professionally maintained WordPress starter theme, originally released as just Roots in 2011. During its life, it has gone through a lot of changes, improvements, and re-considerations of best practices, to finally become what today is a great starting point to introduce modern front-end development workflow for WordPress development.
What Sage is trying to do is to adopt a MVC pattern (Model-View-Controller) where Views and Controller are completely separated; this enables us to reuse Views, which don’t necessarily need to “know” where the data is coming from, but they simply wait for a Controller to feed them some data to display.
The controller included with Sage 9 is not the actual controller you might be already familiar with in other frameworks like Laravel, the main difference is that Sage 9 Controller uses a template-based routing instead of a URL-based routing. Basically, you let WordPress handle URL routing and you write controllers for template files.
By adding a few degrees of complexity to the whole development process, Sage 9 might not be the best choice to start with for beginners, as you’ll have quite a bit of learning to eventually master it and be able to use in production: proper dependency and asset management, code versioning, a new project structure, a new template engine derived from Laravel, the DRY (Don’t Repeat Yourself) principle, and you’ll have to stick to strict coding standards which are a bit different from what WordPress recommends; but if you are a seasoned developer it can be a great head start .
If you want to go all-in with Sage, just keep in mind this piece of advice from Ben Word, one of the developers of the Roots team:
Sage is not a theme framework, it is a starter theme. You should rarely need to update it, and typically you shouldn’t create child themes from it. Being a starter theme, Sage is meant to be used as a starting point on a new project.
But also:
If Underscores is a 1,000-hour head start, Sage is a 10,000-hour head start.
File and Folder Structure With Sage
The file and folder structure of Sage is a bit different to what we’re used to seeing in other starter themes like Underscores, or even in the previous major version of Sage 8.
This is what you will find just after installing Sage:
├── app/                # it contains all the PHP code of your theme
│   ├── controllers/    # your Controllers, it already contains a few
│   │                   #   examples to use as a starting point
│   ├── admin.php       # setup for the WordPress theme customizer
│   ├── filters.php     # a good place to group all your theme
│   │                   #   filter hooks
│   ├── helpers.php     # for various helper functions you want
│   │                   #   to reuse in your theme
│   └── setup.php       # the main theme setup file
├── config/             # theme configuration files
├── dist/               # all built theme assets, never edit this!
├── resources/          # original theme assets, edit this instead!
│   ├── assets/         # all front-end assets
│   │   ├── build/      # Webpack and ESLint config
│   │   ├── fonts/      # theme fonts
│   │   ├── images/     # theme images
│   │   ├── scripts/    # theme JS scripts
│   │   ├── styles/     # theme SCSS stylesheets
│   │   └── config.json # settings for compiled assets
│   ├── views/          # all theme Blade templates
│   │   ├── layouts/    # base Blade templates
│   │   └── partials/   # partial Blade templates
│   ├── functions.php   # Composer autoloader and theme includes,
│   │                   #   normally you should not edit this unless
│   │                   #   you know what you're doing
│   ├── index.php       # required by WordPress but left blank
│   │                   #   intentionally, never edit this!
│   ├── screenshot.png  # the screenshot used in the WordPress admin
│   └── style.css       # required by WordPress, it should contain
│                       #   only the theme meta information
├── vendor/             # Composer packages, never edit this!
├── composer.json       # autoloading for `app/` files
├── composer.lock       # Composer lock file, never edit this
└── package.json        # Node.js dependencies and scripts
Plus, some other files used by code editors and IDEs, such as .editorconfig, .eslintrc.js, .stylelintrc.js, phpcs.xml, etc.
Here is a quick overview of the basic Sage 9 requirements:
- WordPress >= 4.7
- PHP >= 7.1.3 (with php-mbstring enabled)
- Composer
- Node.js >= 8.0.0
- Yarn
Bedrock

Bedrock is like WordPress on steroids!
If Sage improves your theme development, Bedrock improves the entire WordPress installation. It does so by providing a modern project boilerplate, with an improved folder structure and security (for example by not having your config files in the website root), configuration and ENV files, and proper dependency management (yes, including WordPress plugins and themes).
To describe it in a single phrase, we could say that Bedrock is a self-contained WordPress project which automates the installation of core files and required plugins.
File and Folder Structure
If you look at a basic Bedrock installation, you might feel lost at the beginning. Bedrock separates web, configuration and dependency files into their own folders. Here is what the bare bone structure looks like:
├── config/                 # WordPress configuration files
│   ├── environments/       # configuration files for other
│   │   │                   #   environments, they will override
│   │   │                   #   production configuration
│   │   ├── development.php # overrides for WP_ENV === 'development'
│   │   └── staging.php     # overrides for WP_ENV === 'staging'
│   └── application.php     # main configuration for production
│                           #   environment, it's the equivalent of
│                           #   the wp-config.php file
├── vendor/                 # Composer packages, never edit this!
├── web/                    # the new root folder of the webserver
│   ├── app/                # your new wp-content folder
│   ├── wp/                 # WordPress core files, never edit this!
│   ├── index.php           # WordPress view bootstrapper
│   └── wp-config.php       # required by WordPress, never edit this!
├── .env                    # all environment variables: db name,
│                           #   user and password, salts, current
│                           #   environment, site urls, and others
├── composer.json           # here you can manage versions of
│                           #   WordPress, plugins and other
│                           #   dependencies
└── composer.lock           # Composer lock file, never edit this
Plus some other less important files.
Bedrock requirements are:
- PHP >= 7.1
- Composer
Trellis

Trellis is a modern LEMP stack to manage your development, staging and production servers seamlessly, aimed at keeping them as similar to each other as possible (“development & production parity”). This means that if your custom WordPress site works in your development environment, it is safe to assume it will also work in production and you can deploy with confidence.
For local development, Trellis makes use of Vagrant, with a simple vagrant up you will have a virtual machine running a proper modern environment.
Provisioning and deployment to your staging and production environments are managed with Ansible playbooks, which are YAML files that tell Ansible what to do.
Trellis Suggested Folder Structure
Trellis has a suggested folder structure composed of just two sub-folders:
├── trellis/  # the clone of the Trellis repository
└── site/     # the Bedrock-based WordPress website
I’d recommend to leave it as is, but it can be customized depending on your liking and needs.
Trellis Requirements
- Composer
- Virtualbox >= 4.3.10
- Vagrant >= 2.1.0
Why You Should Use It
If WordPress is already working as it is, why should you switch to a more complex stack and spend a considerable amount of time to master it? Because there are obvious, and some less obvious, advantages. Let’s try to see what they are.
A Framework Agnostic Starter Theme
Too many WordPress starter themes force you to use a specific CSS framework which you may or may not like or even know, but Sage is completely framework agnostic. During installation, you will have the option to automatically include Bootstrap 4, Bulma, Foundation, Tachyons, Tailwind CSS, or no framework at all if you want to start from scratch or use something else (HINT: lately I’m starting to like Tailwind CSS a lot).
PRO TIP: on a Windows machine, you might get the message “TTY mode is not supported on Windows platform” during install and you won’t be able to choose a framework or configure Sage. You will have to run these three commands manually from within the theme folder if you want to take advantage of the automatic configuration:
$ vendor\bin\sage meta    # to specify the metadata for your
                          #   theme (the name, etc., that goes
                          #   in style.css).
$ vendor\bin\sage config  # to specify your theme's dev URL and
                          #   theme directory.
$ vendor\bin\sage preset  # to set up the theme with one of the
                          #   supported frameworks or no
                          #   framework at all.
A Modern Build Process
With Webpack, included in Sage, you won’t have to think anymore about compiling assets, concatenating and minifying JavaScript and CSS code, optimizing images, checking JavaScript and style errors, and managing external libraries. The build process will take care of all that with a simple yarn build (or yarn build:production if you want your assets optimized for production use), producing all the static files in your theme /dist/ folder.
Modern PHP and Requirements
The minimum PHP version on which you can run WordPress is PHP 5.2.4, this will ensure backward compatibility to all those users who are running their websites in a legacy environment, but old versions of PHP (<= 7.0) have officially reached End Of Life, so they are no longer supported and they may expose your site to security vulnerabilities and performance issues.
Both Sage and Bedrock require a sane version of PHP 7.1 (although if you have the option to choose 7.3, please do so).
Sage 9 also fully adopts PSR-2 coding standards (the most widely used and accepted coding
standards used in the PHP community), which are a bit different from WordPress coding standards, but they allow you to have a cleaner and more maintainable code, especially if you work in a team or have to share your code with others.
Better Dependencies and Package Management
The Roots stack makes large use of Composer to manage all dependencies and packages, including WordPress core, plugins, and themes. This might be an issue if you use third-party tools to manage WordPress updates (like ManageWP, MainWP or InfiniteWP), but someone could argue that having everything under version control gives you more control and makes it easier to roll back to a previous working version if something goes wrong.
Additionally, Sage uses Yarn as a package and dependency manager for the application code and to launch the build process.
Better Template Files
WordPress lacks a real templating engine, so to make up for it Sage adopted Laravel’s Blade and it follows the DRY principle: Don’t Repeat Yourself.
This is what the default single.blade.php template file looks like, just 6 lines of code:
@extend('layouts.app')
@section('content')
    @while(have_posts()) @php the_post() @endphp
        @include('partials.content-single-'.get_post_type())
    @endwhile
@endsection
The Blade template engine completely separates Views and Controllers and its syntax is more elegant, concise, readable, and easier to write than just PHP tags. The rule of thumb here is to leave all PHP code out of your template files (or at least try to).
Another benefit of using Blade is template inheritance: a base layout template (the default is /resources/views/layouts/app.blade.php) defines blocks containing the common website elements, which are then inherited by its child templates. Template inheritance is great to remove repeated markup from individual templates and keep things DRY.
Browsersync
By running yarn start you’ll launch a Browsersync session. Browsersync is a module for synchronized browser testing while developing. It will watch for changes made to your front-end assets and, working together with Webpack, it automatically injects the changes into your browser session.
Quick, Easy, and Safe WordPress Deployment
Trellis offers zero-downtime WordPress deployments. When you launch a deploy, Trellis will git clone your repository, run composer install and then update the symlink to the current release so it will never edit directly the files that are currently served in production.
When using Bedrock, Trellis also needs very little configuration.
Drawbacks
The only drawback of using the full Roots stack (apart from learning new stuff, which shouldn’t be considered an issue at all) is that you have to use a Trellis-friendly hosting provider like Kinsta, a DigitalOcean droplet or any other host that support at least SSH, Composer and WP-CLI, along with the option to update the web root path.
This leaves most of the cheap(ish) shared hosting out of the game and it’s something you and/or your client must take into account before starting a new project.
How to Get Started
This can be considered as a new take on the famous “WordPress 5-Minute Installation” but for modern front-end developers. It adds a few degrees of complexity for later development, but in the end, the benefits you can get are definitely worth it.
We will focus on adopting the full stack (Sage, Bedrock, and Trellis), but you can just use one or any combination of them. Sage can be used as a starting point for a stand-alone theme on any WordPress installation; Bedrock can be used with any WordPress theme you’d like; and Trellis deploys are configured for Bedrock-based sites and take care of everything needed, but with a bit of tinkering, it can be customized for almost any need.
How to Create a New Project
Setting up a new WordPress project with Trellis, Bedrock, and Sage is quite easy, just a few command lines away.
Install Trellis in you desired folder (e.g. example.com):
$ mkdir example.com && cd example.com
$ git clone --depth=1 git@github.com:roots/trellis.git
$ rm -rf trellis/.git
Install Bedrock in the /site/ subfolder:
$ composer create-project roots/bedrock site
$ cd site/web/app/themes/
Install and build Sage:
$ composer create-project roots/sage your-theme-name
$ cd your-theme-name/
$ yarn && yarn build
Deploying
Deploying to staging or production is even easier if you have configured everything properly according to the official documentation. It’s just one command line away (ran from the example.com/trellis/ folder):
$ ansible-playbook deploy.yml -e "site=<domain> env=<environment>"
You can also easily rollback your deploy, just run:
$ ansible-playbook rollback.yml -e "site=<domain> env=<environment>
Tips About Setting Up Your Development Environment on Windows
If you google about how to install and use the Roots stack, especially Trellis, you’ll find a lot of tutorials focused on Linux or MacOS, but very little information is available for Windows where you will find two main issues: Ansible is not available for Windows, and Vagrant is usually extremely slow on Windows machines.
When I originally thought about this article the official Trellis documentation for Windows was suggesting to run Ansible inside of the Vagrant virtual machine, but this was sort of a hacky way of doing things and it was not very reliable.
Since then they’ve updated the documentation with proper instructions about setting everything up with WSL (Windows Subsystem for Linux), so there is no need of reinventing the wheel and write a tutorial about it. It’s good to know that there are three pages worth of detailed step-by-step instructions you can follow before installing Trellis: Windows Setup, Windows Setup: Sage and Windows Setup: Trellis.
Happy coding!
Understanding the basics
What is the Roots stack?
The Roots stack is a set of tools aimed at helping developers build better WordPress sites by adopting modern technologies and following the entire cycle from development to staging and production.
How do I create a WordPress development environment?
Creating a WordPress development environment with Trellis is as easy as typing a few commands in your terminal window. Trellis, with the help of Vagrant, will take care of setting up a proper LEMP stack in a virtual machine for you. Some additional steps might be necessary if you’re on a Windows machine.
What is a full stack WordPress developer?
A full stack WordPress developer must be able to set up and manage a LAMP/LEMP server infrastructure and work both on the front-end, creating a theme, and the back-end, coding new features in the form of plugins. He/she must have a good understanding of PHP, SQL, JavaScript, HTML, and CSS.
Stefano Ginella
Novara, Province of Novara, Italy
Member since September 14, 2018
About the author
Stefano is a web developer based out of Italy, with a strong background in HTML, CSS, JavaScript, and PHP. His specialty is WordPress.
Expertise
PREVIOUSLY AT


