Perfect Your UX Design Process: A Guide to Prototype Design
Prototype design is a powerful process detailing how designers do everything required to test, iterate, and develop prototypes, beginning with user flows and ending in functional wireframes.
Prototype design is a powerful process detailing how designers do everything required to test, iterate, and develop prototypes, beginning with user flows and ending in functional wireframes.
Judit is a UX Designer and researcher with a master’s degree in Human Computer Interaction.
The process of prototyping—from creating simple wireframes to testing fully functional mockups—is one of the most potent and powerful set of skills any designer can master. It’s also fraught with peril in workplaces where the process is skipped in lieu of just “designing a prototype” as a simple deliverable to give to the next department to build. No matter how diligent your business is with design prototyping, the actual process can often make or break your final product.
How and why to actually build a prototype is often a mystery. Ask many designers and they’ll tilt their heads like confused puppies. “What do you mean? You just do it,” they’ll say. And true enough: We all know how to create a prototype. We just don’t know how we know.
This is especially critical considering how prototypes are often the most valuable deliverable. Clients and managers want to see what you did, whether it’s a website or a physical product. They want to try it out, inspect the various elements, and understand the workflow. They want to see “how it works.”
Building a prototype is not enough; we have to understand the process involved with constructing a product’s initial drafts. This article will go in depth on everything a designer needs to know, and do, to accomplish that.
Prototype Design - What Prototypes Are for
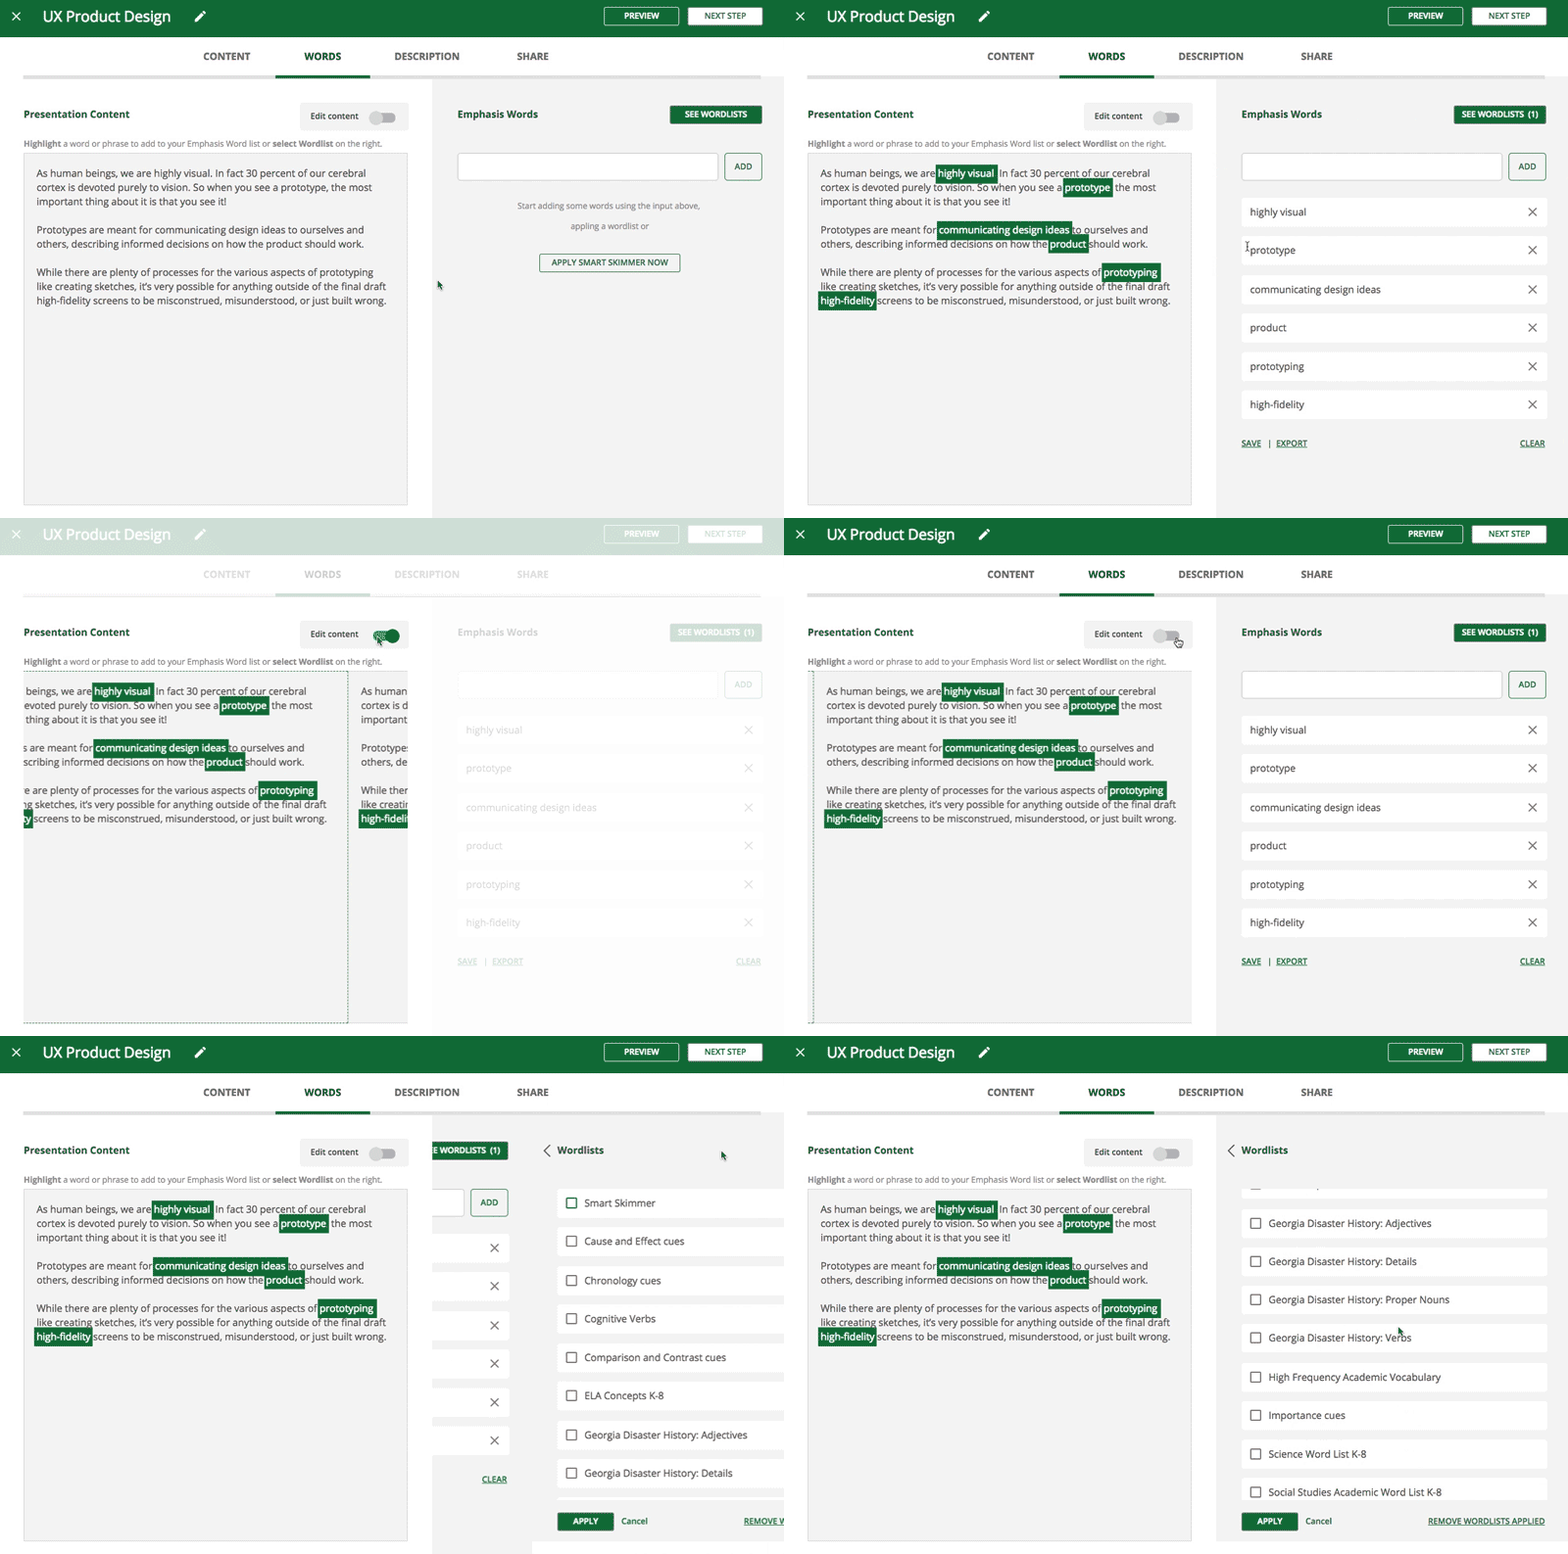
Human beings are highly visual. In fact, 30 percent of our cerebral cortex is devoted purely to vision. So when you see a prototype, the most important thing about it is that you see it! When the client can view it, and understand all of the processes involved with the product, especially areas of contention for future testing, that prototype comes to life.
So what is a prototype? A prototype is a tool for visualizing a smorgasbord of interactive design work; in effect, prototypes (at almost any stage) are an amalgamation of all the work that came before into a single, visible, functional piece. This visual representation demonstrates what the product is doing at any given point, what the interactive elements are, and how the product would function in the real world.
While there are plenty of mechanisms for the various aspects of prototype design (like creating sketches), it’s easy to miss things and make mistakes.
This makes the work for how a prototype is built tremendously valuable, since in many ways it describes how the purpose of the product is actualized. Not perfectly, and definitely not accurately most of the time, but as the name implies, prototypes aren’t final.
They slow us down to speed us up. By taking the time to design a prototype for our ideas, we avoid costly mistakes such as becoming too complex too early and sticking with a weak idea for too long.
Tim Brown, CEO and president of IDEO
A simple way to think of prototypes is as a mechanism to demonstrate functionality.
That practical explanation of how something works has a number of high-value benefits, including:
- Making it real – Before any prototypes are built, the product is completely conceptual! That’s fine for a little while, but eventually it must become something that stakeholders and users eventually understand and appreciate. A prototype is the first step in moving from conceptual to actual.
- Work a problem – Sometimes, we have a design challenge without a solution. As a skill, UX prototyping is a great way to visualize the problem and introduce solutions quickly. If it doesn’t work, throw out the prototype and try again.
- Iterate – Prototyping comes in stages, but the result is the same: to evolve your ideas. From sketches to hi-fis, each new iteration offers a plethora of behaviors and functions to test. And with more data, we can iterate both faster and smarter.
- Detect unintended scenarios – Once something is visible, we have the limitations of our product available for study, which also provides better context on what should be there…and what shouldn’t!
- Detect usability problems – This is where many designers live: Once a product has a prototype of any kind, usability challenges suddenly become easy to spot and fix.
- Presentation – Prototypes at any stage are a standard for presentation. Whether you’re testing a version of a page or presenting a product to a client, a prototype in some form should be there. And if it isn’t, you can bet that someone will ask where it is and why it wasn’t included.
How to Start the Prototype UX Process
After receiving a 50-page requirements document from a client, looking at a blank canvas can be daunting. Reviewing unorganized thoughts from client meetings, napkin sketches, and dirty whiteboard photos rarely help.
Because prototypes are built on so much other information, it’s important to gather the necessary details in advance to putting pen to paper. Consider the following checklist and review the details provided by your client or manager:
1. What are the goals of the project?
Start with the big picture. Does the product solve a real need? How does it solve that need? Understanding the product’s utility is critical to delivering any sort of viable solution.
2. What competitive products do people currently use?
A strong competitive analysis will provide a clear picture of the state of the marketplace for the product type, plus what today’s users expect.
3. Who is the audience? What are their goals?
Understanding demographics and user needs provides the context necessary to create products geared toward providing for those particular user types and fulfilling their needs.
4. What type of product is it, and what (device) is it for?
With so many different technologies and solutions, UX designers need to know how the product will be used (web app, responsive website, mobile app, etc.), on what device(s), and how different versions will coexist (if at all).
5. Are there any visual precedents to follow?
If the product already exists and the project is for improvements or a redesign, it’s possible that some requirements exist in consideration of current user behavior with the product.
6. What are the deliverables?
Setting expectations about deliverables and the process is critical for your planning and workflow. Every project is different, but if the deliverables are well defined, the rest of the UX design process has a higher chance of going smoothly.
Draw Your Prototypes
With our data available and organized, the next step is to start drawing. Many designers will already have an idea for the layout, structure, or even where specific elements of the visual design belong before ever drawing it out. That’s fine, but the purpose of initial sketches is to explore the available space to highlight what’s possible—and, more importantly, what isn’t.
Gather your writing instruments of choice, be it pencil and paper or whiteboard and marker. The sketching process is akin to a writer freewriting, or a musician strumming; draw what you feel based on all the work you’ve done in advance, and considering the pieces below:
01 | User Flows – Follow identifying user flows. See how the users meet their goals and how they interact within the system.
02 | Information entities – Each user flow will show some user inputs and outputs. Identify what they are, how they relate to the user behavior and expectations, what interactions they are involved with, and how they work.
03 | First sketches – After getting an idea of who will use the system, what they are going to do, and with what, it’s time to see how. Sketch your user flows—no need to create the layout yet, just get the functionality resolved.
04 | Sketch a rudimentary structure – After your user flows are sketched, you will have a better idea of the best layout for the product. This will include content (text, photos, video, etc.) that’ll show up as basic boxes or scribbles. When written by hand, they won’t fit to size, so all structure and content is just for visualization, not for actual use.
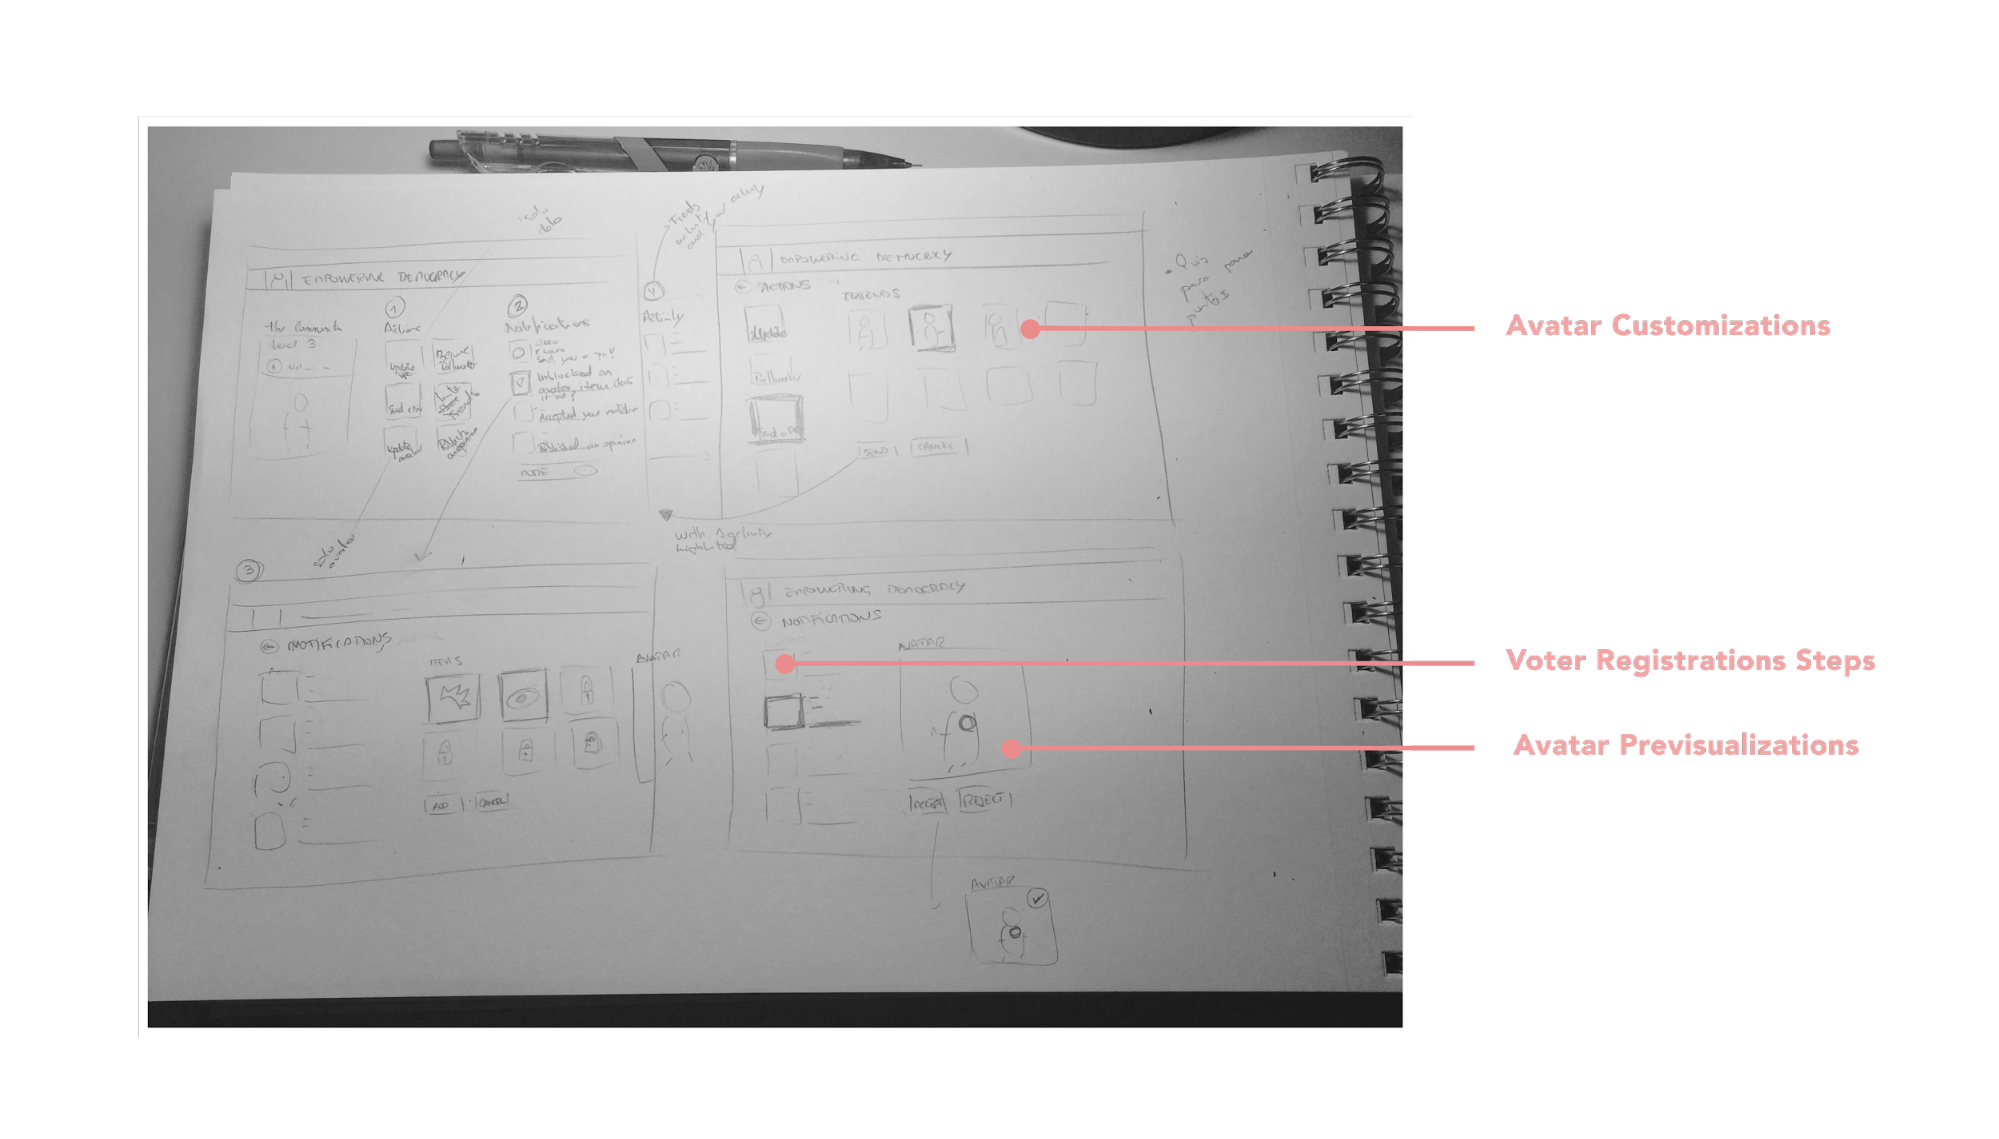
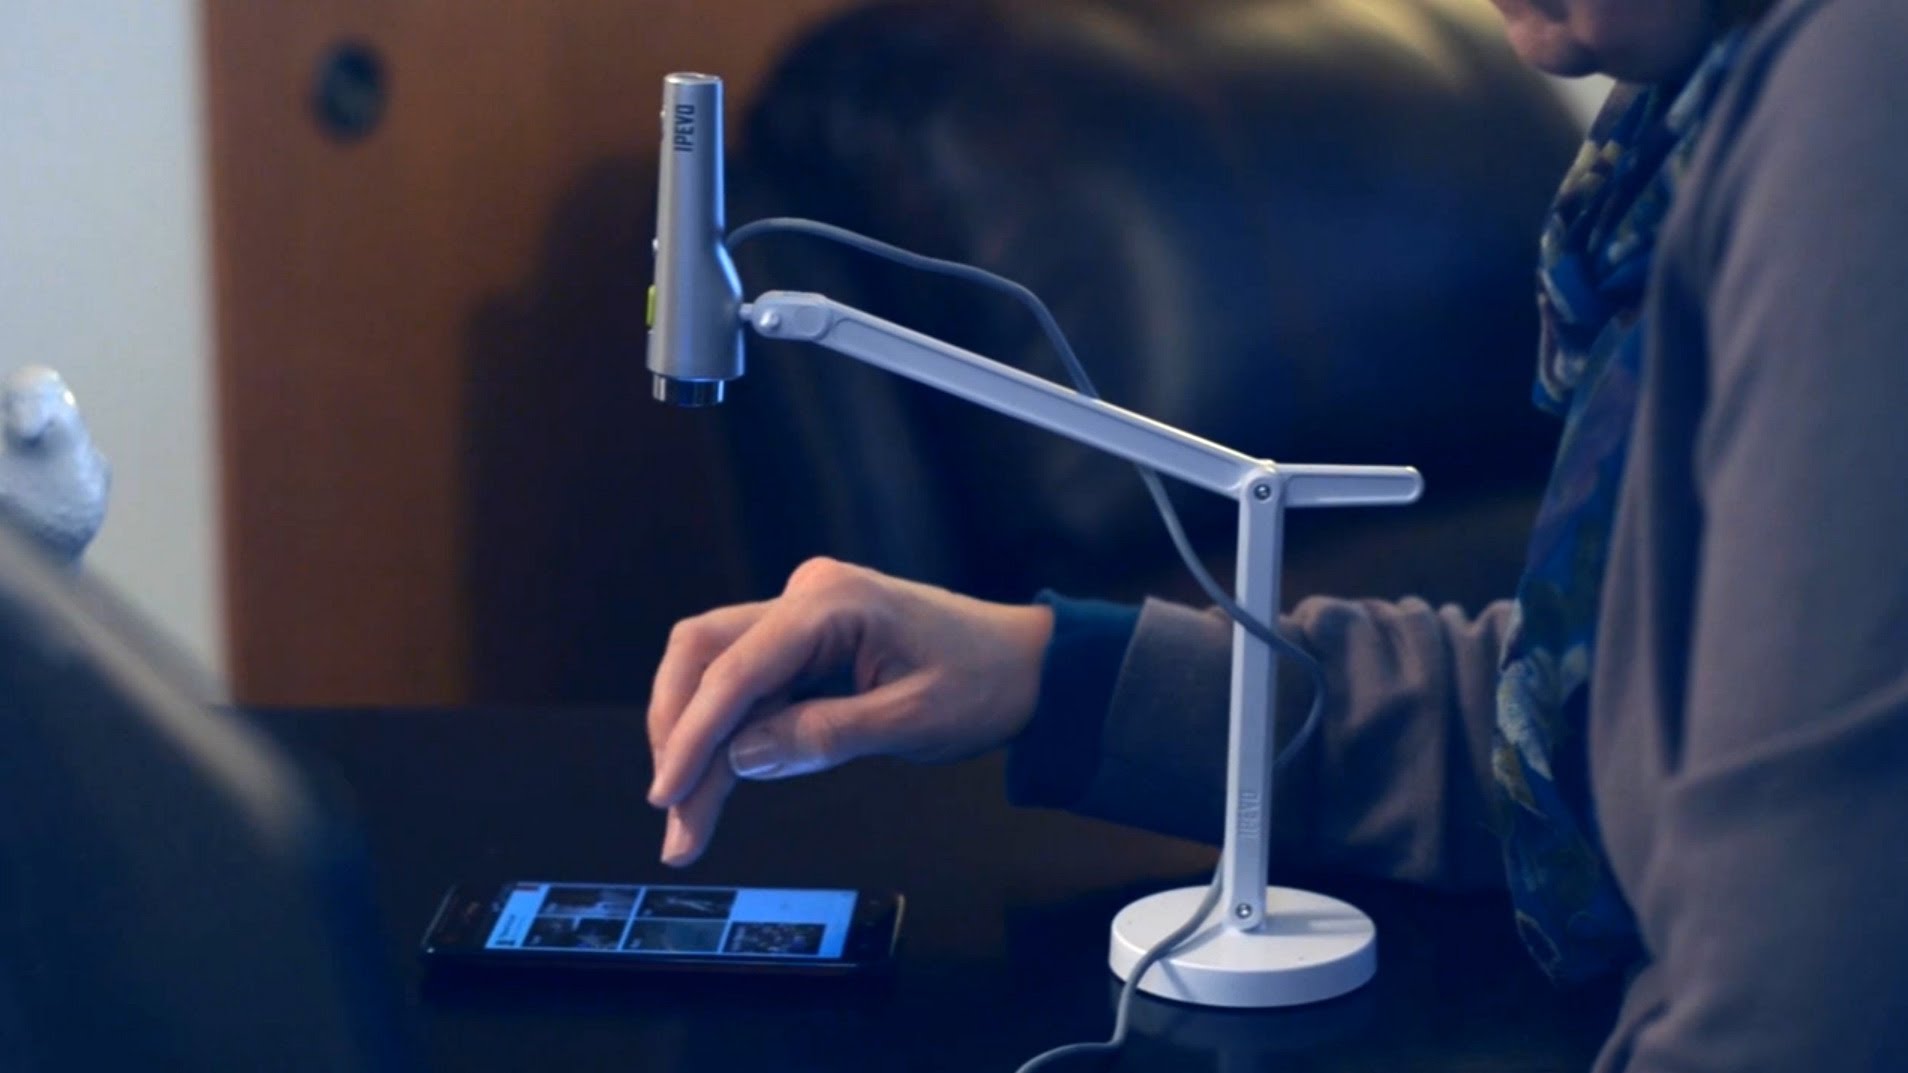
One additional tip is to use sketch pads, specially formulated paper, or tools to make clearer wireframes while sketching. They provide the basic layout for the viewport in question, are fairly low-cost, and with the proper stencil also make sketches come up more cleanly. These are tremendously helpful if you’re a messy drawer since they provide the correct aspect ratios and gridlines for smartphones and web browsers.
This process can continue for as long as you want, but it’s time to move to the next step once a user flow is completed and the process of completing that flow is clear. It’s a good idea to bounce back and forth between sketching and building digital wireframes, mainly to keep the process creative. As you progress through more flows, the product will feel more concrete, and you’ll naturally shift away from sketching.
Moving to Digital (Low- to High-fidelity Prototypes)
Once there are enough complete sketches to move forward, it’s time to digitize them. Whether it’s Adobe XD or Sketch, Framer, or Flinto, or something else entirely, creating digital versions of sketches is the first step to formalizing them. The focus therefore shifts from creatively adding necessary elements to organizing assets and structure within the designs.
As the prototypes become more practical and the elements more structured, the product takes shape. When moving to digital prototypes, the fidelity is determined by the level of interactivity, visual design, and content. A prototype can be low or high fidelity individually on these areas, though hi-fis incorporate all three at the highest level.
Consider hierarchy in regards to reaching user needs. Each sketch connects to a user flow and story, and the sketches are a first step toward determining the layout and structure of a product. Today’s digital tools can speed much of this up—for example, setting master elements that apply to all pages and templates for page types.
With each new wire and iteration, ask two major questions: Does this page account for its purpose in the larger user flow? And does the interaction make sense (meaning did the user understand how to complete the action)? We ask these questions a lot. The more we do, the more likely each new iteration is to bring the prototypes closer to a final draft.
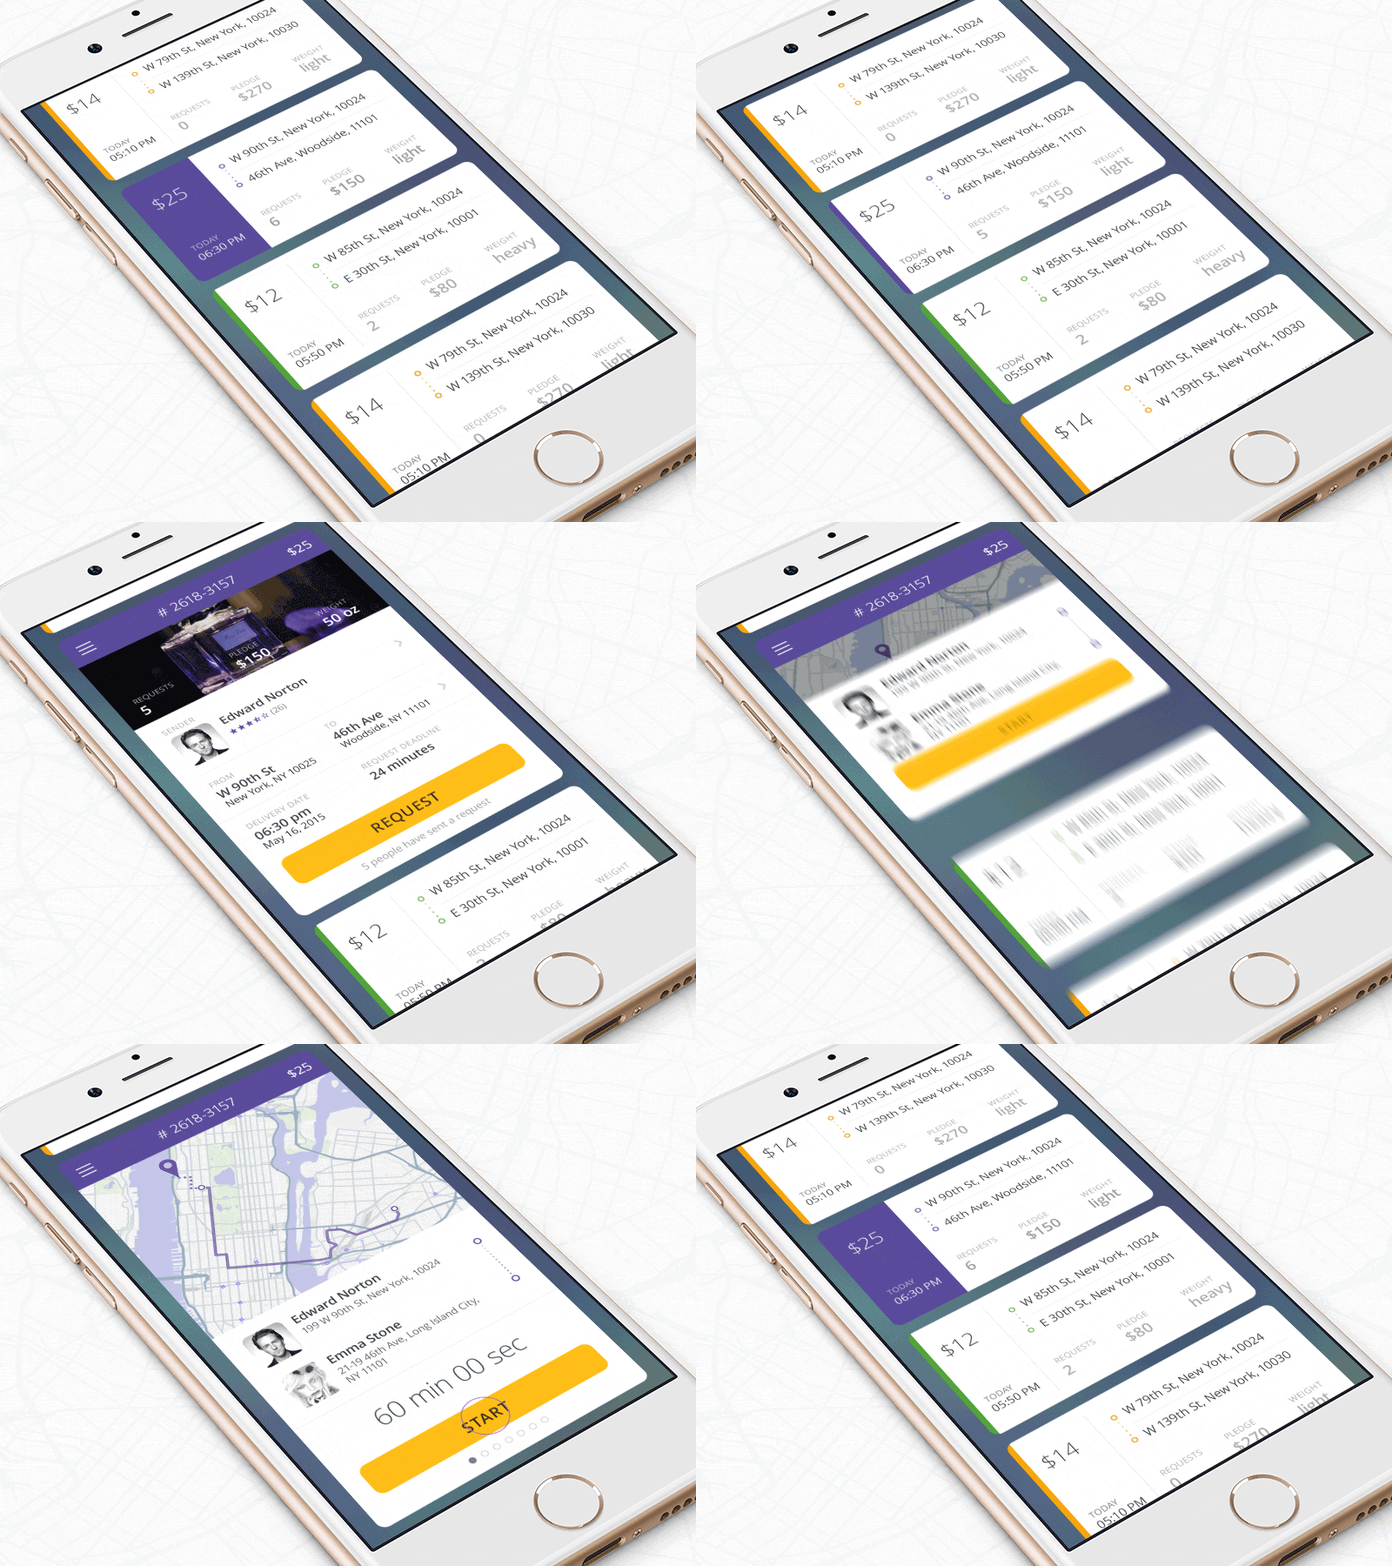
Digital prototypes are also far easier to test since they’re not only more legible but also faster to reproduce and iterate en masse. This is where UX prototyping tools like InVision and Proto.io come in very handy to create clickable prototypes. When it’s clickable, it becomes easy to test the usability of various aspects, from individual buttons to entire flows.
Clickable prototyping has become especially popular over the past few years thanks to the ease of use of programs like InVision. It is even more valuable for mobile devices, where now every major prototyping tool provides some avenue to see or test mobile wires directly on a test device.
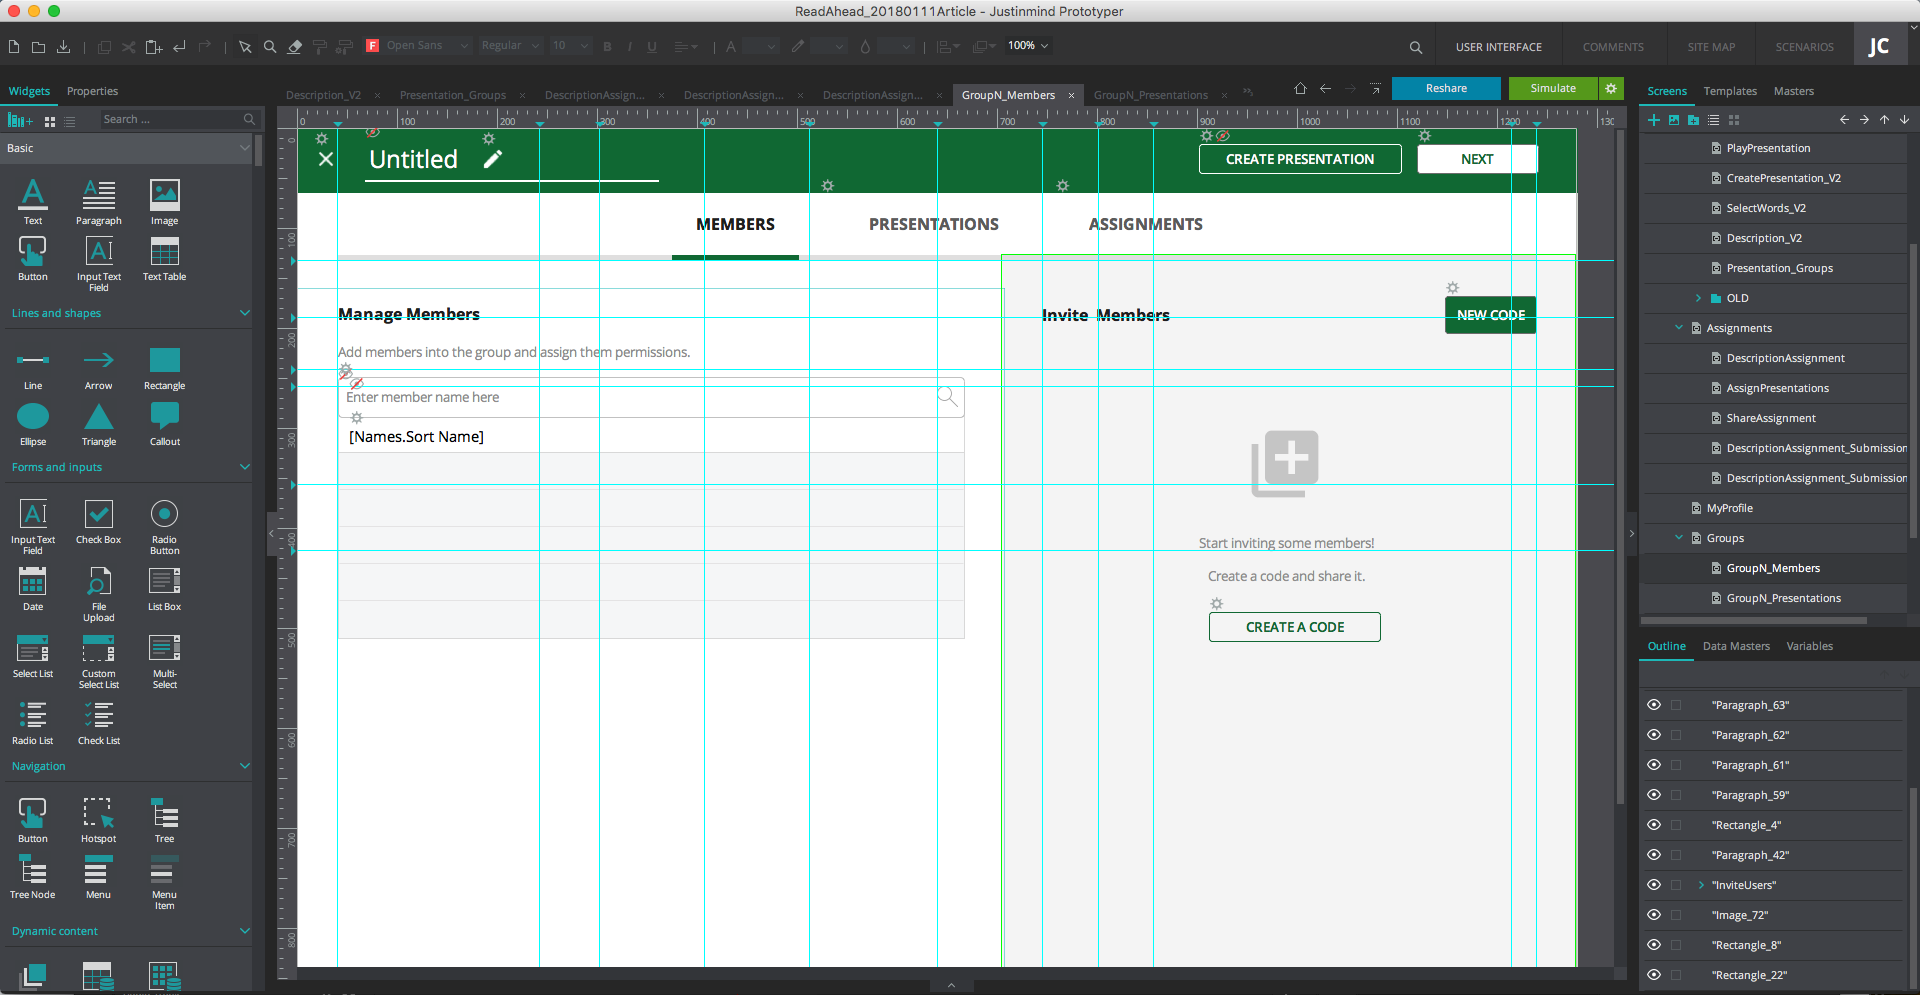
With some engineering knowhow or more powerful tools like Justinmind or Axure, it’s also possible to build functional prototypes, which are interactive beyond simply clicking. Users can test things like filling out forms, accomplishing simple or complex tasks, and actually using the application as it’s meant to be used, all without actually building it. Designers with training in human computer interaction (HCI) design, including many Toptal designers, regularly build and test with functional prototypes.
Interactive prototypes are great for testing animations, user operations inside the app, and higher-level functions that sometimes can’t be tested without a functional action.

Prototype with Purpose
The beauty—and challenge—of prototyping is in the process. We can say the same about almost everything, but prototypes start and finish with purpose. Without knowing why a particular screen needs to behave a certain way, how a feature should operate, or whether users need a funnel or not, the prototype made isn’t developed; it’s drawn and then created ad hoc.
Yet even if every single wireframe built is done so intelligently, questions asked along the way, with every related user story taken into consideration and the information architecture used as a map, it’s still possible to miss things. That’s the challenge of prototype UX design: Clients, managers, and even designers forget that prototypes aren’t final. They’re just a draft, an iteration until the next version. It’s all part of the UX design process.
So when constructing your next set of prototypes, remember to ask at least one all-important question: Does this produce the desired result? If not, then it’s another opportunity to draft a new version.
Further Reading on the Toptal Blog:
Understanding the basics
How do you make a prototype?
Prototypes are made by creating wireframes for each screen as determined by individual user flows, device and technical requirements, and an understanding of today’s design standards. Prototypes must be understandable to users, testable, and changeable.
What is a clickable prototype?
A clickable prototype is a digital prototype built with the intention of allowing users to click through it to view the interactions and connection points for each page, button, and behavior.
What is a working prototype?
A working prototype, sometimes called a functional prototype, is similar to a clickable prototype except that, instead of supporting clicks and taps, the prototype supports full functionality, such as inputting data and more powerful interactions (e.g., drag and drop).
Vic, Spain
Member since July 25, 2017
About the author
Judit is a UX Designer and researcher with a master’s degree in Human Computer Interaction.
