How to Create a Swipeable UITabBar From the Ground Up
Apple’s iOS SDK features a bevy of built-in UI components, but what happens when you decide you need a bit more? What if you need to create a swipeable UITabBar?
In this post, Toptal iOS Developer George Vashakidze explains how he tried using a third-party library, and why he chose to create his own solution instead.
George is an extremely motivated and hardworking mobile developer with extensive experience working with iOS and Android.
Expertise
PREVIOUSLY AT

As you know, Apple’s iOS SDK contains a myriad of built-in UI components. Buttons, containers, navigations, tabbed layouts, you name it—almost everything you’ll ever need is there. Or is it?
All of these basic components allow us to create basic structured UIs, but what happens if there is a need to go outside the box; when an iOS developer needs to build some sort of behavior which is not supported in the SDK by default?
One of these cases is UITabBar, where you do not have the ability to swipe between tabs, and you also do not have animations for switching between the tabs.
Searching for An Easy UITabBar Fix
After a fair amount of searching, I managed to find only one useful library on Github. Unfortunately, the library created a lot of issues while running the application, though it appeared as an elegant solution at first glance.
In other words, I found the library very easy to use, but buggy, which obviously outweighed its ease of use and tended to cause problems. In case you are still interested, the lib can be found under this link.
So, after some thinking and a lot of searching, I started implementing my own solution and I said to myself: “Hey, what if we use the page view controller for swipe, and native UITabBar. What if we group these two things together, handle page index whiling swiping or tapping on tabbar?”
Ultimately, I came up with a solution, though it proved somewhat tricky, as I’ll explain later.
An Elaborate UITabBar Solution
Imagine that you have three tabbar items to be built, which automatically means you have three pages/controllers to be displayed per each tab item.
In this case, you will need to instantiate those three view controllers and you will also need two placeholders/empty view controllers for the tabbar, to make tab bar items, change their state when the tab is pressed, or when the user wants to change the tab index programmatically.
For this, let’s dig into Xcode and write a couple of classes, just to see how these things work.
An Example of Swiping Between Tabs

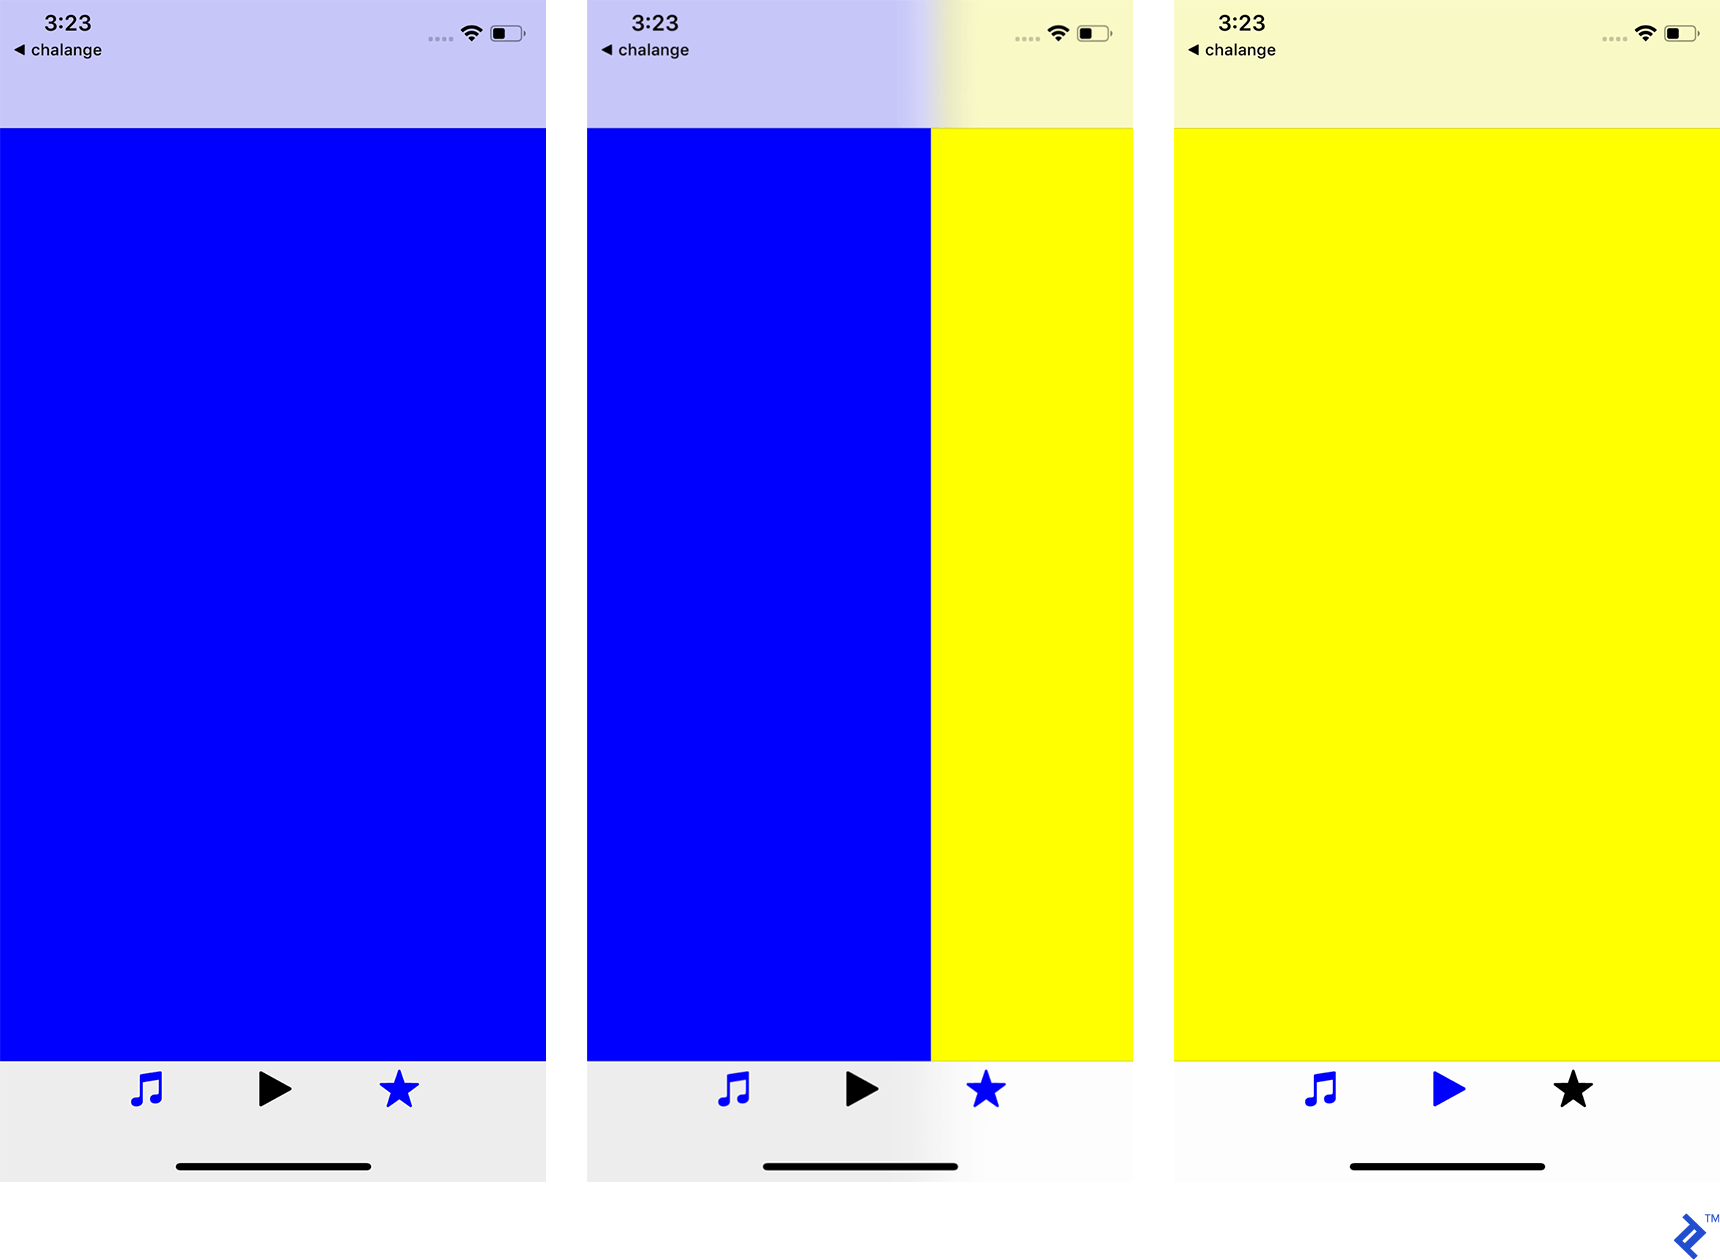
In these screenshots, you can see the first tab bar item is blue, then the user swipes to the right tab, which is yellow, and the last screen shows the third item is selected, so the whole page is displayed as yellow.
Programmatic Use of Swipeable Tab Bar
So, let’s dive into this feature and write an easy example of a swipeable tabbar for iOS. First of all, we need to create a new project.
The prerequisites needed for our project are quite basic: Xcode and Xcode build tools installed on your Mac.
To create a new project, open the Xcode application on your Mac and select “Create a new Xcode project,” then name your project, and finally choose the type of application to be created. Simply select “Single View App” and press Next.

As you can see, the next screen will require you to provide some basic information:
- Product Name: I named it SwipeableTabbar.
- Team: If you want to run this application on a real device, you will have to have a developer account. In my case, I will use my own account for this.
Note: If you do not have a developer account, you can run this on Simulator as well.
- Organization Name: I named it Toptal.
- Organization Identifier: I named it com.toptal.
- Language: Select Swift.
- Uncheck: “Use Core Data,” “Include Unit Tests,” and “Include UI Tests.”
Press the Next button, and you’re ready to start building your swipeable tab bar.
Simple Architecture
As you already know by now, when you create a new app, you already have the Main ViewController class and Main.Storyboard.
Before we start designing, let’s first create all the necessary classes and files to make sure we have everything set up and running before we proceed to the UI part of the job.
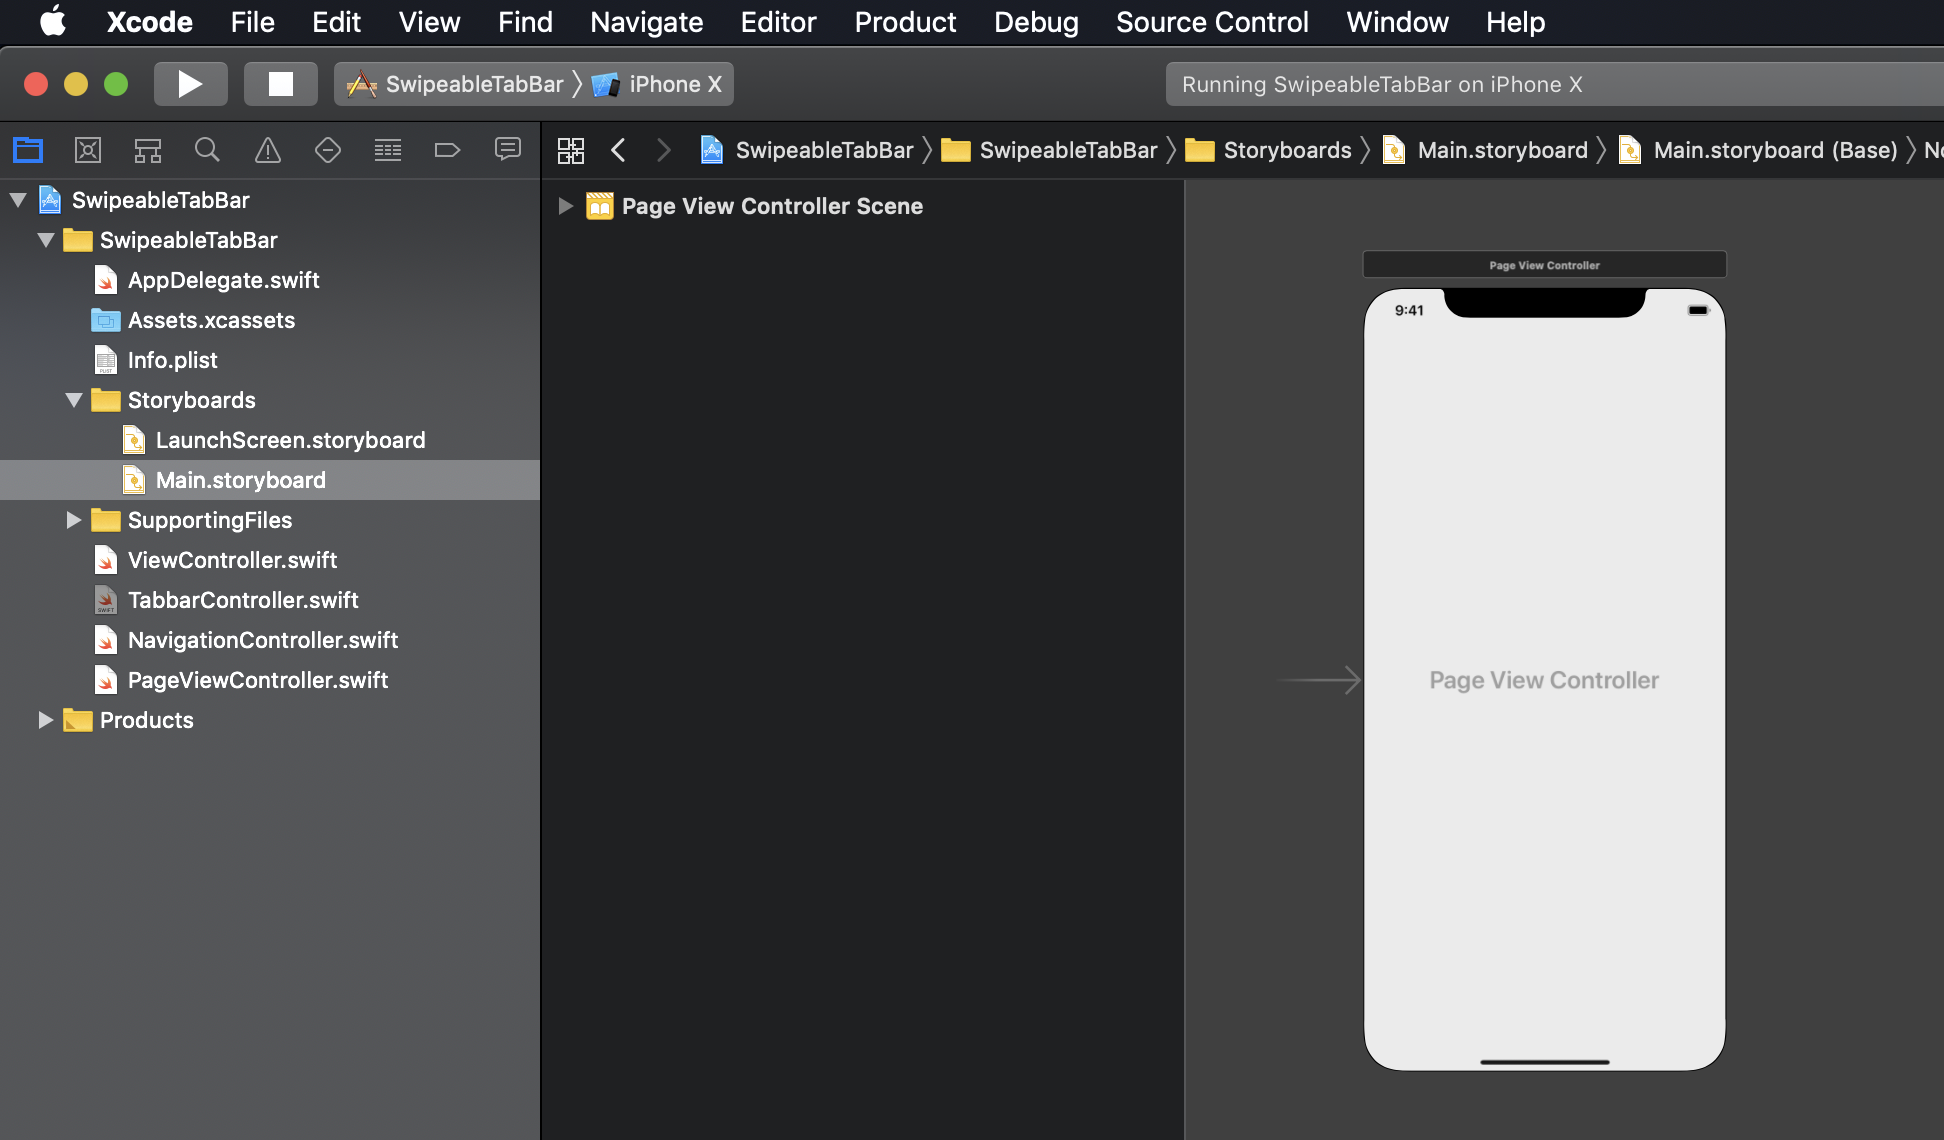
Somewhere inside your project, simply create a few new files -> TabbarController.swift, NavigationController.swift, PageViewController.swift.
In my case, it looks like this.

In the AppDelegate file, leave only didFinishLaunchingWithOptions, as you can remove all other methods.
Inside didFinishLaunchingWithOptions, simply copy and paste the lines below:
window = UIWindow(frame: UIScreen.main.bounds)
window?.rootViewController = NavigationController(rootViewController: TabbarController())
window?.makeKeyAndVisible()

return true
Remove everything from the file called ViewController.swift. We will get back to this file later.
First, let’s write code for NavigationController.swift.
import Foundation
import UIKit

class NavigationController: UINavigationController {
    override func viewDidLoad() {
        super.viewDidLoad()
        navigationBar.isTranslucent = true
        navigationBar.tintColor = .gray
    }
}
With this, we’ve just created a simple UINavigationController, where we have a translucent bar with a gray TintColor. That’s all here.
Now, we can proceed to take on the PageViewController.
In it, we need to code a little bit more than in the previous files we discussed.
This file contains one class, one protocol, some UIPageViewController data source, and delegate methods.
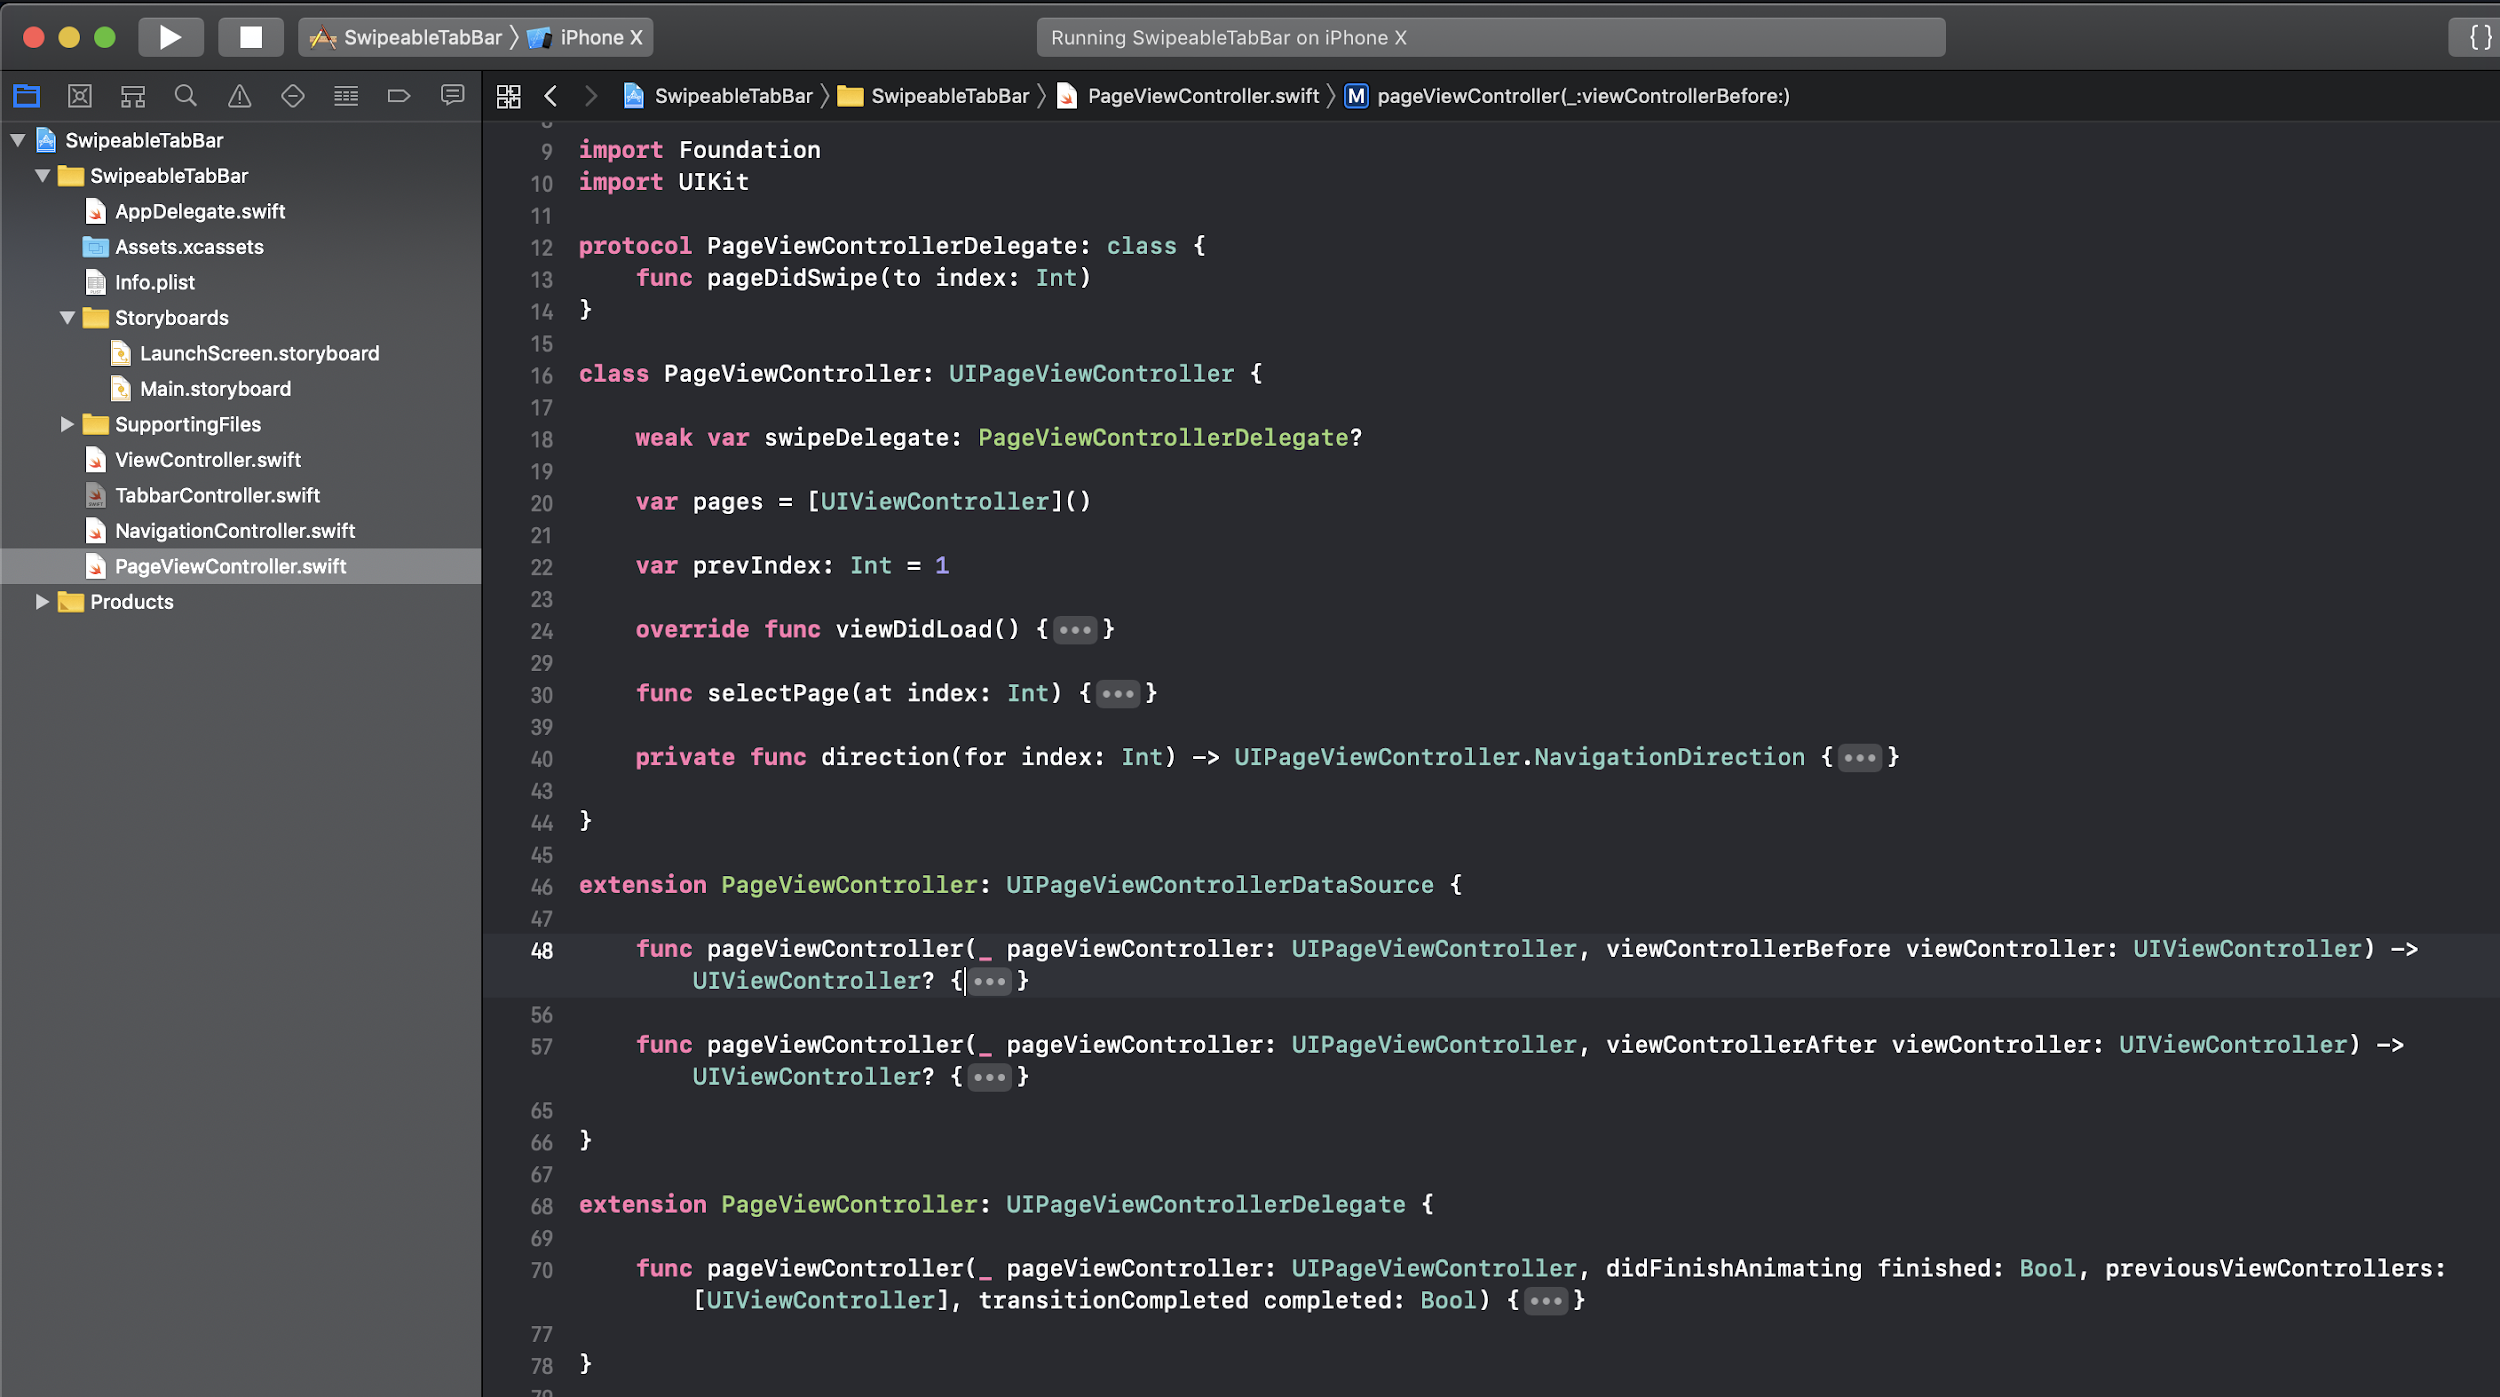
The resulting file needs to look like this:

As you can see, we have declared our own protocol called PageViewControllerDelegate, which should tell the tab bar controller that page index was changed after swipe is handled.
import Foundation
import UIKit

protocol PageViewControllerDelegate: class {
    func pageDidSwipe(to index: Int)
}
Then we need to create a new class, called PageViewController, which will hold our view controllers, select pages at a specific index, and also handle swipes.
Let’s imagine the first selected controller on our first run should be the center view controller. In this case, we assign our default index value, equal to 1.
class PageViewController: UIPageViewController {

    weak var swipeDelegate: PageViewControllerDelegate?

    var pages = [UIViewController]()

    var prevIndex: Int = 1

    override func viewDidLoad() {
        super.viewDidLoad()
        self.dataSource = self
        self.delegate = self
    }

    func selectPage(at index: Int) {
        self.setViewControllers(
            [self.pages[index]],
            direction: self.direction(for: index),
            animated: true,
            completion: nil
        )
        self.prevIndex = index
    }

    private func direction(for index: Int) -> UIPageViewController.NavigationDirection {
        return index > self.prevIndex ? .forward : .reverse
    }

}
As you can see here, we have variable pages, which will contain references of all our view controllers.
Variable prevIndex is used to store the last selected index.
You can simply call the selectPage method in order to set the selected index.
If you want to listen for page index changes, you have to subscribe to swipeDelegate, and on each page swipe, you will be notified that the page index changed, plus you also will receive the current index.
The method direction will return the swipe direction of UIPageViewController. The last piece of the puzzle in this class are delegate/data source implementations.
Fortunately, these implementations are very simple.
extension PageViewController: UIPageViewControllerDataSource {

    func pageViewController(_ pageViewController: UIPageViewController, viewControllerBefore viewController: UIViewController) -> UIViewController? {
        guard let viewControllerIndex = pages.firstIndex(of: viewController) else { return nil }
        let previousIndex = viewControllerIndex - 1
        guard previousIndex >= 0 else { return nil }
        guard pages.count > previousIndex else { return nil }

        return pages[previousIndex]
    }

    func pageViewController(_ pageViewController: UIPageViewController, viewControllerAfter viewController: UIViewController) -> UIViewController? {
        guard let viewControllerIndex = pages.firstIndex(of: viewController) else { return nil }
        let nextIndex = viewControllerIndex + 1
        guard nextIndex < pages.count else { return nil }
        guard pages.count > nextIndex else { return nil }

        return pages[nextIndex]
    }

}

extension PageViewController: UIPageViewControllerDelegate {

    func pageViewController(_ pageViewController: UIPageViewController, didFinishAnimating finished: Bool, previousViewControllers: [UIViewController], transitionCompleted completed: Bool) {
        if completed {
            guard let currentPageIndex = self.viewControllers?.first?.view.tag else { return }
            self.prevIndex = currentPageIndex
            self.swipeDelegate?.pageDidSwipe(to: currentPageIndex)
        }
    }

}
As you can see above, there are three methods in play:
- The first one finds the index and returns the previous view controller.
- The second one finds the index and returns the next view controller.
- The last one checks if swipe has ended, sets the current index to local property
prevIndexand then calls the delegate method to notify the parent view controller that swipe was ended successfully.
Now we can finally write our UITabBarController implementation:
import UIKit

class TabbarController: UITabBarController {

    let selectedColor = UIColor.blue
    let deselectedColor = UIColor.gray

    let tabBarImages = [
        UIImage(named: "ic_music")!,
        UIImage(named: "ic_play")!,
        UIImage(named: "ic_star")!
    ]

    override func viewDidLoad() {

        view.backgroundColor = .gray

        self.delegate = self
        tabBar.isTranslucent = true
        tabBar.tintColor = deselectedColor
        tabBar.unselectedItemTintColor = deselectedColor
        tabBar.barTintColor = UIColor.white.withAlphaComponent(0.92)
        tabBar.itemSpacing = 10.0
        tabBar.itemWidth = 76.0
        tabBar.itemPositioning = .centered

        setUp()

        self.selectPage(at: 1)
    }

}
As you can see, we create the TabbarController, with default properties and style. We need to define two colors, for selected and deselected bar items. Also, I’ve introduced three images for tabbar items.
In viewDidLoad, I am merely setting up the default configuration of our tabbar and selecting page #1. What this means is that the startup page will be page number one.
    private func setUp() {

        guard let centerPageViewController = createCenterPageViewController() else { return }

        var controllers: [UIViewController] = []

        controllers.append(createPlaceholderViewController(forIndex: 0))
        controllers.append(centerPageViewController)
        controllers.append(createPlaceholderViewController(forIndex: 2))

        setViewControllers(controllers, animated: false)

        selectedViewController = centerPageViewController
    }

    private func selectPage(at index: Int) {
        guard let viewController = self.viewControllers?[index] else { return }
        self.handleTabbarItemChange(viewController: viewController)
        guard let PageViewController = (self.viewControllers?[1] as? PageViewController) else { return }
        PageViewController.selectPage(at: index)
    }
Inside the setUp method, you see, that we created two placeholder view controllers.
These placeholder controllers are needed for UITabBar because the number of tab bar items must be equal to the number of view controllers you have.
If you can recall, we use UIPageViewController in order to display controllers, but for UITabBar, if we want to make it fully workable, we need to have all view controllers instantiated, so that bar items will work when you tap on them. So, in this example, placeholderviewcontroller #0 and #2 are empty view controllers.
As a centered view controller, we create a PageViewController with three view controllers.
    private func createPlaceholderViewController(forIndex index: Int) -> UIViewController {
        let emptyViewController = UIViewController()
        emptyViewController.tabBarItem = tabbarItem(at: index)
        emptyViewController.view.tag = index
        return emptyViewController
    }

    private func createCenterPageViewController() -> UIPageViewController? {

        let leftController = ViewController()
        let centerController = ViewController2()
        let rightController = ViewController3()

        leftController.view.tag = 0
        centerController.view.tag = 1
        rightController.view.tag = 2

        leftController.view.backgroundColor = .red
        centerController.view.backgroundColor = .blue
        rightController.view.backgroundColor = .yellow

        let storyBoard = UIStoryboard.init(name: "Main", bundle: nil)

        guard let pageViewController = storyBoard.instantiateViewController(withIdentifier: "PageViewController") as? PageViewController else { return nil }

        pageViewController.pages = [leftController, centerController, rightController]
        pageViewController.tabBarItem = tabbarItem(at: 1)
        pageViewController.view.tag = 1
        pageViewController.swipeDelegate = self

        return pageViewController
    }

    private func tabbarItem(at index: Int) -> UITabBarItem {
        return UITabBarItem(title: nil, image: self.tabBarImages[index], selectedImage: nil)
    }
The first and second method depicted above are init methods of our pageview controller.
The method tabbar item just returns the tabbar item at index.
As you can see, within createCenterPageViewController() I am using tags for each view controller. This is helping me understand which controller has appeared on the screen.
Next, we come to what is possibly our most important method, handleTabbarItemChange.
    private func handleTabbarItemChange(viewController: UIViewController) {
        guard let viewControllers = self.viewControllers else { return }
        let selectedIndex = viewController.view.tag
        self.tabBar.tintColor = selectedColor
        self.tabBar.unselectedItemTintColor = selectedColor

        for i in 0..<viewControllers.count {
            let tabbarItem = viewControllers[i].tabBarItem
            let tabbarImage = self.tabBarImages[i]
            tabbarItem?.selectedImage = tabbarImage.withRenderingMode(.alwaysTemplate)
            tabbarItem?.image = tabbarImage.withRenderingMode(
                i == selectedIndex ? .alwaysOriginal : .alwaysTemplate
            )
        }

        if selectedIndex == 1 {
            viewControllers[selectedIndex].tabBarItem.selectedImage = self.tabBarImages[1].withRenderingMode(.alwaysOriginal)
        }
    }
In this method, I am using the view controller as a parameter. From this view controller, I get a tag as a selected index. For the tab bar, we need to set selected and unselected colors.
Now we need to loop through all our controllers and check if i == selectedIndex
Then we need to render the image as an original rendering mode, otherwise, we need to render the image as a template mode.
When you render an image using template mode, it will inherit the color from the item’s tint color.
We are almost done. We just need to introduce two important methods from UITabBarControllerDelegate and PageViewControllerDelegate.
    func tabBarController(_ tabBarController: UITabBarController, shouldSelect viewController: UIViewController) -> Bool {
        self.selectPage(at: viewController.view.tag)
        return false
    }

    func pageDidSwipe(to index: Int) {
        guard let viewController = self.viewControllers?[index] else { return }
        self.handleTabbarItemChange(viewController: viewController)
    }
The first one is called when you press on any tab item, while the second one is called when you swipe between tabs.
Wrapping Up
When you put all the code together, you will notice that you do not have to write your own implementation of gesture handlers and you do not have to write a lot of code to deliver smooth scrolling/swiping between tab bar items.
The implementation discussed here is not something that will be ideal for all scenarios, but it is a quirky, quick, and relatively easy solution that enables you to create these features with a little code.
Finally, if you want to try out my approach, you can use my GitHub repo. Happy coding!
Understanding the basics
What are the main iPhone user interface elements?
The most frequently used UI components in iOS are UIView, UIButton, UIImageView, UITextfield, UILabel, and UITextview.
What is UIKit?
UIKit framework provides the infrastructure for your iOS or tvOS apps. It provides the window and view architecture for implementing your interface, event handling for delivering Multi-Touch and other types of input, and the main run loop needed to manage interactions between the user, the system, and your app.
What is material design iOS?
Material Design is a style created by Google. The basic metaphor of material design is a flat sheet of paper in 3D space. It is the default approach for designing Android applications, not iOS. However, Google uses it on other platforms, such as in its iOS apps and even Web apps.
George Vashakidze
Tbilisi, Georgia
Member since June 21, 2018
About the author
George is an extremely motivated and hardworking mobile developer with extensive experience working with iOS and Android.
Expertise
PREVIOUSLY AT


