Object Detection Using OpenCV and Swift
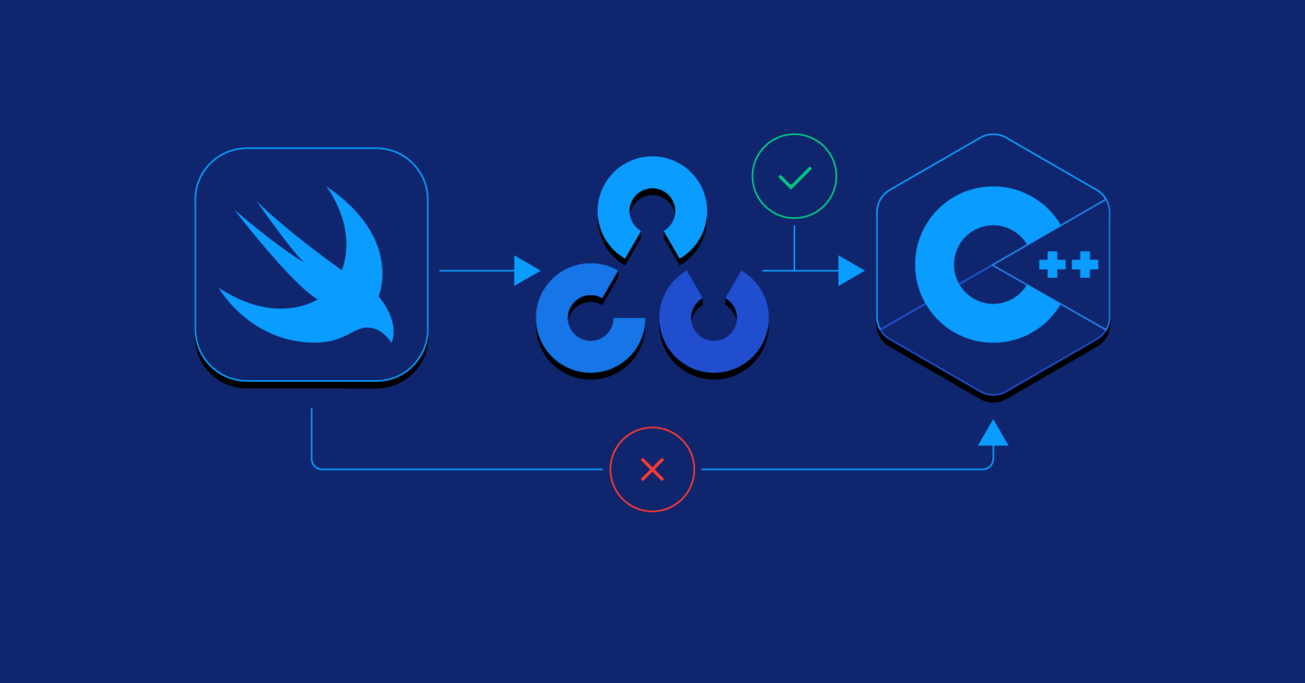
Swift is great, but what if your application relies on a library that’s written using C++? Luckily Objective-C++ is here to save the day.
In this article, Toptal Freelance Swift Developer Josip Bernat integrates C++ code with Swift by using wrapper classes as a bridge and then creates an app that recognizes the Toptal logo using OpenCV.
Josip has been developing for iOS since iOS 4 beta but vastly prefers the current state of iOS development with Objective-C and Swift.
Expertise
Swift has been with us for a while now, and through its iterations, it has brought to us all the features of a modern object-oriented programming language. These include optionals, generics, tuples, structs that support methods, extensions and protocols, and many more. But if your application relies on a library that’s written using C++ then you can’t count on Swift anymore. Luckily Objective-C++ is here to help us.
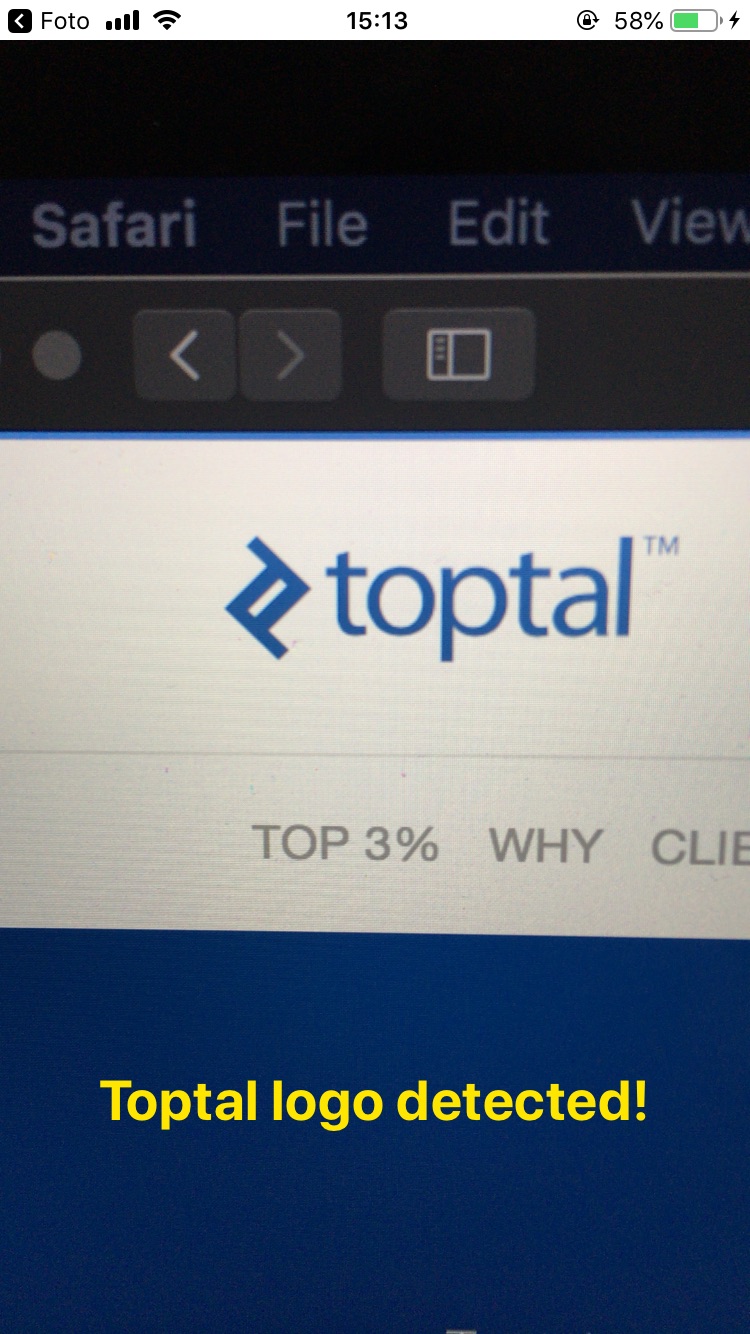
Since its introduction, Swift has had great interoperability with Objective-C and we will use Objective-C for bridging Swift with C++. Objective-C++ is nothing more than Objective-C with the ability to link with C++ code, and using that, in this blog post, we will create a simple app that will recognize the Toptal logo inside the image using OpenCV. When we detect that logo, we’ll open the Toptal home page.
As stated on the OpenCV web page:
"OpenCV was designed for computational efficiency and with a strong focus on real-time applications. Written in optimized C/C++, the library can take advantage of multi-core processing."
This is a great solution if you want fast to develop and reliable computer vision.
Creating the OpenCV Objective-C++ Wrapper
In this tutorial, we will design the application which will match a Toptal logo inside an image and open Toptal web page. To begin, create a new Xcode project and set up CocoaPods using pod init. Add OpenCV to Podfile pod 'OpenCV and run pod install in Terminal. Be sure to uncomment use_frameworks! statement inside Podfile.
Now, when we have OpenCV inside Xcode project, we have to connect it with Swift. Here is a quick outline of the steps involved:
Step 1: Create a new Objective-C class OpenCVWrapper. When Xcode asks you “Would you like to configure an Objective-C bridging header?” choose “Create bridging header.” The bridging header is the place where you import Objective-C classes, and then they are visible inside Swift.
Step 2: In order to use C++ inside Objective-C, we have to change the file extension from OpenCVWrapper.m to OpenCVWrapper.mm. You can do it by simply renaming the file inside Xcode’s project navigator. Adding .mm as an extension will change the file type from Objective-C to Objective-C++.
Step 3: Import OpenCV into OpenCVWrapper.mm using the following import. It’s important to write the given import above #import "OpenCVWrapper.h" because this way we avoid a well-known BOOL conflict. OpenCV contains enum that has the value NO which causes a conflict with the Objective-C BOOL NO value. If you don’t need classes that use such enum, then this is the simplest way. Otherwise, you have to undefine BOOL before importing OpenCV.
#ifdef __cplusplus

#import <opencv2/opencv.hpp>

#import <opencv2/imgcodecs/ios.h>

#import <opencv2/videoio/cap_ios.h>

#endif
Step 4: Add #import "OpenCVWrapper.h" to your bridging header.
Open OpenCVWrapper.mm and create a private interface where we will declare private properties:
@interface OpenCVWrapper() <CvVideoCameraDelegate>

@property (strong, nonatomic) CvVideoCamera *videoCamera;

@property (assign, nonatomic) cv::Mat logoSample;

@end
In order to create CvVideoCamera, we have to pass UIImageView to it, and we will do that through our designator initializer.
- (instancetype)initWithParentView:(UIImageView *)parentView delegate:(id<OpenCVWrapperDelegate>)delegate {


    if (self = [super init]) {

        self.delegate = delegate;


        parentView.contentMode = UIViewContentModeScaleAspectFill;


        self.videoCamera = [[CvVideoCamera alloc] initWithParentView:parentView];

        self.videoCamera.defaultAVCaptureDevicePosition = AVCaptureDevicePositionBack;

        self.videoCamera.defaultAVCaptureSessionPreset = AVCaptureSessionPresetHigh;

        self.videoCamera.defaultAVCaptureVideoOrientation = AVCaptureVideoOrientationPortrait;

        self.videoCamera.defaultFPS = 30;

        self.videoCamera.grayscaleMode = [NSNumber numberWithInt:0].boolValue;

        self.videoCamera.delegate = self;


        // Convert UIImage to Mat and store greyscale version

        UIImage *templateImage = [UIImage imageNamed:@"toptal"];

        cv::Mat templateMat;

        UIImageToMat(templateImage, templateMat);

        cv::Mat grayscaleMat;

        cv::cvtColor(templateMat, grayscaleMat, CV_RGB2GRAY);

        self.logoSample = grayscaleMat;


        [self.videoCamera start];

    }

    return self;

}
Inside it, we configure CvVideoCamera that renders video inside the given parentView and through delegate sends us cv::Mat image for analysis.
processImage: method is from CvVideoCameraDelegate protocol, and inside it, we will do template matching.
- (void)processImage:(cv::Mat&)image {


    cv::Mat gimg;


    // Convert incoming img to greyscale to match template

    cv::cvtColor(image, gimg, CV_BGR2GRAY);


    // Get matching

    cv::Mat res(image.rows-self.logoSample.rows+1, self.logoSample.cols-self.logoSample.cols+1, CV_32FC1);

    cv::matchTemplate(gimg, self.logoSample, res, CV_TM_CCOEFF_NORMED);

    cv::threshold(res, res, 0.5, 1., CV_THRESH_TOZERO);


    double minval, maxval, threshold = 0.9;

    cv::Point minloc, maxloc;

    cv::minMaxLoc(res, &minval, &maxval, &minloc, &maxloc);


    // Call delegate if match is good enough

    if (maxval >= threshold)

    {

        // Draw a rectangle for confirmation

        cv::rectangle(image, maxloc, cv::Point(maxloc.x + self.logoSample.cols, maxloc.y + self.logoSample.rows), CV_RGB(0,255,0), 2);

        cv::floodFill(res, maxloc, cv::Scalar(0), 0, cv::Scalar(.1), cv::Scalar(1.));


        [self.delegate openCVWrapperDidMatchImage:self];

    }

}
First, we convert the given image to grayscale image because inside the init method we converted our Toptal logo template matching image to grayscale. Next step is to check for matches with a certain threshold which will help us with scaling and angles. We have to check for angles because you can capture a photo in various angles in which we still want to detect logo. After reaching the given threshold we will invoke delegate and open Toptal’s web page.
Don’t forget to add NSCameraUsageDescription to your Info.plist otherwise, your application will crash right after calling [self.videoCamera start];.
Now Finally Swift
So far we were focusing on Objective-C++ because all the logic is done inside it. Our Swift code will be fairly simple:
- Inside
ViewController.swift, createUIImageViewwhereCvVideoCamerawill render content. - Create an instance of
OpenCVWrapperand pass theUIImageViewinstance to it. - Implement
OpenCVWrapperDelegateprotocol to open Toptal’s web page when we detect the logo.
class ViewController: UIViewController {


    var wrapper: OpenCVWrapper!


    @IBOutlet var imageView: UIImageView!

    override func viewDidLoad() {

        super.viewDidLoad()

        // Do any additional setup after loading the view, typically from a nib.


        wrapper = OpenCVWrapper.init(parentView: imageView, delegate: self)

    }

}

extension ViewController: OpenCVWrapperDelegate {

    //MARK: - OpenCVWrapperDelegate


    func openCVWrapperDidMatchImage(_ wrapper: OpenCVWrapper) {

        UIApplication.shared.open(URL.init(string: "https://toptal.com")!, options: [:], completionHandler: nil)

    }

}
OpenCV Swift in Action
In this article, we have shown how you can integrate C++ code with Swift and create wrapper classes that are here for bridging C++ code with Swift. Now, when we detect the Toptal Logo through the camera, we open Toptal’s home page.

For future updates, you may want to run CV template matching in a background thread. This way, you won’t block the main thread and the UI will stay responsive. Because this is a simple example of OpenCV, template matching may not be extra successful, but the purpose of this article was to show you how you can start using it.
If you’re still interesting in learning OpenCV and its more complex uses in iOS, I recommend Real-time Object Detection Using MSER in iOS, which walks you through image detection using the iPhone’s rear-camera.
Further Reading on the Toptal Blog:
Understanding the basics
What is OpenCV?
OpenCV (open source computer vision library) is an open source computer vision and machine learning software library containing more than 2,500 optimized algorithms
What is OpenCV used for?
OpenCV algorithms can be used to detect and recognize faces, identify objects, classify human actions in videos, track camera movements, track moving objects, extract 3D models of objects, find similar images from image databases, remove red eyes from images taken using flash, follow eye movements, and much more.
Can OpenCV be used commercially?
Yes. OpenCV is a BSD-licensed product which means it can be used in open and closed source projects, hobby, or commercial products.
Does OpenCV use machine learning?
Even though in the documentation it’s not directly stated that OpenCV internal doesn’t use machine learning, OpenCV can be used for training machine learning models. It supports the deep learning frameworks such as TensorFlow, Torch/PyTorch, and Caffe.
What language is OpenCV written in?
OpenCV is a cross-platform library written in C/C++ and it has interfaces for C++, Python, and MatLab.
What platforms are supported?
Currently supported desktop platforms are Windows, Linux, MacOS, FreeBSD, and OpenBSD. The mobile platforms are Android, Maemo, and iOS.
Does OpenCV use CUDA parallel computing?
Yes. In 2010, there was a new module that provided GPU acceleration. It covers a significant part of the library’s functionality and is still in active development.
Does OpenCV support OpenCL?
Yes. In 2011, a new module providing OpenCL accelerations of OpenCV algorithms was added to the library and this enabled OpenCV-based code taking advantage of heterogeneous hardware.
Tags
Zagreb, Croatia
Member since July 30, 2018
About the author
Josip has been developing for iOS since iOS 4 beta but vastly prefers the current state of iOS development with Objective-C and Swift.

