
How to Create a WordPress Plugin: A Step-by-Step Development Guide
PHP skills are needed to build a WordPress plugin, but that’s only the beginning. Learn how to plan, develop, test, secure, package, and publish plugins using current WordPress best practices.

PHP skills are needed to build a WordPress plugin, but that’s only the beginning. Learn how to plan, develop, test, secure, package, and publish plugins using current WordPress best practices.

Nicholas is a web developer specializing in custom WordPress plugin and theme creation. His clients include leading multinationals like John Deere and the Marriott Vacation Club, alongside a broad range of healthcare, fintech, and marketing ventures.
Expertise
Previous Role
Senior WordPress DeveloperPreviously At

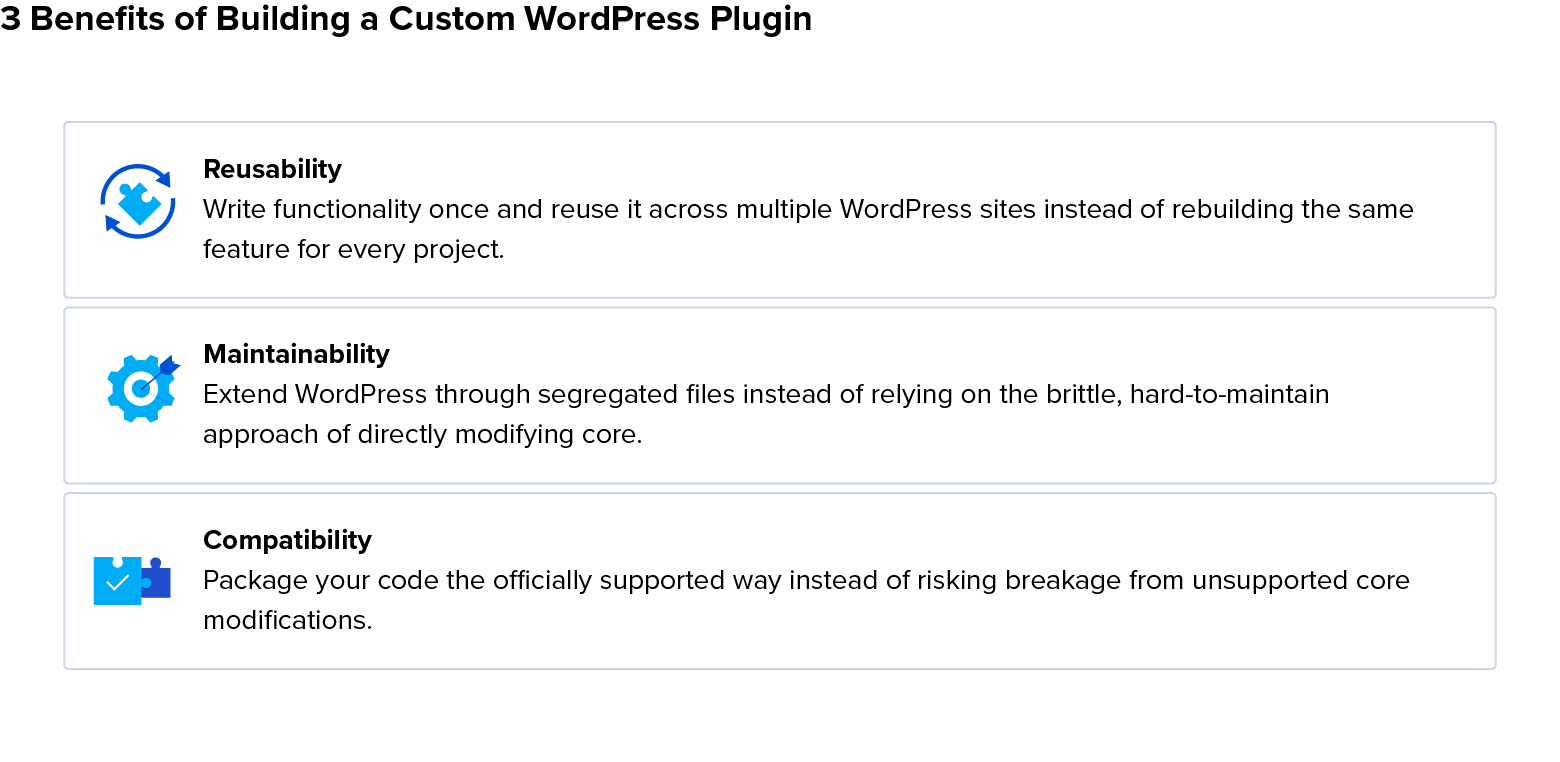
Whether you need a custom integration, an admin tool, or a reusable feature for client sites, creating a WordPress plugin is the officially supported way to package and maintain your code. Custom WordPress plugins extend the core platform (and even other plugins) via segregated files, avoiding the highly brittle approach of direct modification.
One of the biggest advantages of plugins is being able to write functionality once and reuse it across multiple WordPress sites instead of rebuilding the same feature for every project. For example, you could write a plugin that encrypts Contact Form 7 submissions and automatically deletes personally identifiable information after a configurable retention period; this can then be reused across dozens of client sites with minimal fuss.
To create a WordPress plugin, you need to create a plugin folder, add a main PHP file with a WordPress plugin header, and use hooks to add functionality. (PHP remains the foundation of all custom WordPress plugins, but more advanced plugins that extend the block editor will also involve JavaScript and React.)
This guide is intended for software developers, freelancers, and technically minded site owners who understand PHP but are new to WordPress plugin development. It’ll teach you how to build a production-ready plugin, from setting up a development environment through testing, packaging, and publishing. You’ll create a minimal working plugin; gain awareness of the core WordPress APIs, current security practices, and coding standards; and prepare your plugin for private deployment or public distribution through WordPress.org.
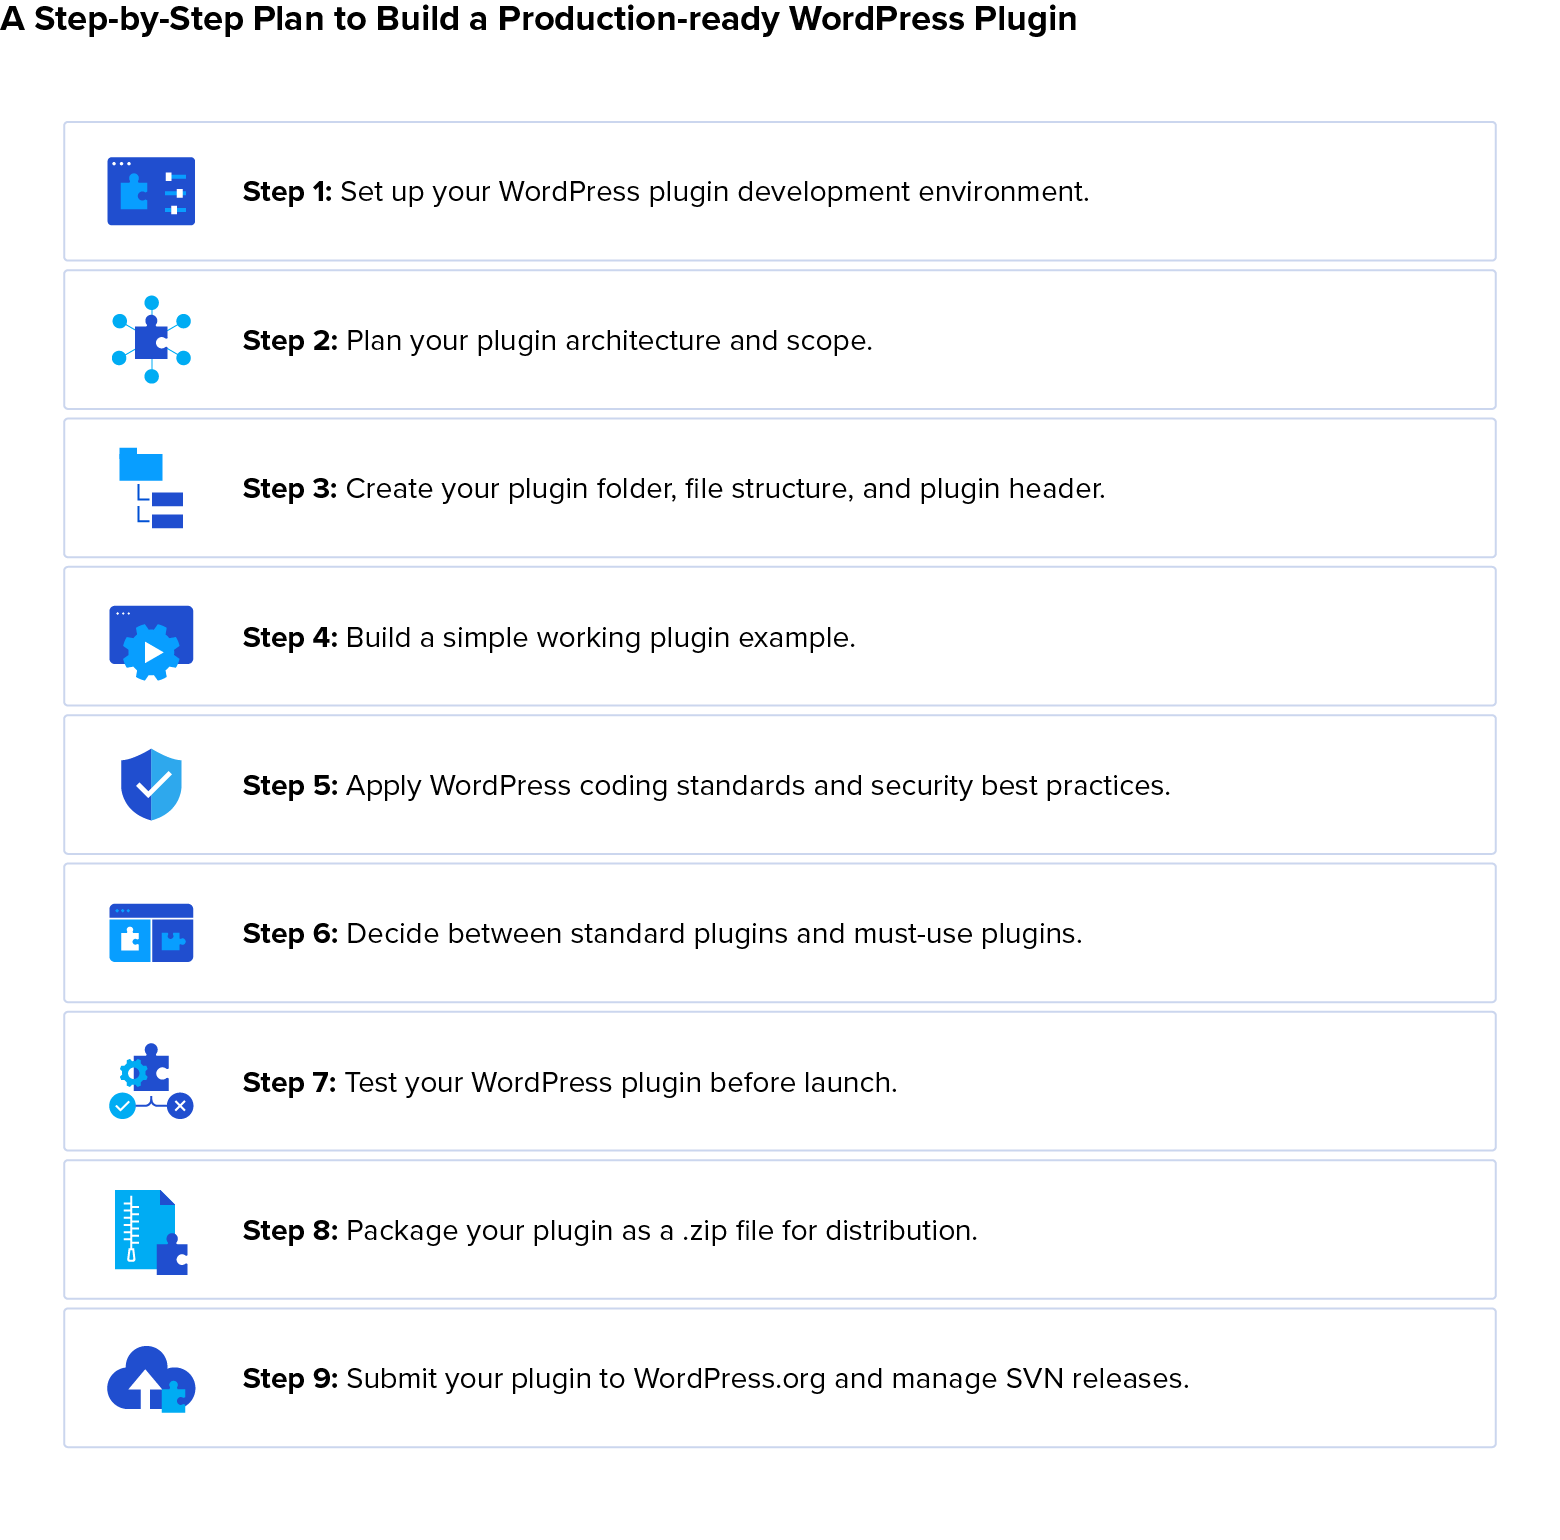
Step 1: Set Up Your WordPress Plugin Development Environment
Developing plugins locally rather than on a live site lets you debug safely, experiment freely, and test against different WordPress and PHP versions before deployment.
You’ll need:
- A local WordPress installation.
- A PHP-capable code editor.
- Apache Subversion (SVN) if you plan to distribute via WordPress.org.
- A separate version control system (VCS) during development.
Each prerequisite offers some choices. Let’s discuss each one.
Installing a Local WordPress Environment
For beginners, Local (formerly LocalWP) provides the quickest web server, PHP, database, and WordPress setup, and makes it easy to pull production or staging sites for local development. Alternatives include:
- DDEV, which builds on Docker’s containerized, reproducible environments and offers extensive scripting and automation.
- XAMPP (cross-platform Apache, MariaDB, PHP, and Perl) for Windows, macOS, and Linux developers who want manual control.
- MAMP for local Apache/Nginx and MySQL management.
Before writing code, confirm that WordPress loads successfully in the browser and that you can access the admin dashboard.
Configuring Your Code Editor and Version Control
Visual Studio Code (VS Code) and VSCodium are popular free choices, while PhpStorm provides deeper PHP tooling. Lightweight editors are also suitable if they support PHP syntax highlighting and debugging.
Useful extensions for VS Code and VSCodium include:
As for version control, Git and the Git-compatible Jujutsu are widely used. Before coding, make a subdirectory in wp-content/plugins/ and initialize a Git repository inside it:
git init # or `jj git init` if you use JujutsuCommit frequently and connect the repository to GitHub or GitLab for collaboration and backup. SVN isn’t used until later.
Create a .gitignore file to exclude .git and any other development artifacts your project may accumulate, such as:
.github/build/node_modules/vendor/- Test directories
- Local configuration files
- Editor settings (e.g.,
.vscode/)
Version control is particularly valuable once your plugin gains multiple features or contributors.
With the basics in place, I advise keeping a WordPress Plugin Handbook tab open as your primary reference throughout development.
Step 2: Plan Your Plugin Architecture and Scope
Experienced WordPress developers know that building a great plugin begins with careful planning, because most maintenance problems originate during planning rather than implementation. Define exactly what your plugin should do before creating files or writing code.
Start with one clear responsibility. Other features can be added later without complicating the initial architecture.
Decide early whether your plugin requires:
- A settings page.
- Storing data in custom tables instead of standard WordPress tables.
- User-role restrictions.
- Admin menus.
- AJAX endpoints.
- Shortcodes.
- Custom database tables.
- Scheduled tasks.
- Block editor integration.
Setting up a directory and class structure helps avoid architectural debt as the project grows. If you’re unsure where to start, that’s OK; I’ll make further suggestions before you reach Step 3.
Understanding the WordPress Plugin API: Actions, Filters, and Hooks
Plugins extend the WordPress system through hooks instead of modifying core files or other plugins. The two primary hook types are:
-
Actions, registered with
add_action(), execute code at specific points during the life cycle of WordPress or another plugin. For example, a plugin that extends Contact Form 7 can hook into the point immediately before or after an email is sent. Before sending, it might validate or reject data; afterward, it could encrypt and archive the submission. -
Filters, registered with
add_filter(), modify data before WordPress returns or saves it.
WordPress also supports:
-
Shortcodes, registered with
add_shortcode(), allow custom dynamic content inside posts and pages. -
Admin pages, created with
add_menu_page()andadd_submenu_page().
Using hooks makes it much easier to update WordPress and related plugins (some WordPress hosts now offer automatic core updates) because you needn’t manually merge your code with updated third-party code. This approach is more crucial in this age of widespread exploits.
If your plugin needs to create database tables, seed default options, or perform other one-time setup, do that in an activation hook rather than checking on every page load. Similarly, use a deactivation hook for temporary cleanup and an uninstall hook (or an uninstall.php in the project root, in larger plugins) for permanent data removal.
Choosing a Plugin Architecture Pattern
Procedural plugins work well for small utilities with limited functionality. For anything larger, object-oriented development is generally easier to maintain: Separating responsibilities into classes makes plugin code easier to read, test, and extend. Many plugins organize hook registration in a loader or bootstrap class, reducing global functions and namespace conflicts.
For small plugins, creating the structure manually (see Step 3 for an example) is often simpler; the WP-CLI also provides a scaffold plugin subcommand that also adds Grunt to your toolchain.
For larger plugins, I recommend WordPress Plugin Boilerplate. While it may feel heavyweight for beginners, it provides a well-organized object-oriented structure that’s easier to maintain as projects grow.
Step 3: Create Your Plugin Folder, File Structure, and Plugin Header
Plugins belong inside wp-content/plugins/, each in its own subdirectory; name yours uniquely using lowercase letters and hyphens (e.g., wp-content/plugins/my-custom-plugin/).
If you intend to publish your plugin, check that the slug is not already used in the WordPress.org Plugin Directory.
Plugin Folder Structure Diagram
The minimum requirement is a single PHP file containing a valid plugin header, but a scalable structure typically looks like:
my-custom-plugin/
├── my-custom-plugin.php
├── includes/
├── assets/
│   ├── css/
│   ├── js/
│   └── images/
├── languages/
└── uninstall.php
Keep the main plugin file focused on bootstrapping. Business logic should live inside includes/; CSS, JavaScript, and images belong under assets/; the languages/ directory is for localizing your plugin with translation files.
Writing the WordPress Plugin Header
Every plugin begins with a header comment that WordPress reads to populate its Plugins screen:
/**
 * Plugin Name: My Custom Plugin
 * Description: WordPress plugin example.
 * Version: 1.0.0
 * Author: Your Name
 */
Only Plugin Name is strictly required, but it’s worth perusing the field list (Text Domain’s description in particular if you plan to translate your plugin).
Step 4: Build a Simple Working Plugin Example
With your plugin’s structure in place, you’re ready to build a minimal plugin; here’s an example that adds a message to every page footer using the wp_footer action hook:
<?php
/**
 * Plugin Name: My Custom Plugin
 * Description: Displays a custom footer message.
 * Version: 1.0.0
 * Author: Your Name
 */

defined('ABSPATH') || exit;

function my_custom_plugin_footer_message() {
    echo '<p>' . esc_html__( 'Powered by my custom plugin.', 'my-custom-plugin' ) . '</p>';
}

add_action( 'wp_footer', 'my_custom_plugin_footer_message' );
Although this example is intentionally simple, it demonstrates the same hook system used by much larger plugins, as well as some standard security best practices:
- An
ABSPATHcheck to make sure your script is being run within a WordPress environment, and not directly via URL by some attacker. -
esc_html__()to ensure valid HTML (so you and any translators don’t need to manually escape HTML entities like the ampersand inA, B, & C).
Be aware that classic themes and block themes don’t always render content identically (and classic hooks remain highly relevant, even as of WordPress 7.0). For example, some classic content hooks such as the_content may not run in every block-based rendering context, so choose hooks appropriate to the feature you’re building.
Activating and Testing the Example Plugin
With your plugin folder within wp-content/plugins/ now populated, open Plugins in the WordPress admin and click the Activate button beside your plugin. After that, a visit to your site’s front end should confirm the footer’s addition.
Enable debugging during development by adding the following to wp-config.php anywhere above the /* That's all, stop editing! Happy blogging. */ line:
define('WP_DEBUG', true);
define('WP_DEBUG_LOG', true);
define('WP_DEBUG_DISPLAY', false);
To establish a baseline, review wp-content/debug.log for PHP notices, warnings, or fatal errors before continuing.
Expanding the Example: Settings, Shortcodes, and AJAX
Once your plugin works, you can gradually introduce additional WordPress APIs:
- Add a settings page with the Settings API.
-
Register a shortcode using
add_shortcode(). -
Handle authenticated AJAX requests with
wp_ajax_{$action}. -
Support public AJAX requests with
wp_ajax_nopriv_{$action}.
Keeping each feature independent makes your plugin easier to test and maintain.
Step 5: Apply WordPress Coding Standards and Security Best Practices
A working plugin is only the beginning. Production plugins should follow the WordPress Coding Standards and apply key security principles at every point where data enters or leaves the application:
- Sanitize all input, including admin settings.
- Validate where appropriate.
- Escape all output.
- Verify requests.
- Don’t rely on nonces alone: They’re only one layer of protection.
- Check user permissions.
Common input sanitization functions include:
-
sanitize_text_field()(and its multiline cousin,sanitize_textarea_field()) strips all HTML tags. -
sanitize_email()(strips characters not allowed in an email address). -
sanitize_key()for dynamic internal identifiers (i.e., PHP array keys). -
absint()for nonnegative integers.
Before outputting data, escape it using the context-appropriate function, including:
-
esc_html()to convert any remaining HTML special characters to HTML entities (i.e., allows only plain text).-
esc_html__()(as seen in Step 4), which also fetches a translation, if available.
-
-
esc_attr()for values that will be used within HTML attributes.-
esc_url()for URL-type attributes to avoid subtle ampersand issues.
-
-
wp_kses_post()when limited HTML is permitted.
Protect forms and AJAX requests with nonces you generate with wp_nonce_field() and wp_create_nonce(), respectively, then verify nonces with wp_verify_nonce().
Finally, always confirm the current user has permission to perform privileged actions with current_user_can().
Following these practices improves security while helping plugins meet WordPress.org expectations.
Structuring a Secure Plugin Settings Page
For example, when you register plugin settings using register_setting(), sanitize each setting before storage: A radio button’s value would need sanitize_key(), an email field sanitize_email(), and a free-form text field sanitize_text_field().
Your settings form should include a nonce field with wp_nonce_field( 'submit_settings_form', 'my_plugin_settings' ); and then verify the nonce with wp_verify_nonce( $_POST['my_plugin_settings'], 'submit_settings_form' ) (note the _POST lookup and the parameter order reversal) before processing submissions.
Store persistent configuration with update_option() and retrieve it using get_option() or get_options(), rather than writing directly to the database.
Performance and Modularity Best Practices
Performance becomes increasingly important as plugins grow. At a high level, a monolithic plugin file doesn’t scale well; it helps to separate front-end and admin functionality and organize related features into independent classes or files.
That includes CSS and JavaScript assets. It’s best to load them using WordPress’s enqueue functions, which manage dependencies and prevent duplicate loading, and only enqueue assets where they’re needed, for example:
- On your plugin’s admin pages using the
admin_enqueue_scriptshook. - On relevant front-end pages using Conditional Tags such as
is_page()oris_singular().
Finally, you can avoid repeated work on every page load by caching expensive database queries or remote API responses with the Transients API.
Step 6: Decide Between Standard Plugins and Must-use Plugins
Before distributing a plugin, decide how it will be deployed. WordPress supports both standard plugins (wp-content/plugins/) and must-use (“mu-“) plugins (wp-content/mu-plugins/).
What You Need to Know Before Choosing
Must-use plugins load automatically on every request, without requiring activation. Indeed, they exist outside the normal plugin administration flow entirely. They’re not even listed to individual site administrators on the Plugins page, don’t have activation or deactivation hooks, and lack a built-in update mechanism.
Which Plugin Type Fits Your Project?
Standard plugins, compatible with the WordPress.org directory, are the right choice for almost every public or commercial plugin, whereas mu-plugins are intended for platform-level functionality that should never be disabled accidentally. Common mu-plugin use cases include enterprise integrations, hosting platform features, or nonoptional multisite infrastructure.
For WordPress multisite, a third option exists: network activation. Network-activated plugins remain standard plugins but can be enabled across every site from the Network Admin interface.
For most developers, standard plugins provide the flexibility, life-cycle support, and distribution options they’re looking for in custom development.
Step 7: Test Your WordPress Plugin Before Launch
Testing shouldn’t be an afterthought. Both the code and the user experience should already have been validated via user acceptance testing (UAT). Nonetheless, it makes sense to test comprehensively between any “one last change” and deployment. Automated tests remove some of the tedium and temptation to skip testing after what might seem like a harmless tweak.
Automated Testing With PHPUnit and WP_Mock
As your plugin grows, unit tests help catch regressions before they reach production. If you didn’t use wp scaffold plugin earlier, WP-CLI can scaffold the WordPress testing framework separately with wp scaffold plugin-tests, providing the PHPUnit configuration needed for automated testing. Keep business logic isolated where possible so it can be tested independently of WordPress, and use integration tests for code that interacts with hooks, settings, or the database. Libraries such as WP_Mock can simplify unit testing by mocking WordPress functions when a full WordPress installation isn’t required.
Automated tests only verify that code behaves as expected, not whether your expectations match project requirements. That’s where user acceptance testing comes in. Defining acceptance criteria during planning gives you an objective behavioral checklist. For example, if your plugin:
- Displays a banner: Can an administrator change the text?
- Has a color setting: Does changing it update the front end correctly?
- Stores data: Does it behave correctly when given invalid input?
Testing should confirm that every promised feature works from the user’s perspective, not just that the code executes successfully.
Testing Block Theme and Classic Theme Compatibility
Before publishing, install your plugin on a staging site and test it under realistic conditions. Verify activation and deactivation, settings pages, front-end output, edge cases, and uninstall behavior where applicable. Test with both a classic theme, such as Twenty Twenty-One, and a block theme, such as Twenty Twenty-Five, to confirm that hooks, shortcodes, and editor integrations behave consistently.
Finally, review the PHP error log, browser console, and tools such as Query Monitor to identify warnings, slow database queries, or unexpected hook execution before deploying to production.
Step 8: Package Your Plugin as a .zip File for Distribution
When your plugin is ready, package only the files users actually need with your plugin directory as the only directory in the root of the .zip file, and within that, your plugin’s readme.txt alongside required PHP, CSS, JavaScript, image, and language files.
Exclude all the development artifacts you’ve already listed in .gitignore, plus .gitignore itself. Many developers automate packaging with a build script or use the WP-CLI dist-archive command with a .distignore file (which should reference itself in addition to the above).
Before publishing, install the .zip file into a clean WordPress installation using Plugins → Add New → Upload Plugin to confirm that installation succeeds.
Writing a Good readme.txt for Plugin Distribution
Plugins distributed through WordPress.org use a standardized readme.txt format. Your plugin’s software license (WordPress.org strongly recommends staying GPL-compatible) can be included both in the readme.txt header and in your main PHP file. Typical sections beyond the header information include:
- Installation.
- Frequently Asked Questions.
- Screenshots.
- Changelog.
Write installation steps for nontechnical users, keep the changelog current, and validate the file using the official Readme Validator before submission.
Step 9: Submit Your Plugin to WordPress.org and Manage SVN Releases
After preparing your plugin and documentation, submit it through the WordPress.org plugin submission page. The review process includes automated checks followed by manual review, with reviewers commonly checking:
- Coding standards.
- Security practices.
- Licensing.
- WordPress API usage.
- Guideline compliance.
Reviews take place within 14 business days depending on review volume. If reviewers request changes, address them promptly and explain what was updated.
Managing Your Plugin With SVN After Approval
WordPress.org provides an SVN repository when it approves a plugin. The repository contains three primary directories:
-
trunk/for current development -
tags/for released versions -
assets/for screenshots, icons, and banners displayed in the directory
Copy your plugin’s files to trunk/ but not within a subdirectory or .zip file, i.e., your main PHP file goes directly in trunk/ and your assets to assets/.
If everything looks right and you’ve gone through the Prelaunch Checklist, commit the initial release using svn add and svn ci. Finally, create a version tag, for example, svn cp trunk tags/1.0.0 (note the svn before cp, ensuring pointers are used for efficiency compared with a plain copy). WordPress.org automatically zips and serves tagged releases to users, so publishing an update entails committing a new version and creating a corresponding tag.
Post-launch Support and Plugin Maintenance
Publishing is only the beginning. Plan ongoing maintenance by:
- Monitoring support requests.
- Responding professionally to reviews.
- Testing against each major WordPress release.
- Updating
trunk/readme.txt’s:-
Tested up tofield after compatibility verification. -
Stable Tagfield when tagging a new version.
-
Regular maintenance improves user confidence and helps prevent compatibility issues as WordPress evolves.
AI-assisted WordPress Plugin Development
AI coding assistants can significantly speed up WordPress plugin development, but they work best when treated as implementation tools rather than autonomous developers.
A useful mental model is to think of AI as a junior developer. The more context you provide, such as requirements, acceptance criteria, architectural constraints, coding standards, and examples of the desired structure, the more useful the generated code is likely to be.
AI is particularly effective at generating boilerplate, explaining unfamiliar hooks, scaffolding classes, drafting documentation, and implementing routine functionality. These are tasks that experienced developers already know how to do but would prefer to complete more quickly.
Human review remains essential. AI agents can hallucinate APIs, overlook WordPress conventions, introduce subtle security flaws, or make architectural decisions that don’t scale, all while sounding very confident and convincing.
Every generated change (unit test code included) should go through the same review process as code written by a new member of your team, particularly around the coding standards covered earlier: Verify that inputs are validated and sanitized, outputs are escaped, authorization checks are in place, nonces are used, and database queries are safe.
Finally, don’t skip your normal testing process simply because AI generated the code. Review it yourself, have another developer inspect significant changes where possible, and verify the finished plugin through automated tests and user acceptance testing before deploying it. AI can accelerate development, but it doesn’t replace engineering judgment.
Prelaunch Checklist and WordPress Plugin Readiness Review
After you create a WordPress plugin, it’s worth reviewing some crucial (if last-minute) steps before deployment.
Prelaunch Checklist
Before deploying or submitting a plugin, confirm that:
- Your plugin activates and deactivates without errors.
- All user input is sanitized.
- All output is properly escaped.
- Every form and AJAX request verifies a nonce.
- Capability checks protect privileged actions and access.
- No credentials or secrets are hard-coded.
- Your
readme.txtis complete and validated. - Your (newest) version number compares correctly via
version_compare(). - The changelog is current.
- Installation instructions are accurate.
- The initial release
.zipfile (or for updates, your SVN repo’strunk/directory) contains only production files and installs successfully on a clean WordPress installation (and/or an installation having plugins your plugin extends, if applicable). - Your plugin has been tested with both classic and block themes.
- A support channel, such as the WordPress.org support forums, GitHub issues, or a dedicated support site or contact address, is available and advertised in your plugin’s
readme.txt.
Completing this checklist greatly reduces the likelihood of release-day issues, especially when launching updates once your custom WordPress plugin has an established user base.
WordPress Plugin FAQs
How do I create my own plugin in WordPress?
Create a uniquely named folder inside wp-content/plugins/, add a PHP file with a valid plugin header, implement functionality using hooks via add_action() and add_filter(), then activate your plugin from the WordPress admin panel.
What are the three types of WordPress plugins?
The three deployment models are standard plugins, must-use plugins stored in wp-content/mu-plugins/, and network-activated plugins used in WordPress multisite installations.
Is it hard to make a WordPress plugin?
A basic plugin requires only a folder, a PHP file, and a plugin header, making it approachable for developers with basic PHP knowledge. More advanced features, such as settings pages, AJAX, custom database tables, or block editor integration, require familiarity with the WordPress APIs.
How do I create a plugin in WordPress, step by step?
Set up a local development environment, create your plugin directory and header, add functionality with hooks, activate and test the plugin, apply security and coding standards, package it as a .zip file, and test again before distribution.
How do I create a .zip file for a WordPress plugin?
Compress the plugin’s root folder, including the main PHP file, assets, and readme.txt, while excluding development files like .gitignore and directories such as .git, node_modules, and test. Verify the archive by adding it to a clean WordPress installation through the WordPress admin interface.
Can AI help create a WordPress plugin?
Yes. AI can generate boilerplate, explain APIs, and accelerate development, but every generated change should be reviewed for security, correctness, maintainability, and compliance with WordPress coding standards.
How do I create a custom WordPress plugin?
Custom plugins follow the same structure as any other plugin but implement project-specific functionality using WordPress features such as hooks, the Settings API, custom POST types, REST endpoints, or block editor APIs. Larger plugins are generally easier to maintain using an object-oriented architecture.
How do I test a WordPress plugin before publishing it?
Test on a local or staging site with WP_DEBUG enabled. Verify activation, settings, front-end behavior, and error handling manually, then supplement manual testing with PHPUnit and compatibility testing across multiple WordPress and PHP versions.
How do I submit a WordPress plugin to WordPress.org?
Making sure your code meets WordPress.org’s official guidelines, prepare a complete readme.txt and submit your plugin through the WordPress.org Plugin Directory, being ready to address any reviewer feedback and manage future releases through the provided SVN repository.
Further Reading on the Toptal Blog:

Melbourne, Victoria, Australia
Member since March 26, 2018
About the author
Nicholas is a web developer specializing in custom WordPress plugin and theme creation. His clients include leading multinationals like John Deere and the Marriott Vacation Club, alongside a broad range of healthcare, fintech, and marketing ventures.
Expertise
Previous Role
Senior WordPress DeveloperPREVIOUSLY AT