
4 Steps to Mastering the MVP Development Process
In the world of startup products, design resources are scarce. This four-step MVP process helps designers build and launch user-friendly products on time without blowing their budgets.

In the world of startup products, design resources are scarce. This four-step MVP process helps designers build and launch user-friendly products on time without blowing their budgets.

Calin is a product designer, lean UX practitioner, and branding specialist with experience at both startups and large companies. He’s worked on end-to-end product design from concept and strategy to usability testing to visual design. Calin works well with small teams and startup founders to iterate quickly, test early, and deliver on time.
Expertise
Startup product teams often face tight budgets and deadlines. With limited resources, they’re tasked with building new products with no users, feedback, or feature requests. As a product designer familiar with these challenges, I know how difficult this can be.
Luckily, there is a way to manage uncertainty, stay user-focused, and deliver products on time and on budget: the MVP framework. A minimum viable product is a launchable version of a product with just enough features to solve a core user problem. MVPs help product teams learn more about their target audience while exerting less effort in the design/dev process. They also reduce risk by allowing designers to test assumptions early on.
In this post, I share the four key steps to mastering the MVP development process. To help us visualize this approach, we’ll design a food delivery app, much like Grubhub or Uber Eats.
Step 1: Define the MVP With a PRD
The first step in the MVP development process is defining the product’s purpose, features, functionality, and behavior with a product requirements document. The PRD is the project’s single source of truth, aligning the product team around the user’s problem. It should include:
- The objective (problem statement).
- Ideation information (user personas, user stories, and epics).
- Analysis (assumptions, constraints, and success metrics).
Here’s what our food delivery app PRD looks like:
Objective
Problem Statement
A problem statement defines the real-life user problem that the product aims to solve. It should be no longer than a single sentence and ensure a clear understanding of the product goal.
For example: “We need to connect hungry customers to great restaurants that can deliver their orders ASAP.”
Ideation Information
User Personas
A user persona is a fictional character who represents a type of user and performs a set of unique actions. Each persona contributes to solving the challenge defined in the problem statement.
Our food delivery app personas are:
- Rick the Restaurateur;
- Dante the Deliveryman;
- Chloe the Customer; and
- Sabita the Support Agent.
Using personas in MVP design enables teams to understand and empathize with end users, and therefore target their designs around their needs.
User Stories and Epics
A user story is a short explanation of how a persona interacts with a product and achieves one of the product’s end goals. For instance, for Rick the Restaurateur: “When a customer places an order [the context], I want to be notified and see the details of the order [the action] so I can review and respond to it in less than 30 seconds [the goal].”

An epic is a large group of user stories that can be broken down into smaller stories. Our food delivery app epics are:
- Ordering a meal;
- Reporting a missing item;
- Rating the delivery experience; and
- Returning an item.
Analysis
Assumptions
Assumptions are what we expect the product will do or how the user will behave. For example: We assume that Dante the Deliveryman will work during restaurant hours. However, his schedule and restaurant hours might not be compatible.
Constraints
Constraints outline possible product limitations. For example: Poor cell reception means Chloe the Customer won’t receive updates on the status of her order.
By addressing assumptions and constraints in the PRD, we can tackle them earlier in the process and create a better experience for the user.
Success Metrics
Actionable success metrics, such as engagement, churn rate, and session duration, are essential for measuring MVP performance. Developing these metrics helps us validate our original product concept and guide the development process.
For our food delivery app, we’ve included:
- The number of downloads.
- The rate of sign-ups.
- Time in the app.
Step 2: Organize the MVP’s Information Architecture
The next step in the MVP design process is labeling and organizing the app’s digital content, such as sections, pages, and features. The result of this process is called information architecture (IA) and can be broken down into two parts:
- Defining the product’s content; and
- Determining the content’s hierarchy.

Define the App’s Content
In order to define a product’s content (pictures, music, text, videos, etc.), first we research trends, competition, and our target audience. Then, to connect the dots between content types, we create a “quick and dirty” mind map with branches, topics, and subtopics. Mind-mapping helps us visualize all our content in one place and link related topics.
Our app mind map will include:
- A restaurant topic with subtopics for the menu, order log, and customer database pages.
- The menu subtopic, which consists of food and drinks options, and special offers.
Determine the Content Hierarchy
Next, we need to determine how to present our content, i.e., the content hierarchy. A great way to order content is by card sorting, with users organizing topics into logical groups. This ensures that the IA will be organized according to user expectations, rather than by product team assumptions.
To conduct a card sort:
- Choose topics that represent the product’s main content.
- Organize the topics into groups with the user.
- Label each group with the user and discuss the rationale behind each decision.
- Repeat the first three steps with additional users.
- Analyze the results and look for common patterns between the groups. This helps product designers understand the product’s user flow.
Step 3: Create Wireframes and Prototypes
Create a Wireframe
With our content defined and organized, we can build the app’s basic UI layout with a wireframing tool. There are many benefits of MVP wireframing, namely that it allows us to visualize our product while keeping things lean.
For our food delivery app, we’ll wireframe in two stages:
- Sketch the layout of each screen, including sizing and positioning.
- Create a basic UI component library, including headers and footers, content blocks, and menus. These UI components will serve as placeholders until we convert our wireframe into a high-fidelity prototype.
We now have a wireframe with which to visualize the app’s basic layout and functionalities.
Test With Users
Our MVP process involves the “measure, learn, repeat” user testing approach in order to identify and fix potential friction points early on.
For example, in our food delivery app, we notice that users don’t seem to be applying the app filters to refine types of food, price, or distance. We’ll perform two types of tests—unmoderated and moderated—to collect the most feedback to understand why.
1. Unmoderated testing for quantitative data with Maze: By measuring users’ performance on a given task, unmoderated testing offers an indirect usability assessment through quantitative data. The advantage of this type of testing? We get sound statistical feedback about a problem, with no “random” results that might impact our response to that problem.
For instance, Maze’s click funnel shows a steep drop-off on the filter screen and a low completion rate of this task. We can see that the users are having problems with the filters. However, with unmoderated testing, that would be the extent of the feedback.
2. Moderated testing for qualitative data with Userfeel: By observing users to understand how they complete a task and asking follow-up questions, moderated testing offers a direct usability assessment through qualitative data. The advantage of this type of testing? We know exactly which aspects of the task are problematic.
For instance, a Userfeel recording would reveal the user struggling to understand how the filters work and identify where the specific problem lies, e.g., the filter text is too small and limits legibility.
Using this collective feedback, we can iterate on our wireframe to build a more user-friendly filter feature.
Develop a High-fidelity Prototype
With our wireframe MVP validated, it’s time to upgrade to an interactive prototyping experience. In contrast to basic wireframing, high-fidelity (hi-fi) prototypes leverage pixel-perfect UI design and animation, and are much closer in appearance and functionality to the final product. We can use them to infer important visual affirmations and gather real-time feedback in relation to our MVP design.
We’ll convert our wireframe into an interactive prototype by:
- Fine-tuning our UI’s branding, such as color gradients and palettes, and typography.
- Applying advanced animation, such as scrolling, tabbing, and micro-interactions.
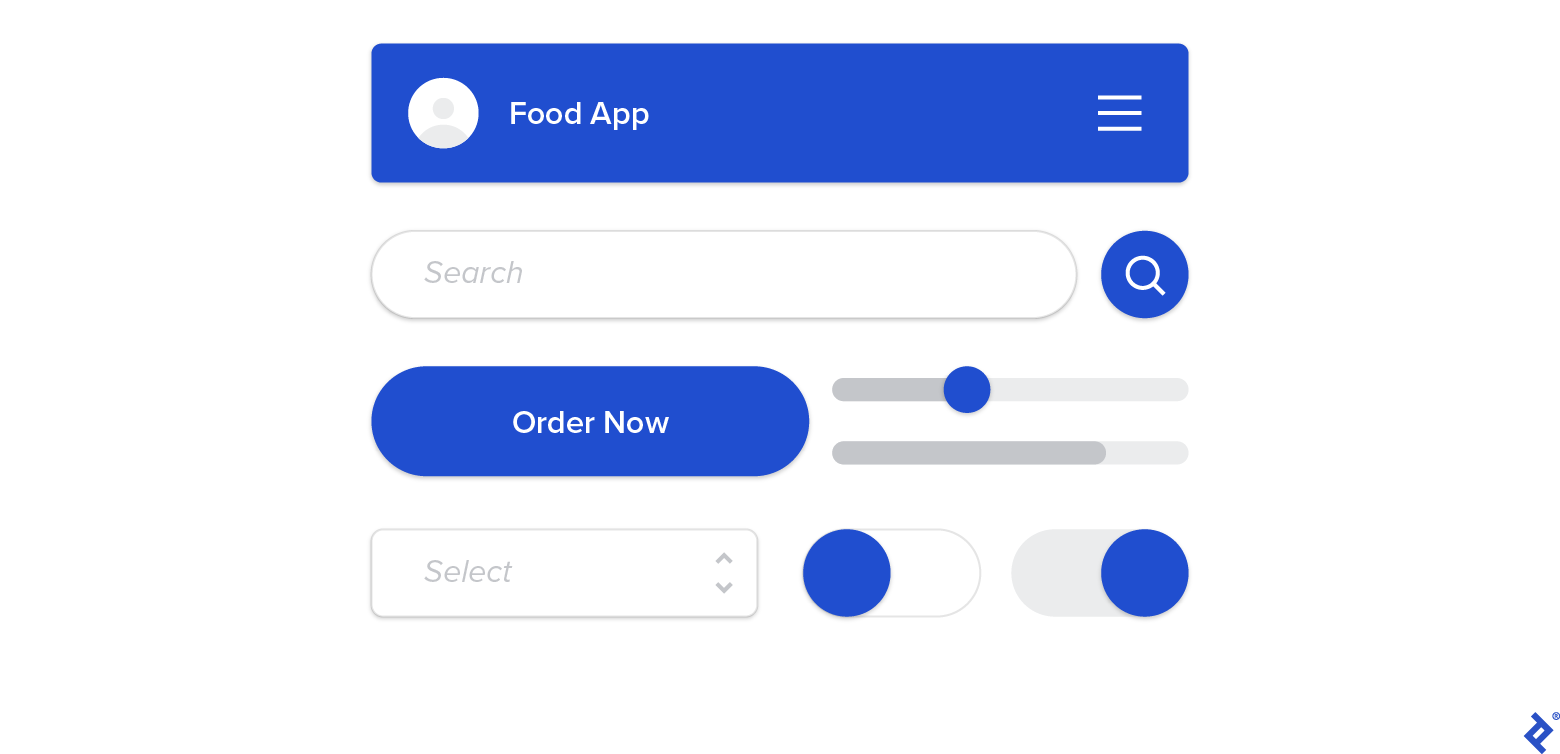
Here’s an example of what a Figma hi-fi prototype for our food delivery app might look like.
Step 4: Complete Design QA
Finally, we’ll confirm that everything looks as expected and runs smoothly by clicking through the prototype and verifying that:
- Our MVP resonates with the initial product concept.
- The user flow feels natural.
- All use cases have been considered.
- All development bugs have been fixed.
Then, we’ll summarize and communicate any remaining issues to the development team as quality assurance tickets. These tickets can be addressed in a one- to two-week cooldown period prior to launching the MVP.
Enhance Your Design Process With the MVP Development Framework
In the world of startup product development, design resources are scarce. The MVP process helps designers build and launch user-friendly products on time without blowing their budgets.
This four-step MVP framework has helped me keep my product designs user-centered time and again. Test it out for yourself and you’ll be sure to prioritize the user in your design development process.
Further Reading on the Toptal Blog:
Understanding the basics
The MVP process helps designers build products with the minimum amount of features and functionality needed to be able to validate product concepts with early-adopter users. The aim is to learn the most about users while exerting the least amount of effort before scaling up the development process.
After creating an MVP, the next step in the development process is to create an MMP (minimum marketable product) that is ready to be presented to the target market. The MMP helps a team validate whether it is worth progressing further with their initial product concept.
Startup product teams often have limited resources. The minimum viable product development framework helps them build quick and cheap versions of their product concepts and test them to understand more about their target audiences before moving onto coding and building more polished versions of the products.

Bucharest, Romania
Member since January 18, 2018
About the author
Calin is a product designer, lean UX practitioner, and branding specialist with experience at both startups and large companies. He’s worked on end-to-end product design from concept and strategy to usability testing to visual design. Calin works well with small teams and startup founders to iterate quickly, test early, and deliver on time.